1 Find "Accounts"
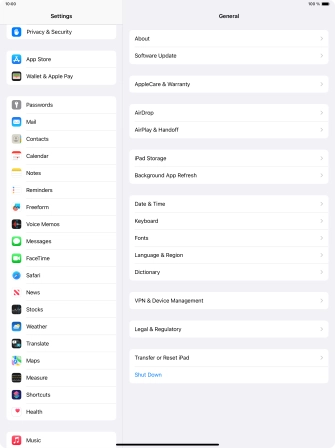
Press Settings.
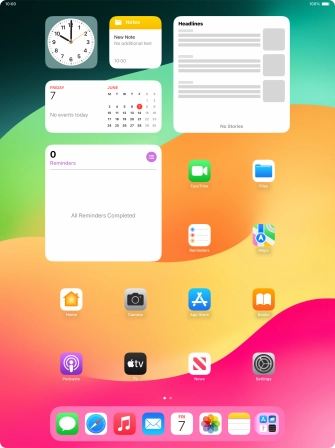
![](http://wmstatic.global.ssl.fastly.net/ml/7140624-f-d0e94727-3748-45d2-a04c-325de3c738f4.png?width=336&height=448)
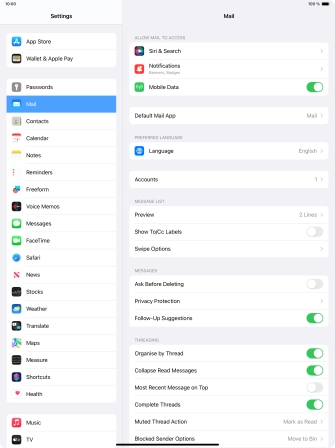
Press Mail.
![](http://wmstatic.global.ssl.fastly.net/ml/7140624-f-79b810e6-af19-4af1-b0f8-972796e1c7bb.png?width=336&height=448)
Press Accounts.
![](http://wmstatic.global.ssl.fastly.net/ml/7140624-f-802c0632-b63a-411a-b9fd-3073104505d7.png?width=336&height=448)
2 Create new email account
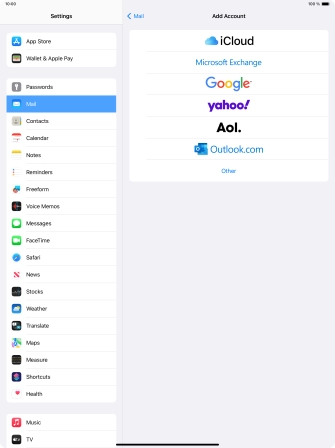
Press Add Account.
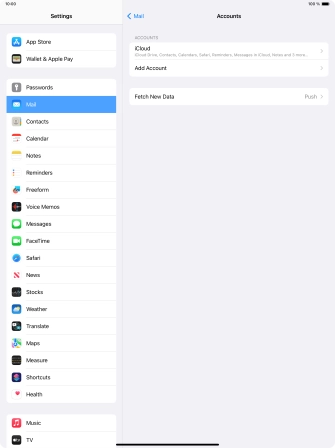
![](http://wmstatic.global.ssl.fastly.net/ml/7140624-f-b4506400-fc29-443d-beb9-ed71a44d94e0.png?width=336&height=448)
Press Microsoft Exchange.
![](http://wmstatic.global.ssl.fastly.net/ml/7140624-f-53dda8ba-253c-4cda-96b1-0fe00b1036b9.png?width=336&height=448)
3 Enter email address
Press Email and key in your email address.
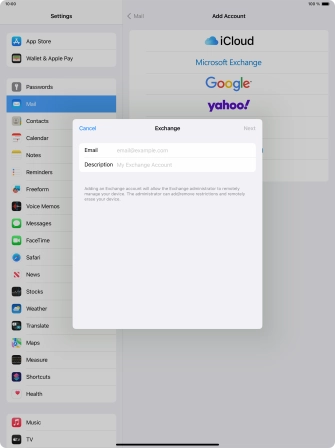
![](http://wmstatic.global.ssl.fastly.net/ml/7140624-f-63ef5c61-9105-49ff-a229-920399f6503e.png?width=336&height=448)
4 Enter email account name
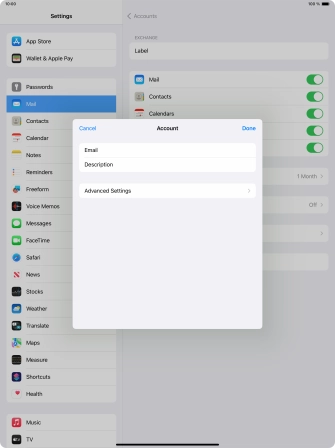
Press Description and key in the required name.
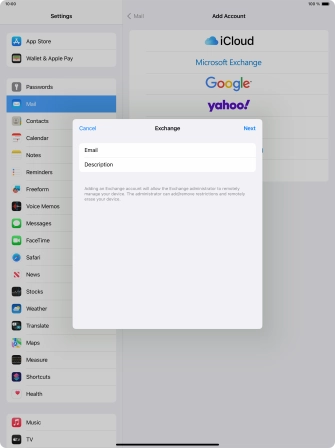
![](http://wmstatic.global.ssl.fastly.net/ml/7140624-f-ffc68c49-1d97-4927-a8e3-fdbf76abc4ec.png?width=336&height=448)
Press Next.
![](http://wmstatic.global.ssl.fastly.net/ml/7140624-f-ffc68c49-1d97-4927-a8e3-fdbf76abc4ec.png?width=336&height=448)
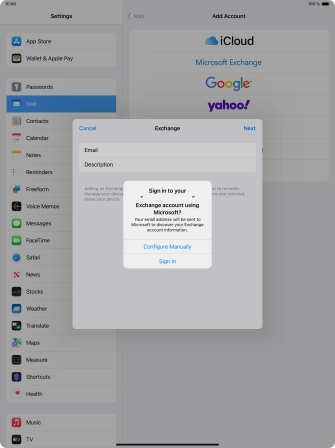
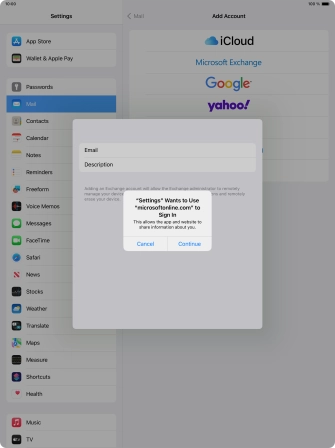
Press Sign In.
![](http://wmstatic.global.ssl.fastly.net/ml/7140624-f-7eae77e2-ea02-4486-ad15-0a448da10471.png?width=336&height=448)
Press Continue.
![](http://wmstatic.global.ssl.fastly.net/ml/7140624-f-2b260fab-41bb-4734-b149-11827081f39e.png?width=336&height=448)
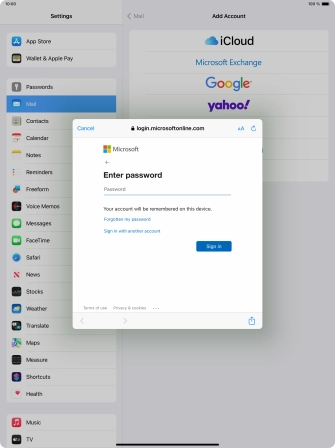
5 Enter password
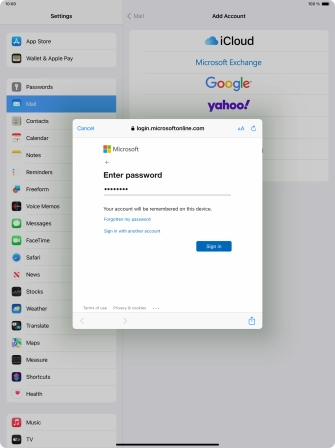
Press Password and key in the password for your email account.
![](http://wmstatic.global.ssl.fastly.net/ml/7140624-f-73f8fb3c-4c9e-47da-a1ff-9618d95a22b7.png?width=336&height=448)
Press Sign in.
![](http://wmstatic.global.ssl.fastly.net/ml/7140624-f-301828c3-3f76-481b-9ccd-5f58306ca865.png?width=336&height=448)
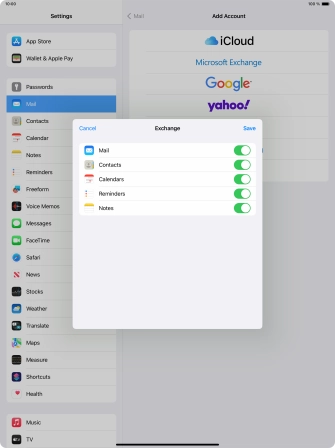
6 Select settings for synchronisation of data
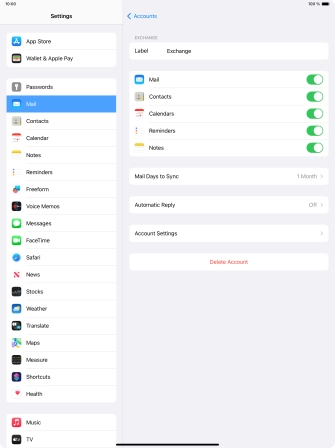
Press the indicators next to the required data types to turn synchronisation of each data type on or off.
![](http://wmstatic.global.ssl.fastly.net/ml/7140624-f-b8000017-b4ed-416f-8df0-a052f8a599e2.png?width=336&height=448)
Press Save. Your email account has now been set up. To select more settings for e.g. SSL encryption and retrieval of new email messages, proceed with the following steps.
![](http://wmstatic.global.ssl.fastly.net/ml/7140624-f-b8000017-b4ed-416f-8df0-a052f8a599e2.png?width=336&height=448)
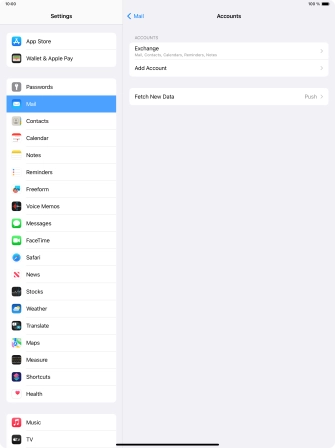
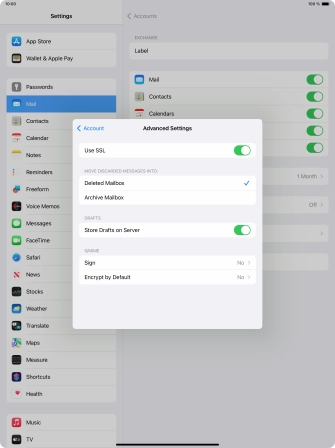
7 Turn SSL encryption on or off
Press the name of the Exchange email account you've just set up.
![](http://wmstatic.global.ssl.fastly.net/ml/7140624-f-7353077b-6afd-4db1-9c36-8d7bbf712520.png?width=336&height=448)
Press Account Settings.
![](http://wmstatic.global.ssl.fastly.net/ml/7140624-f-273cc398-9bab-4493-89aa-4613a17b4faf.png?width=336&height=448)
Press Advanced Settings.
![](http://wmstatic.global.ssl.fastly.net/ml/7140624-f-4f9fa36c-9c92-44ff-b4bf-2857f0d47841.png?width=336&height=448)
Press the indicator next to "Use SSL" to turn the function on or off.
![](http://wmstatic.global.ssl.fastly.net/ml/7140624-f-b921ac37-951c-467f-bd3b-1a58b43dfff6.png?width=336&height=448)
Press arrow left.
![](http://wmstatic.global.ssl.fastly.net/ml/7140624-f-b921ac37-951c-467f-bd3b-1a58b43dfff6.png?width=336&height=448)
Press Done.
![](http://wmstatic.global.ssl.fastly.net/ml/7140624-f-4f9fa36c-9c92-44ff-b4bf-2857f0d47841.png?width=336&height=448)
Press arrow left.
![](http://wmstatic.global.ssl.fastly.net/ml/7140624-f-273cc398-9bab-4493-89aa-4613a17b4faf.png?width=336&height=448)
8 Select setting for retrieval of new email messages
Press Fetch New Data.
![](http://wmstatic.global.ssl.fastly.net/ml/7140624-f-7353077b-6afd-4db1-9c36-8d7bbf712520.png?width=336&height=448)
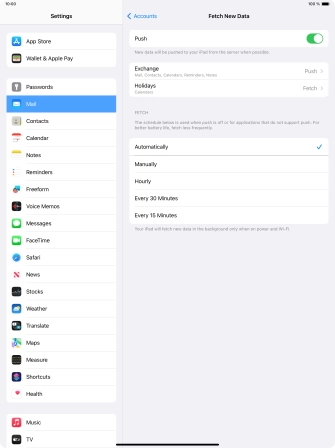
Press the indicator next to "Push" to turn the function on or off.
![](http://wmstatic.global.ssl.fastly.net/ml/7140624-f-a3c01181-4c43-48c6-9db6-adf60f91a6e1.png?width=336&height=448)
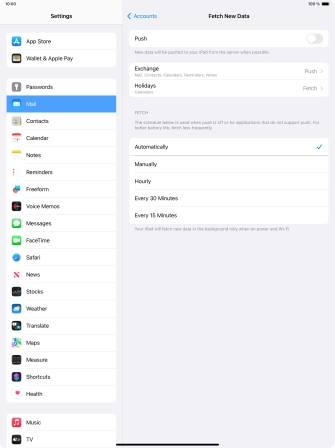
If you turn off the function, press the required setting.
![](http://wmstatic.global.ssl.fastly.net/ml/7140624-f-eacafa40-112d-43d0-aa12-7131bc392756.png?width=336&height=448)
Press the required email account and follow the instructions on the screen to select settings for the specific account.
![](http://wmstatic.global.ssl.fastly.net/ml/7140624-f-eacafa40-112d-43d0-aa12-7131bc392756.png?width=336&height=448)
9 Return to the home screen
Slide your finger upwards starting from the bottom of the screen to return to the home screen.
![](http://wmstatic.global.ssl.fastly.net/ml/7140624-f-eacafa40-112d-43d0-aa12-7131bc392756.png?width=336&height=448)