Apple iPhone XR


1. Find "Contact Photo & Poster"
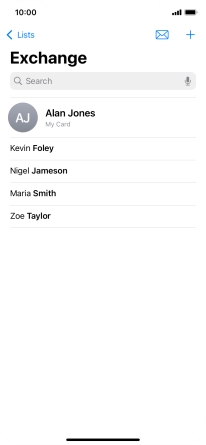
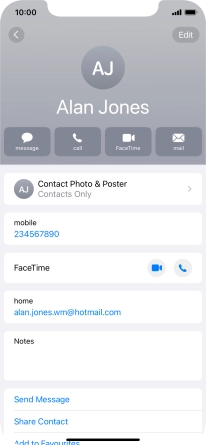
Press Contacts.


1. Find "Contact Photo & Poster"
Press My Card.


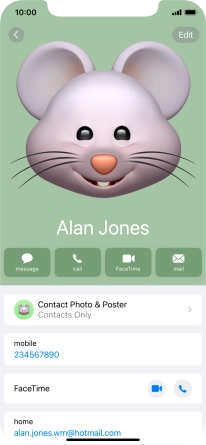
1. Find "Contact Photo & Poster"
Press Contact Photo & Poster.


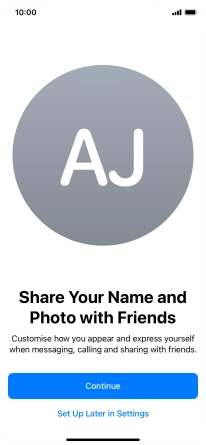
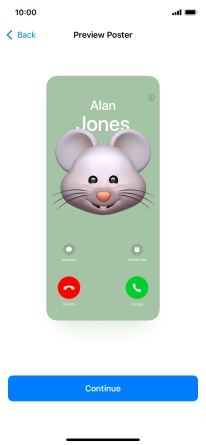
2. Create Contact Poster
Press Continue.


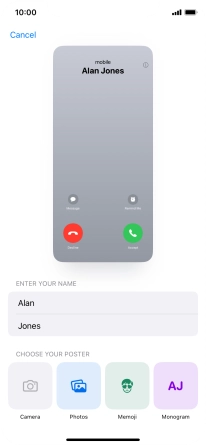
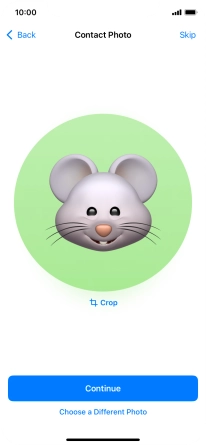
2. Create Contact Poster
Press the required category and follow the instructions on the screen to select and save the required picture to your Contact Poster.


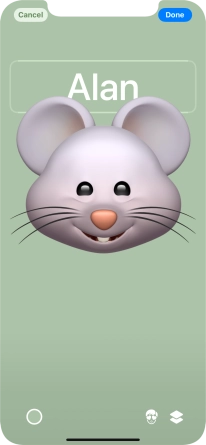
2. Create Contact Poster
Press the name field and follow the instructions on the screen to select the required font and colour for your name on the Contact Poster.
2. Create Contact Poster
Press Done.


2. Create Contact Poster
Press Continue.


2. Create Contact Poster
Follow the instructions on the screen to customise the selected picture and press Continue.


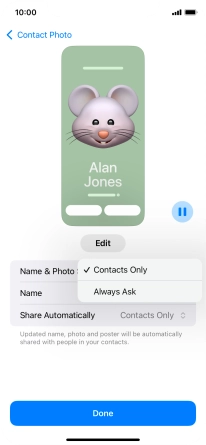
3. Turn sharing of name and picture on or off
Press the indicator next to "Name & Photo Sharing" to turn the function on or off.
4. Edit name
Press Name and follow the instructions on the screen to edit your name on the Contact Poster.
5. Choose Contact Poster sharing setting
Press Share Automatically.


5. Choose Contact Poster sharing setting
Press the required setting.
6. Save settings
Press Done.


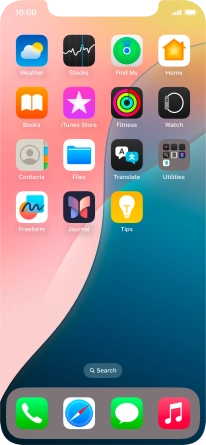
7. Return to the home screen
Slide your finger upwards starting from the bottom of the screen to return to the home screen.
1. Find "Contact Photo & Poster"
2. Create Contact Poster
3. Turn sharing of name and picture on or off

4. Edit name
5. Choose Contact Poster sharing setting
6. Save settings
7. Return to the home screen