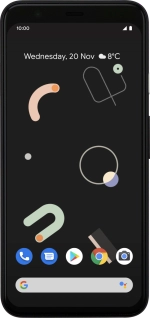
![Google Pixel 4](http://wmstatic.global.ssl.fastly.net/ml/7151223-f-e26a4e19-3ad0-4b58-a0aa-24130c99d72a.png?width=150&height=320)
Google Pixel 4
Android 10.0
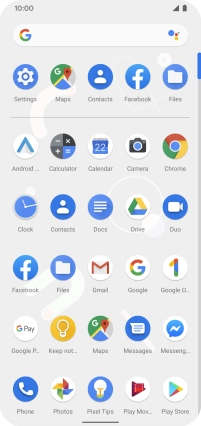
1. Find "Maps"
Slide your finger upwards starting from the bottom of the screen.
![](http://wmstatic.global.ssl.fastly.net/ml/7151223-f-0a4625d8-81e1-4292-99be-3abc34a050da.png?width=202&height=426)
Press Maps.
![](http://wmstatic.global.ssl.fastly.net/ml/7151223-f-17db5751-c3b0-4d94-b5e7-64abb9e81fb4.png?width=202&height=426)
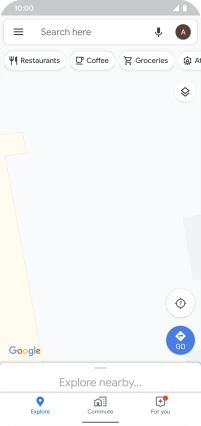
2. Find destination
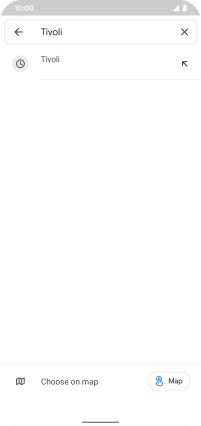
Press the search field and key in the required destination.
![](http://wmstatic.global.ssl.fastly.net/ml/7151223-f-3208235e-2fff-4c21-bcdb-71496c786b79.png?width=202&height=426)
Press the required destination.
Drag two fingers together or apart to zoom in or out.
![](http://wmstatic.global.ssl.fastly.net/ml/7151223-f-9c9b13b1-de13-440c-8159-659f490c5309.png?width=202&height=426)
3. Save favourite destination
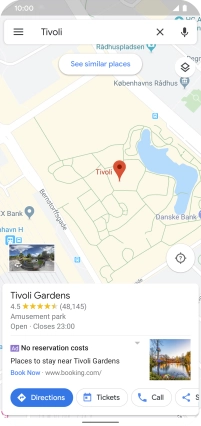
Press the destination at the bottom of the screen.
![](http://wmstatic.global.ssl.fastly.net/ml/7151223-f-0fb299bb-2d2b-4363-a62c-f783b6c2aaa2.png?width=202&height=426)
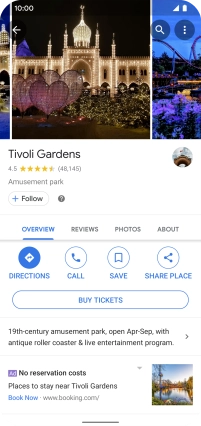
Press SAVE.
![](http://wmstatic.global.ssl.fastly.net/ml/7151223-f-47b19575-ae1a-40e4-a5ec-d60868b0f3c5.png?width=202&height=426)
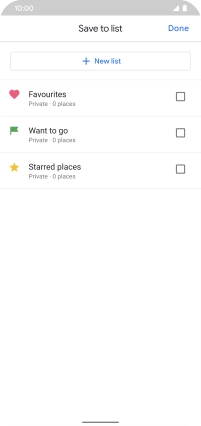
Press the required setting.
![](http://wmstatic.global.ssl.fastly.net/ml/7151223-f-d60848d1-c869-4467-83b1-c75a4c6b820b.png?width=202&height=426)
If you select New list, follow the instructions on the screen to create a new list.
![](http://wmstatic.global.ssl.fastly.net/ml/7151223-f-d60848d1-c869-4467-83b1-c75a4c6b820b.png?width=202&height=426)
Press Done.
![](http://wmstatic.global.ssl.fastly.net/ml/7151223-f-d60848d1-c869-4467-83b1-c75a4c6b820b.png?width=202&height=426)
4. Plan route to destination
Press DIRECTIONS.
![](http://wmstatic.global.ssl.fastly.net/ml/7151223-f-47b19575-ae1a-40e4-a5ec-d60868b0f3c5.png?width=202&height=426)
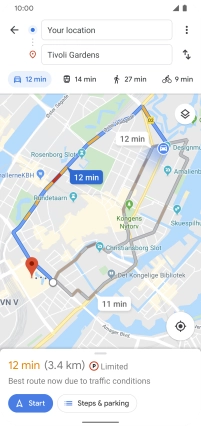
Press the required mode of transportation.
![](http://wmstatic.global.ssl.fastly.net/ml/7151223-f-12f86def-580f-4114-b5b0-a8ee36ad042f.png?width=202&height=426)
Press the required route.
![](http://wmstatic.global.ssl.fastly.net/ml/7151223-f-12f86def-580f-4114-b5b0-a8ee36ad042f.png?width=202&height=426)
5. Start GPS navigation
Press Start.
![](http://wmstatic.global.ssl.fastly.net/ml/7151223-f-12f86def-580f-4114-b5b0-a8ee36ad042f.png?width=202&height=426)
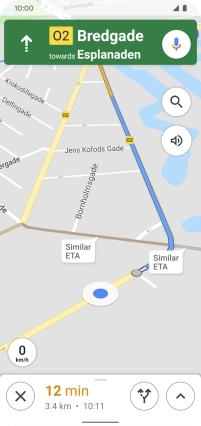
The travel information at the bottom of the screen shows your estimated time of arrival and distance to destination.
![](http://wmstatic.global.ssl.fastly.net/ml/7151223-f-39d12f51-3f85-48bd-b8ac-d7eecb628cd1.png?width=202&height=426)
6. End GPS navigation
Press the end icon to end navigation.
![](http://wmstatic.global.ssl.fastly.net/ml/7151223-f-39d12f51-3f85-48bd-b8ac-d7eecb628cd1.png?width=202&height=426)
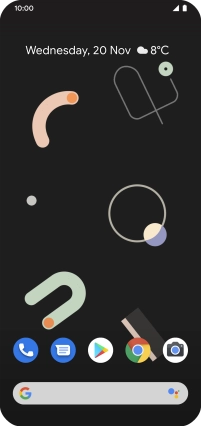
7. Return to the home screen
Slide your finger upwards starting from the bottom of the screen to return to the home screen.
![](http://wmstatic.global.ssl.fastly.net/ml/7151223-f-3208235e-2fff-4c21-bcdb-71496c786b79.png?width=202&height=426)