![Lenovo Tab M10 Plus (3rd Gen)](http://wmstatic.global.ssl.fastly.net/ml/7110124-f-8de091d7-a25d-4442-aae1-4e2af9adf3bf.png?width=150&height=320)
Lenovo Tab M10 Plus (3rd Gen)
Android 13
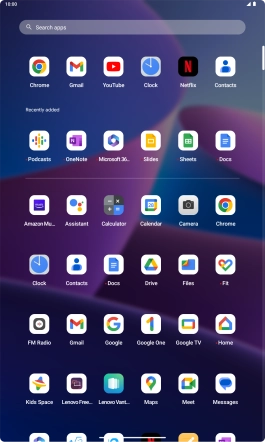
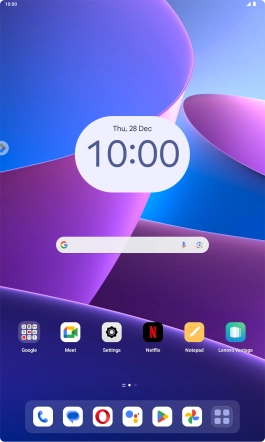
1. Find "Contacts"
Slide your finger upwards on the screen.
![](http://wmstatic.global.ssl.fastly.net/ml/7110124-f-421a5507-4a65-4fea-bf0b-404b314e2ba1.png?width=266&height=442)
Press Contacts.
![](http://wmstatic.global.ssl.fastly.net/ml/7110124-f-fff65377-4caa-4c5e-abaf-48125c5098ab.png?width=266&height=442)
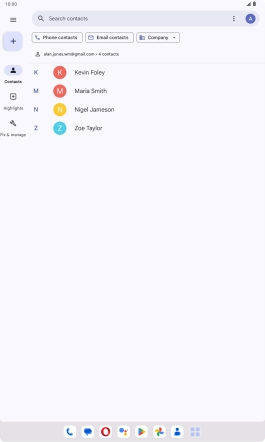
2. Create contact
Press the new contact icon.
![](http://wmstatic.global.ssl.fastly.net/ml/7110124-f-6d52a701-548d-42ae-9700-99b19ccbb642.png?width=266&height=442)
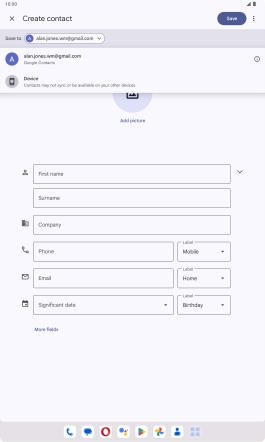
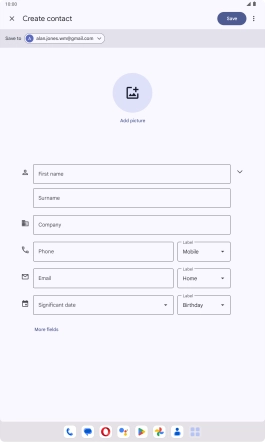
3. Select address book
Press the drop down list next to "Save to".
![](http://wmstatic.global.ssl.fastly.net/ml/7110124-f-14a4e09b-fbbb-4d73-b6fb-a7075c4b317f.png?width=266&height=442)
Press the required Google account.
![](http://wmstatic.global.ssl.fastly.net/ml/7110124-f-839adb8d-62b8-49bf-a9a5-541ea143b174.png?width=266&height=442)
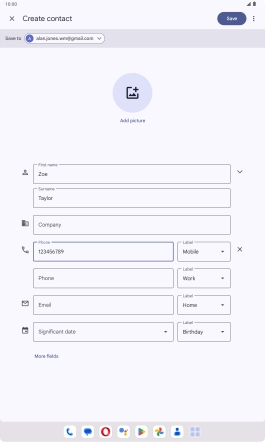
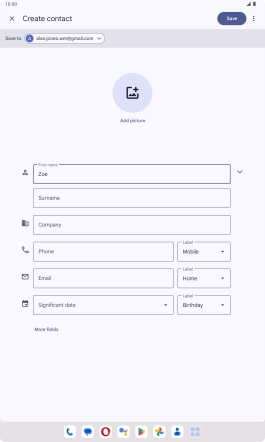
4. Enter name
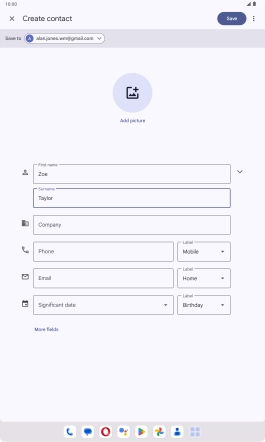
Press First name and key in the required first name.
![](http://wmstatic.global.ssl.fastly.net/ml/7110124-f-14a4e09b-fbbb-4d73-b6fb-a7075c4b317f.png?width=266&height=442)
Press Surname and key in the required last name.
![](http://wmstatic.global.ssl.fastly.net/ml/7110124-f-96134cf6-4fdf-43c8-96fc-86a61317507f.png?width=266&height=442)
5. Enter phone number
Press Phone and key in the required phone number.
Follow the instructions on the screen to add more information such as email address and date of birth.
![](http://wmstatic.global.ssl.fastly.net/ml/7110124-f-61017e99-ca20-4e60-9f7f-37c3e7b3e2d2.png?width=266&height=442)
6. Save contact
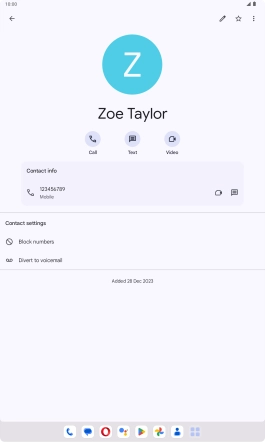
Press Save.
![](http://wmstatic.global.ssl.fastly.net/ml/7110124-f-e6b9d77b-b4e3-41fb-a921-85761a316748.png?width=266&height=442)
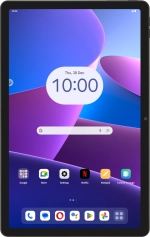
7. Return to the home screen
Slide your finger upwards starting from the bottom of the screen to return to the home screen.
![](http://wmstatic.global.ssl.fastly.net/ml/7110124-f-3f8b053b-58bf-4bd7-aada-ed5c3fb75402.png?width=266&height=442)