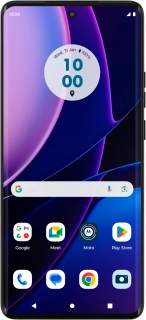
Motorola Edge 40 5G
Android 13
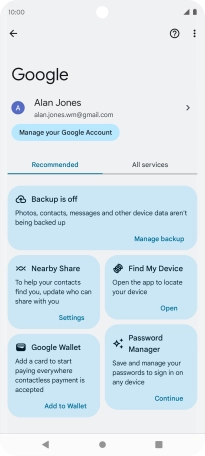
1. Find "Google"
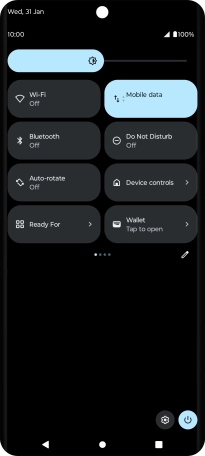
Slide two fingers downwards starting from the top of the screen.
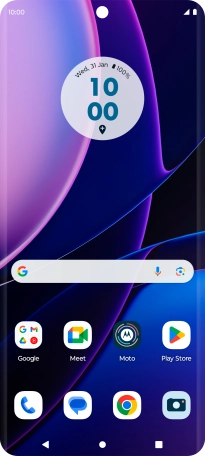
Press the settings icon.
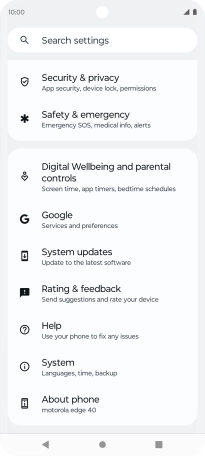
Press Google.
2. Turn on automatic Google One backup
Press the backup icon.
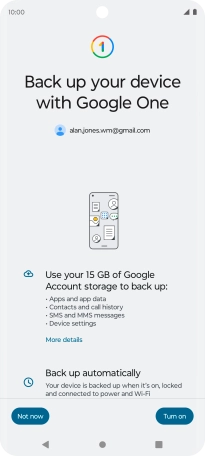
Press Turn on to turn on the function.
The phone memory will be backed up automatically when your phone is charging, the screen lock is turned on and a Wi-Fi connection is established.
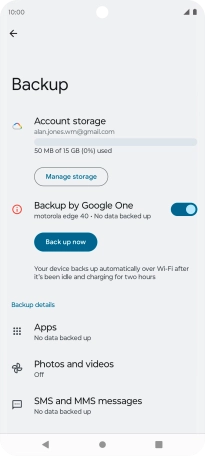
3. Back up phone memory to Google One
Press Back up now and wait while the phone memory is backed up.
4. Return to the home screen
Press the Home key to return to the home screen.


