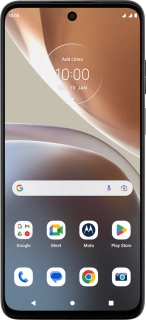
Motorola Moto G32
Android 12.0
1. Find "Fix & manage"
Slide your finger upwards on the screen.
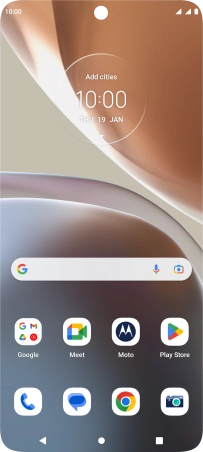
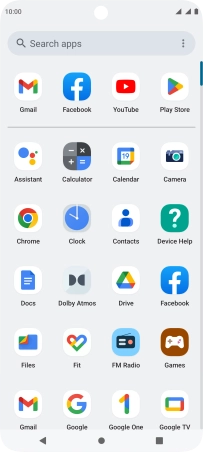
Press Contacts.
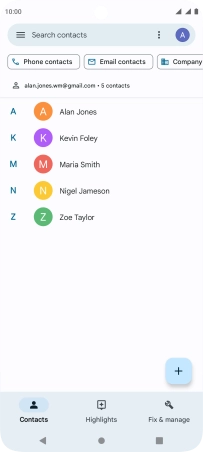
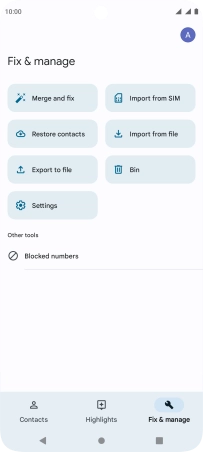
Press Fix & manage.
2. Import contacts from your SIM to your phone
Press Import from SIM.
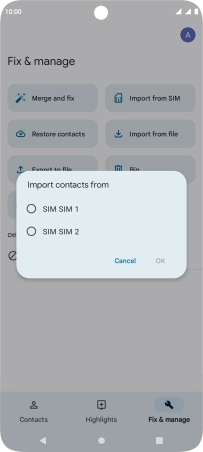
Press the required SIM.
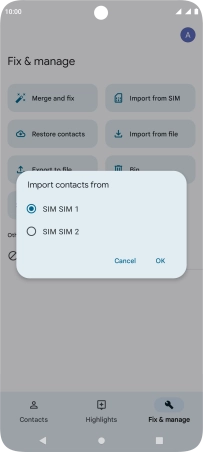
Press OK.
Press the drop down list next to "Save to".
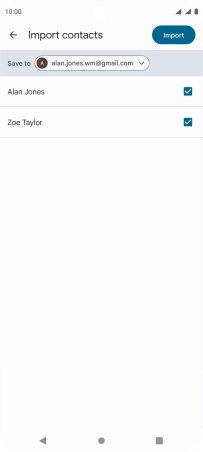
Press Device.
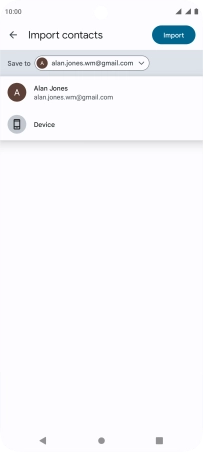
Press the fields next to the required contacts to select them.
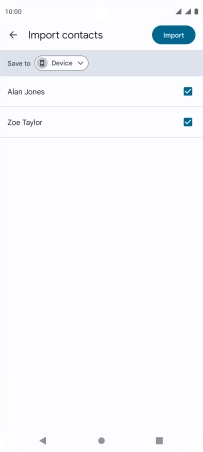
Press Import.

3. Return to the home screen
Press the Home key to return to the home screen.


