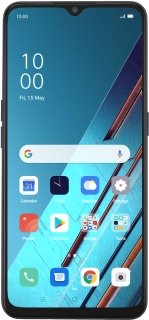
OPPO Find X2 Lite
Android 10.0
1 Find "Users & Accounts"
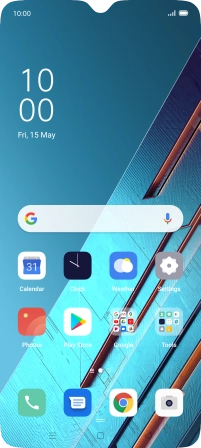
Slide two fingers downwards starting from the top of the screen.
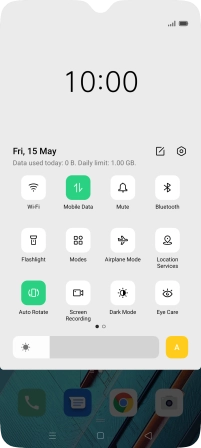
Press the settings icon.
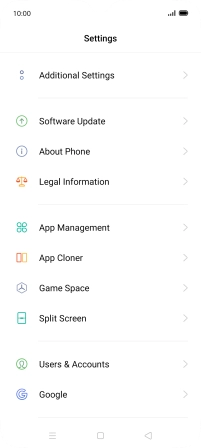
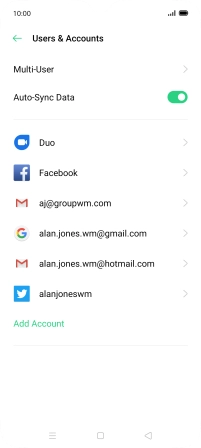
Press Users & Accounts.
2 Turn automatic synchronisation of content on or off
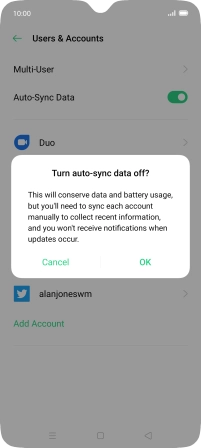
Press the indicator next to "Auto-Sync Data" to turn the function on or off.
Press OK.
3 Return to the home screen
Press the Home key to return to the home screen.


