
OPPO Find X2 Pro


1. Find "Date & Time"
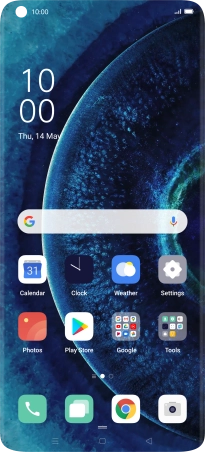
Slide two fingers downwards starting from the top of the screen.


1. Find "Date & Time"
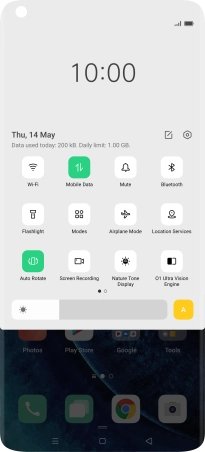
Press the settings icon.


1. Find "Date & Time"
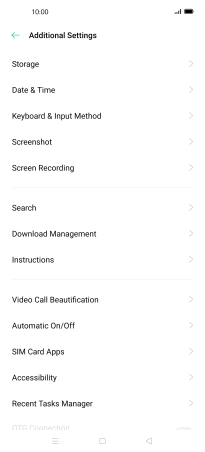
Press Additional Settings.


1. Find "Date & Time"
Press Date & Time.


2. Turn on automatic date, time and time zone update
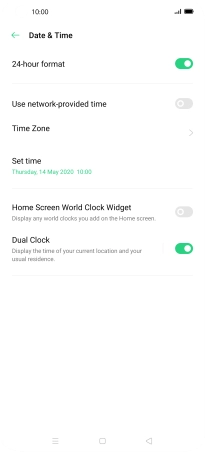
Press the indicator next to "Use network-provided time" to turn on the function.


3. Return to the home screen
Press the Home key to return to the home screen.
1. Find "Date & Time"

2. Turn on automatic date, time and time zone update
3. Return to the home screen
