
Samsung Galaxy A10


1. Find "Maps"
Slide your finger upwards on the screen.


1. Find "Maps"
Press Google.


1. Find "Maps"
Press Maps.


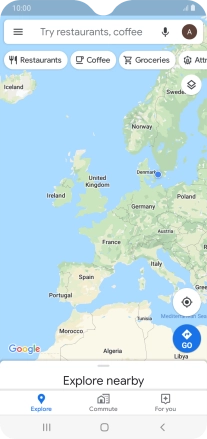
2. Find destination
Press the search field and key in the required destination.


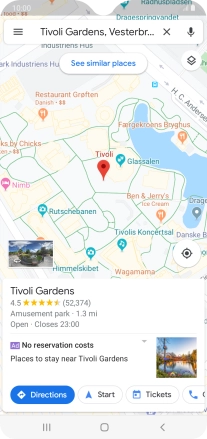
2. Find destination
Press the required destination.


3. Save favourite destination
Press the destination at the bottom of the screen.


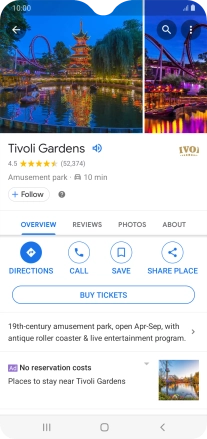
3. Save favourite destination
Press SAVE.


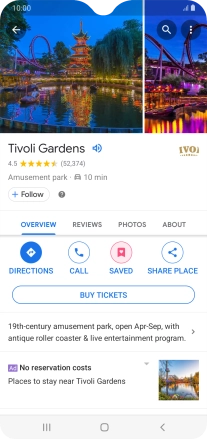
3. Save favourite destination
If you select New list, follow the instructions on the screen to create a new list.
3. Save favourite destination
Press the required setting.


3. Save favourite destination
Press Done.


4. Plan route to destination
Press DIRECTIONS.


4. Plan route to destination
Press the required mode of transportation.
4. Plan route to destination
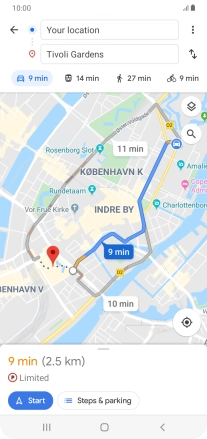
Press the required route.
5. Start GPS navigation
Press Start.


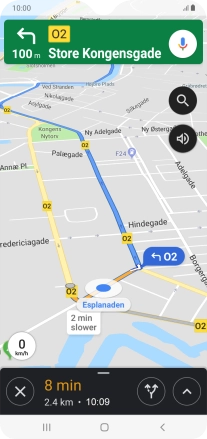
5. Start GPS navigation
The travel information at the bottom of the screen shows your estimated time of arrival and distance to destination.
6. End GPS navigation
Press the end icon to end navigation.
7. Return to the home screen
Press the Home key to return to the home screen.
1. Find "Maps"


2. Find destination

3. Save favourite destination


4. Plan route to destination
5. Start GPS navigation
6. End GPS navigation
7. Return to the home screen