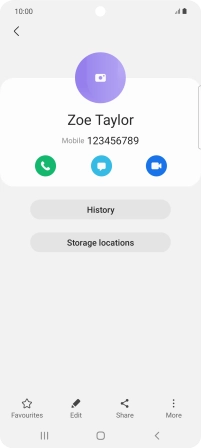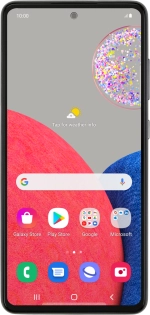
Samsung Galaxy A52s 5G
Android 11.0
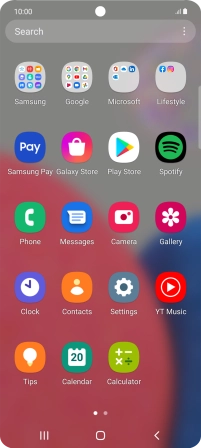
1. Find "Contacts"
Slide your finger upwards on the screen.
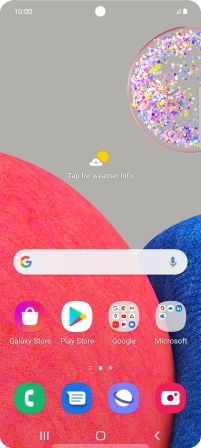
Press Contacts.
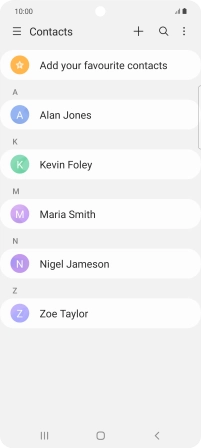
2. Create contact
Press the new contact icon.
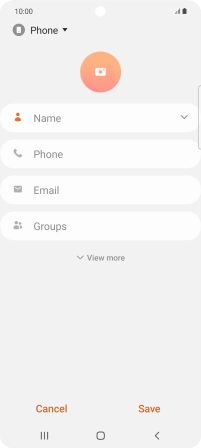
3. Select address book
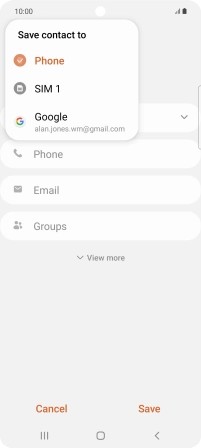
Press the address book drop down list.
Press Phone.
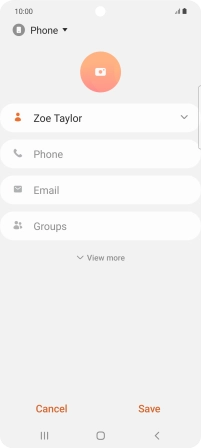
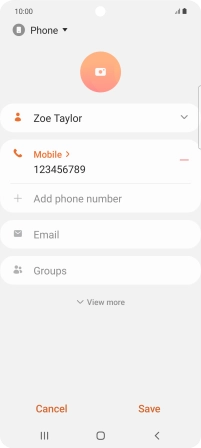
4. Enter name
Press Name and key in the required name.

5. Enter phone number
Press Phone and key in the required phone number.
Follow the instructions on the screen to add more information such as an email address and a personal ring tone.
6. Save contact
Press Save.
7. Return to the home screen
Press the Home key to return to the home screen.
