Samsung Galaxy A55 5G
Android 14
1. Find "Scan QR code"
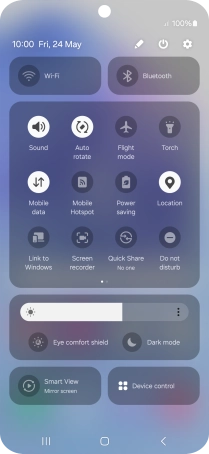
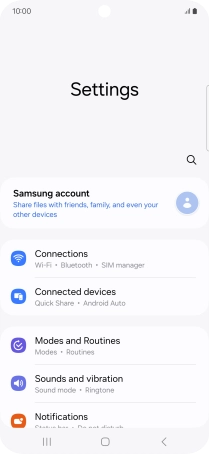
Slide two fingers downwards starting from the top of the screen.
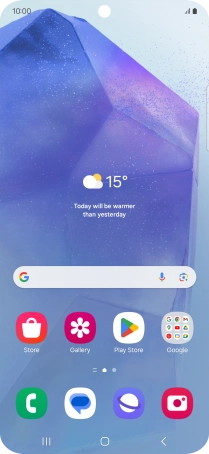
Press the settings icon.
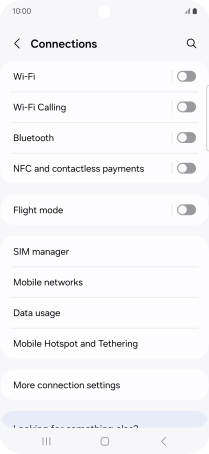
Press Connections.
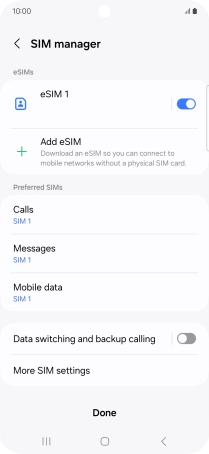
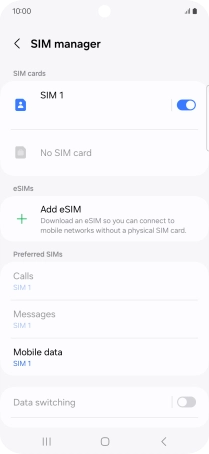
Press SIM manager.
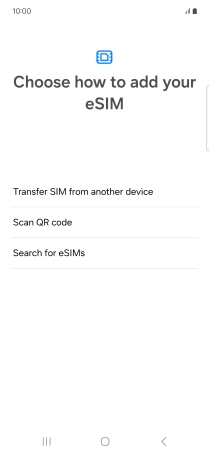
Press Add eSIM.
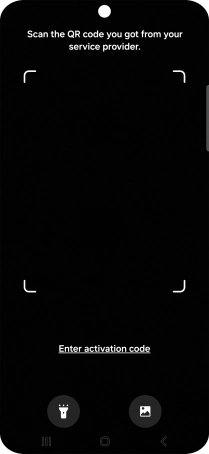
Press Scan QR code.
2. Scan QR code
Place the QR code you've received inside the phone camera frame to scan the code. If you’ve deleted your eSIM, you can re-add it using your existing QR code. If you’re having problems, see our FAQ.
3. Activate eSIM
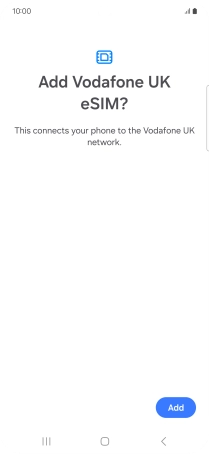
Press Add.
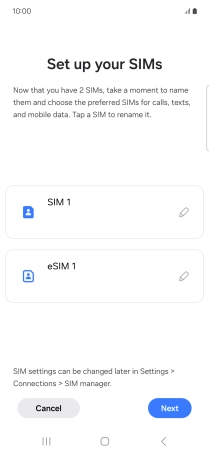
Press Next.
Press the required setting.
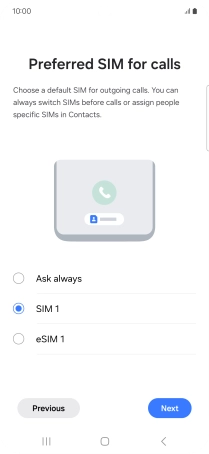
Press Next.

Press the required price plan.
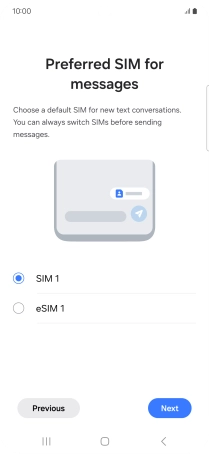
Press Next.

Press the required settings.
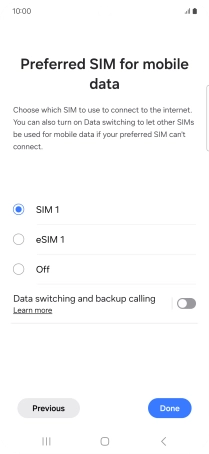
Press Done.

4. Return to the home screen
Press the Home key to return to the home screen.
