![Samsung Galaxy Tab S9 5G](http://wmstatic.global.ssl.fastly.net/ml/7070324-f-0f95c1f9-f8e3-4fd1-b7af-32078cd968d1.png?width=150&height=320)
Samsung Galaxy Tab S9 5G
Android 13
1 Find "Manage accounts"
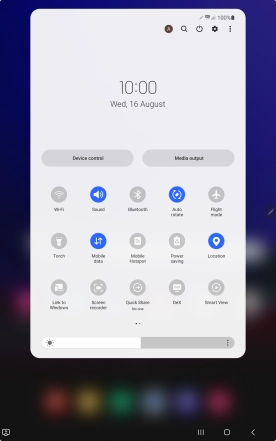
Slide two fingers downwards starting from the top of the screen.
![](http://wmstatic.global.ssl.fastly.net/ml/7070324-f-a8e2c5bc-4789-4ed7-9dbe-f3f733d22e98.png?width=276&height=444)
Press the settings icon.
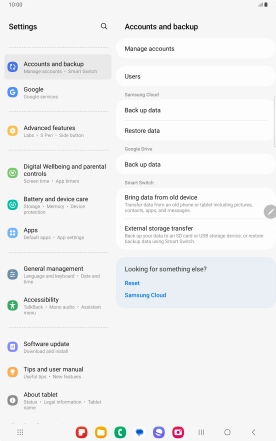
![](http://wmstatic.global.ssl.fastly.net/ml/7070324-f-b0e01936-e0a6-453f-ac79-020857e8a5e1.png?width=276&height=444)
Press Accounts and backup.
![](http://wmstatic.global.ssl.fastly.net/ml/7070324-f-4d27fe2a-b6cc-450e-b6fe-9166f6da4973.png?width=276&height=444)
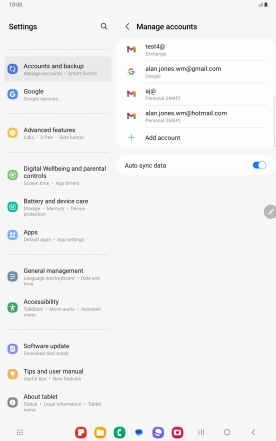
Press Manage accounts.
![](http://wmstatic.global.ssl.fastly.net/ml/7070324-f-de957911-8967-4a16-9ada-e1f71d870dc9.png?width=276&height=444)
2 
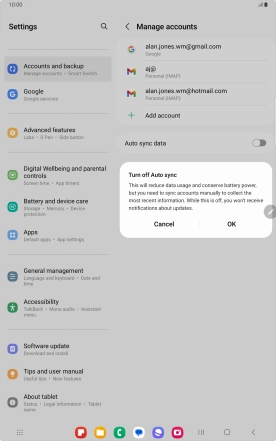
Turn automatic synchronisation of content on or off
Press the indicator next to "Auto sync data" to turn the function on or off.
![](http://wmstatic.global.ssl.fastly.net/ml/7070324-f-9a505217-8d47-4e1b-995f-87f5f109a7fa.png?width=276&height=444)
Press OK.
![](http://wmstatic.global.ssl.fastly.net/ml/7070324-f-fed8a98b-9082-4109-ae71-99655c8d5715.png?width=276&height=444)
3 Return to the home screen
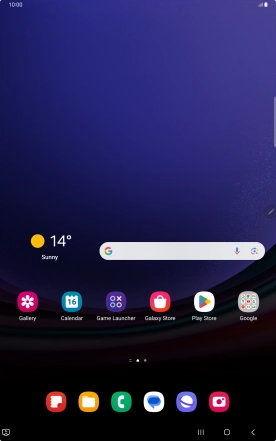
Press the Home key to return to the home screen.
![](http://wmstatic.global.ssl.fastly.net/ml/7070324-f-9a505217-8d47-4e1b-995f-87f5f109a7fa.png?width=276&height=444)