Samsung Galaxy Tab S9 Ultra 5G
Android 13
1. Find "SIM manager"
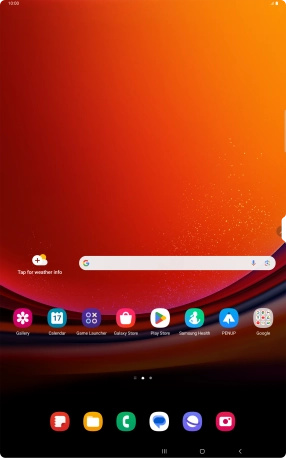
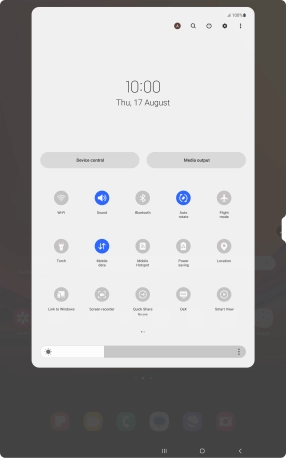
Slide two fingers downwards starting from the top of the screen.

Press the settings icon.

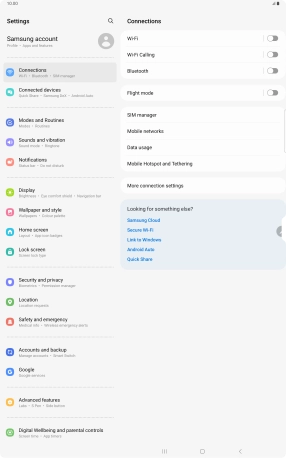
Press Connections.

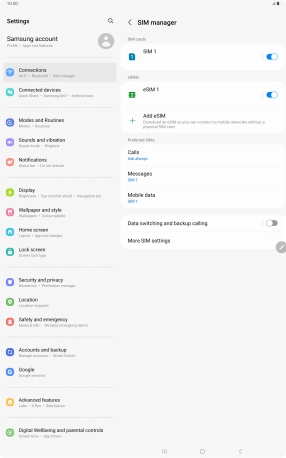
Press SIM manager.

2. Select eSIM
Press the required eSIM.

3. Delete eSIM
Press Remove and follow the instructions on the screen to delete your eSIM.

4. Return to the home screen
Press the Home key to return to the home screen.


