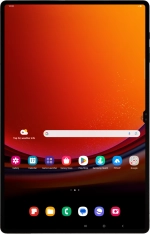
Samsung Galaxy Tab S9 Ultra 5G
Android 13
1 Find "Manage accounts"
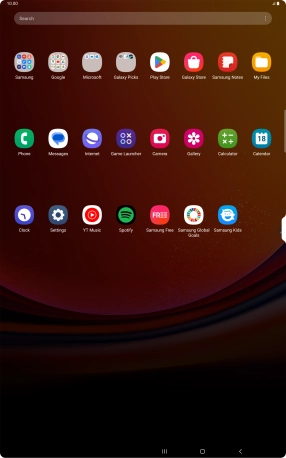
Slide your finger upwards on the screen.
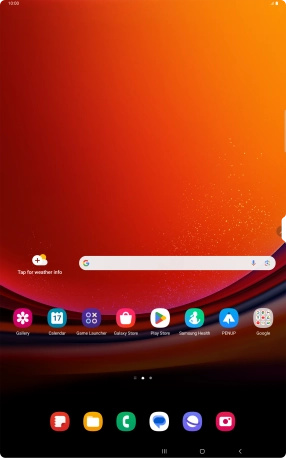
Press Google.
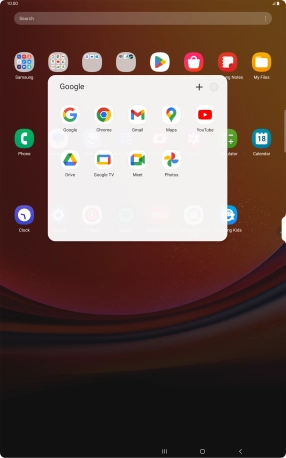
Press Gmail.
Press the menu icon.
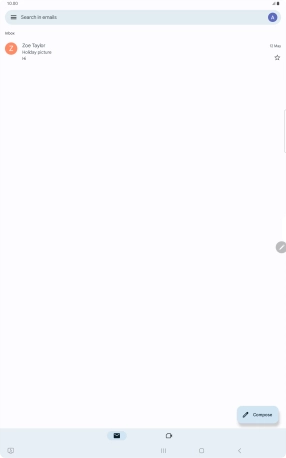
Press Settings.
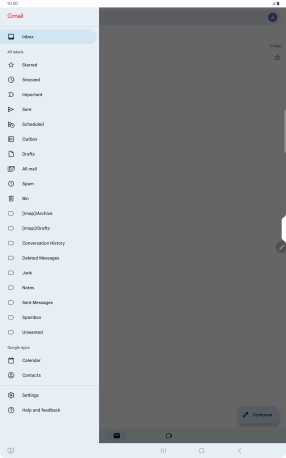
2 Create new email account
Press Add account.
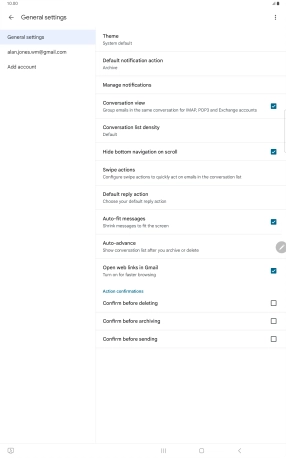
3 Select server type
Press Exchange and Office 365.
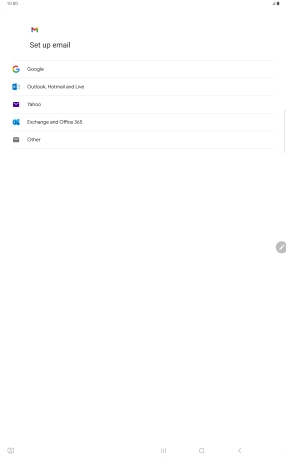
4 Enter email address
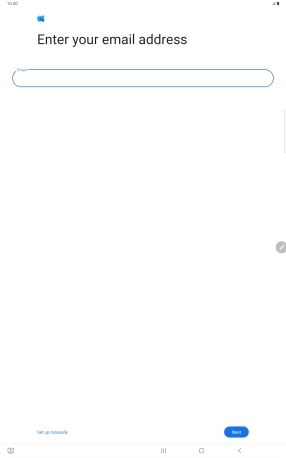
Press the field below "Email" and key in your email address.
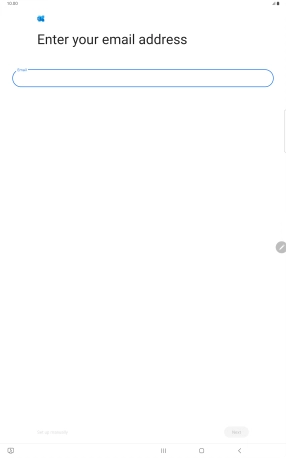
Press Next.
5 Enter password
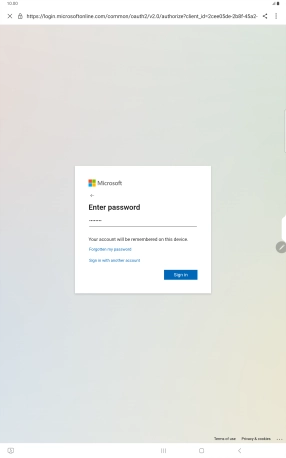
Press Password and key in the password for your email account.
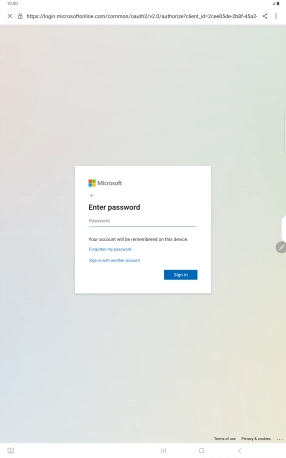
Press Sign in.
Press Done.
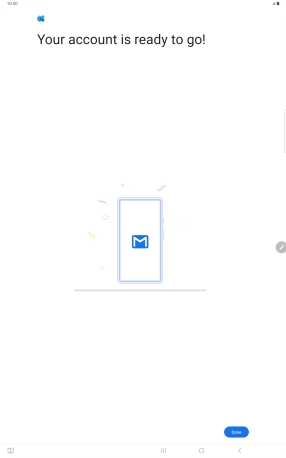
6 Return to the home screen
Press the Home key to return to the home screen.
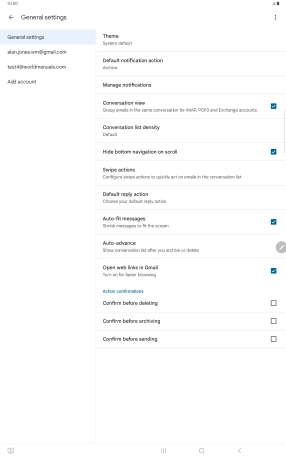
7 Find "Account settings"
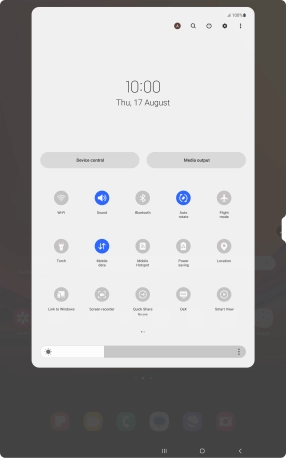
Slide two fingers downwards starting from the top of the screen.

Press the settings icon.
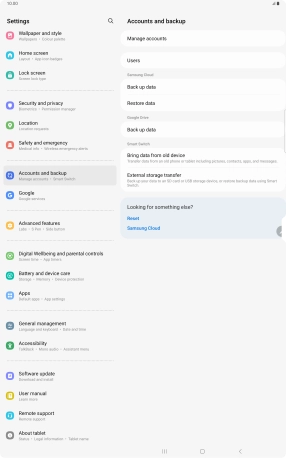
Press Accounts and backup.
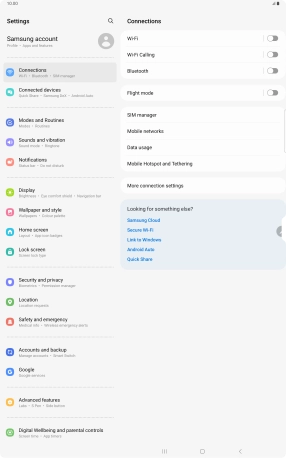
Press Manage accounts.
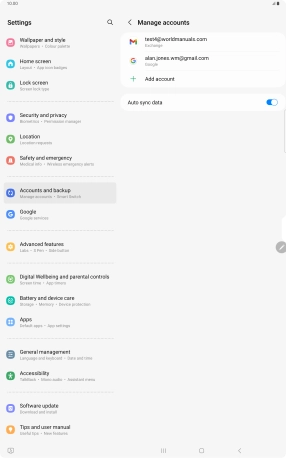
Press the required email account.
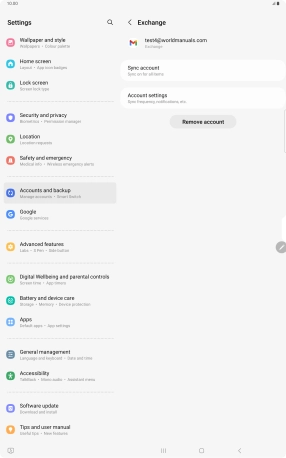
Press Account settings.
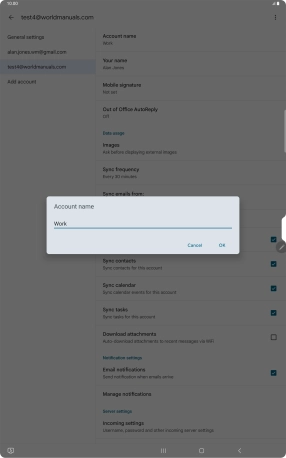
8 Enter email account name
Press the required email account.
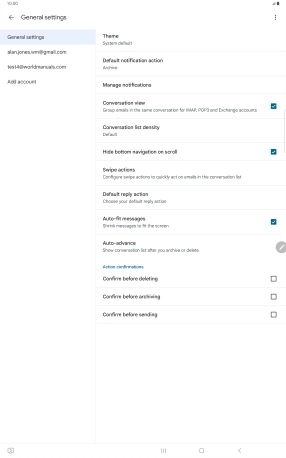
Press Account name and key in the required name.
Press OK.
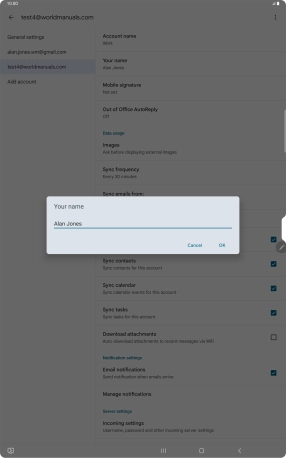
9 Enter sender name
Press Your name and key in the required sender name.

Press OK.
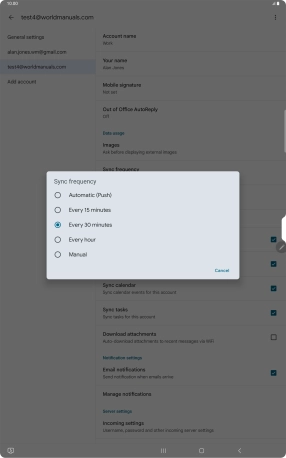
10 Select setting for retrieval of new email messages
Press Sync frequency.

Press the required setting.
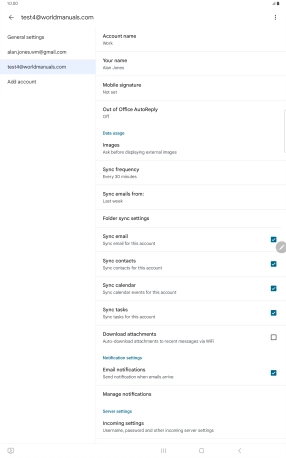
11 Turn on email message synchronisation
Press the field next to "Sync email" to turn on the function.

12 Select data types for synchronisation
Press the field next to the required data types to turn synchronisation on or off.

13 Turn email message notifications on or off
Press the field next to "Email notifications" to turn the function on or off.

14 Return to the home screen
Press the Home key to return to the home screen.


