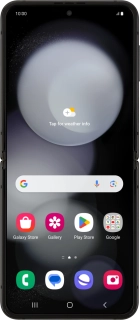
![Samsung Galaxy Z Flip5](http://wmstatic.global.ssl.fastly.net/ml/7151223-f-315e48a4-80b8-411f-b0a4-e1b3ec75b24b.png?width=150&height=320)
Samsung Galaxy Z Flip5
Android 13
1. Find "Manage contacts"
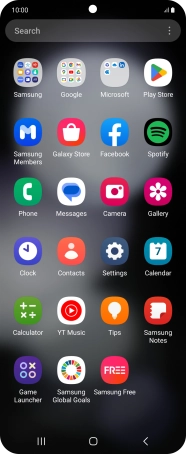
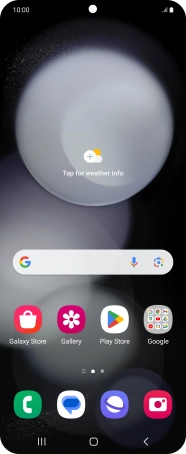
Slide your finger upwards on the screen.
![](http://wmstatic.global.ssl.fastly.net/ml/7151223-f-3464ea41-6a46-40fb-b5b9-0a17cf9092e0.png?width=186&height=458)
Press Contacts.
![](http://wmstatic.global.ssl.fastly.net/ml/7151223-f-0f8f0e1a-c454-4460-b653-3b1ae988699e.png?width=186&height=458)
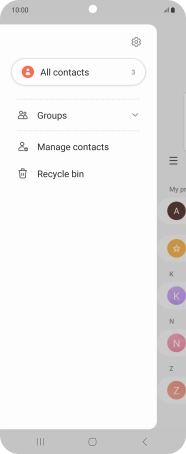
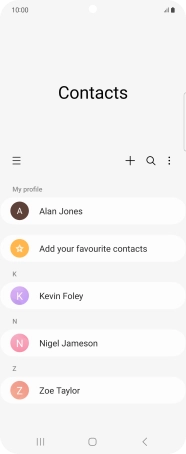
Slide your finger right starting from the left side of the screen.
![](http://wmstatic.global.ssl.fastly.net/ml/7151223-f-0649987c-1194-4448-8a26-0841069b1525.png?width=186&height=458)
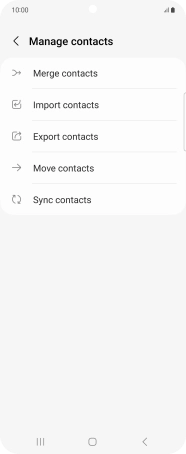
Press Manage contacts.
![](http://wmstatic.global.ssl.fastly.net/ml/7151223-f-964410b0-c86c-43b3-84cb-eae45e149a96.png?width=186&height=458)
2. Copy contacts from your SIM to your Google account
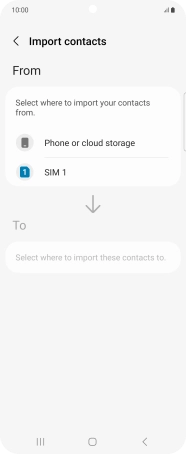
Press Import contacts.
![](http://wmstatic.global.ssl.fastly.net/ml/7151223-f-f28ea5db-463c-4ca0-9c21-1dd37371a7ca.png?width=186&height=458)
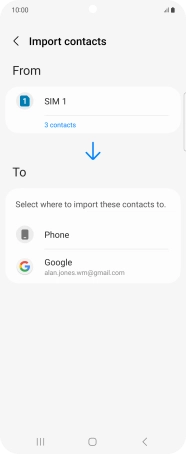
Press the name of the SIM.
![](http://wmstatic.global.ssl.fastly.net/ml/7151223-f-7ddeee31-3da2-470d-8ee7-c991ca70a7f3.png?width=186&height=458)
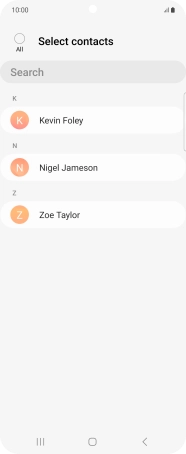
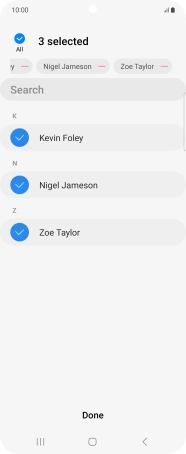
Press the field above "All".
![](http://wmstatic.global.ssl.fastly.net/ml/7151223-f-95b39263-108e-44d0-96d4-916fbf74af23.png?width=186&height=458)
Press Done.
![](http://wmstatic.global.ssl.fastly.net/ml/7151223-f-42f63f00-ade8-43fe-9a9d-026ed7db70e0.png?width=186&height=458)
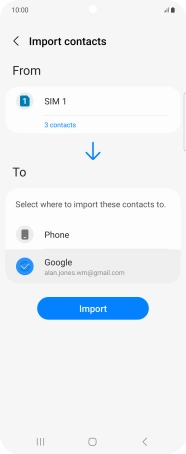
Press the required Google account.
![](http://wmstatic.global.ssl.fastly.net/ml/7151223-f-56447052-e065-4067-89ab-bf5964d1d89d.png?width=186&height=458)
Press Import.
![](http://wmstatic.global.ssl.fastly.net/ml/7151223-f-af74ea18-9e34-4911-bcd5-0ba20f77a474.png?width=186&height=458)
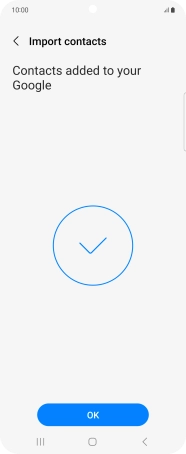
Press OK.
![](http://wmstatic.global.ssl.fastly.net/ml/7151223-f-90c877cf-f9dc-4d46-a7ad-0d1a00e487f7.png?width=186&height=458)
3. Copy contacts from your Google account to your SIM
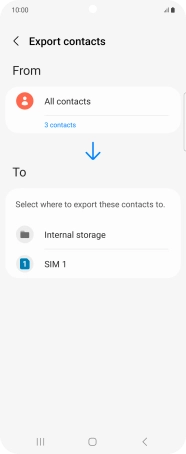
Press Export contacts.
![](http://wmstatic.global.ssl.fastly.net/ml/7151223-f-f28ea5db-463c-4ca0-9c21-1dd37371a7ca.png?width=186&height=458)
Press the name of the SIM.
![](http://wmstatic.global.ssl.fastly.net/ml/7151223-f-a5d49ed9-e03b-42bf-8235-006ba1c9f525.png?width=186&height=458)
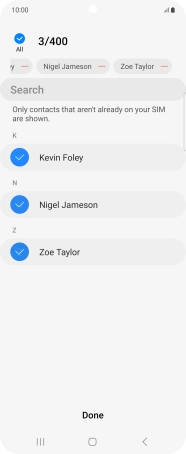
Press the field above "All".
![](http://wmstatic.global.ssl.fastly.net/ml/7151223-f-a8589b11-6112-478d-8230-f7a74f0551ef.png?width=186&height=458)
Press Done.
![](http://wmstatic.global.ssl.fastly.net/ml/7151223-f-6e06bd69-62bd-451d-ab26-38723cf19381.png?width=186&height=458)
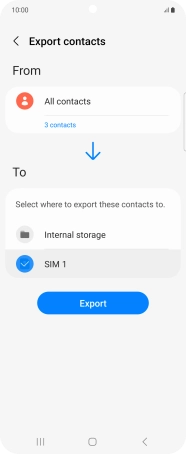
Press Export.
![](http://wmstatic.global.ssl.fastly.net/ml/7151223-f-1c6a6305-f2cd-4a60-a0e0-750d441547b5.png?width=186&height=458)
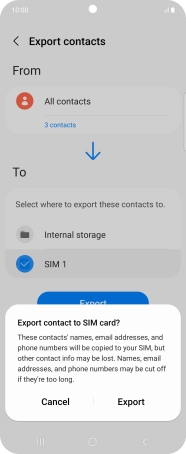
Press Export.
![](http://wmstatic.global.ssl.fastly.net/ml/7151223-f-5737e77f-1d57-4435-ab94-5911d20b6750.png?width=186&height=458)
Press OK.
![](http://wmstatic.global.ssl.fastly.net/ml/7151223-f-ec45ce50-0c40-4ca1-ace3-11529a1722e3.png?width=186&height=458)
4. Return to the home screen
Press the Home key to return to the home screen.
![](http://wmstatic.global.ssl.fastly.net/ml/7151223-f-f28ea5db-463c-4ca0-9c21-1dd37371a7ca.png?width=186&height=458)