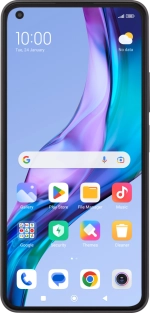
Xiaomi 11 Lite 5G NE
Android 12.0
1. Find "Accounts & sync"
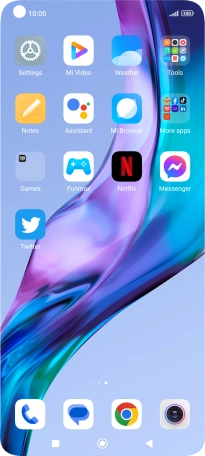
Press Settings.
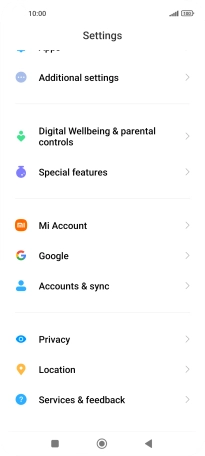
Press Accounts & sync.
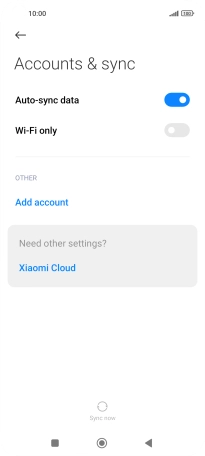
2. Create new email account
Press Add account.
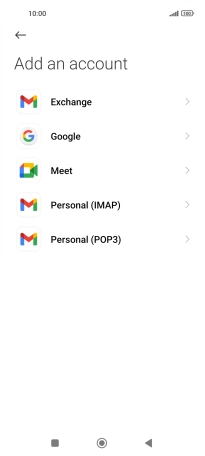
3. Select server type
Press Exchange.
4. Enter email address
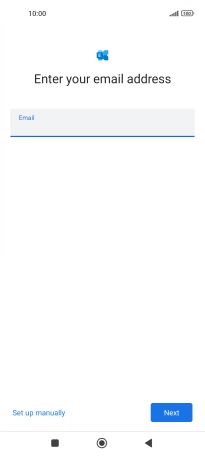
Press the field below "Email" and key in your email address.
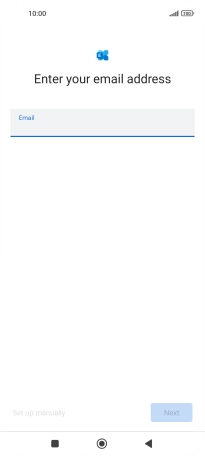
Press Next.
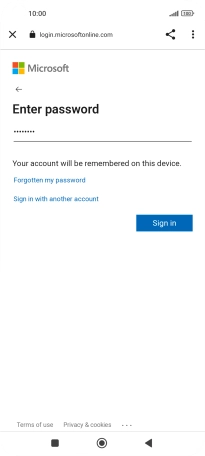
5. Enter password
Press Password and key in the password for your email account.
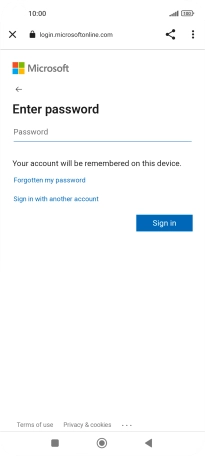
Press Sign in.
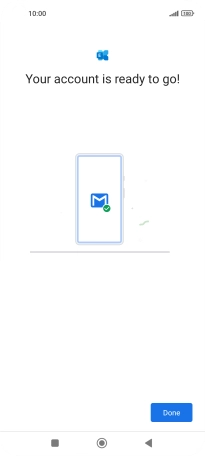
Press Done.
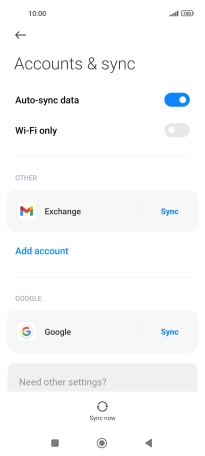
6. Enter email account name
Press the Return key.

Press the required email account.
Press Account settings.
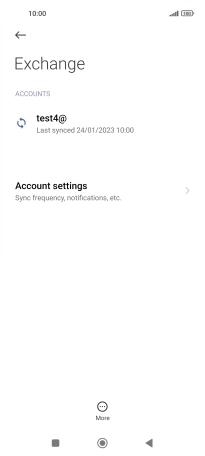
Press the required email account.
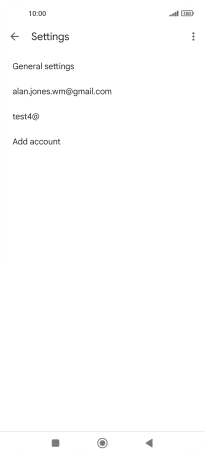
Press Account name and key in the required name.
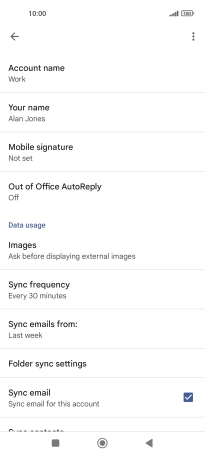
Press OK.
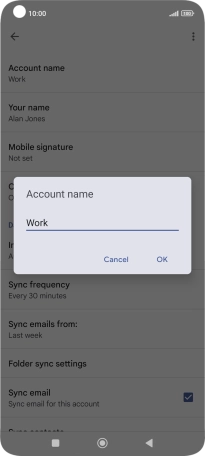
7. Enter sender name
Press Your name and key in the required sender name.

Press OK.
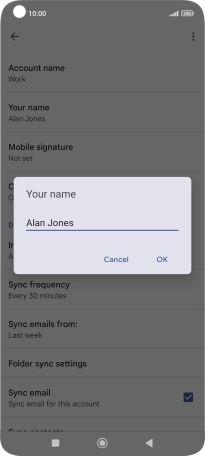
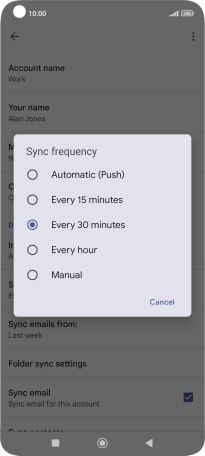
8. Select period for email message synchronisation
Press Sync frequency.

Press the required setting.
9. Turn on email message synchronisation
Press the field next to "Sync email" to turn on the function.
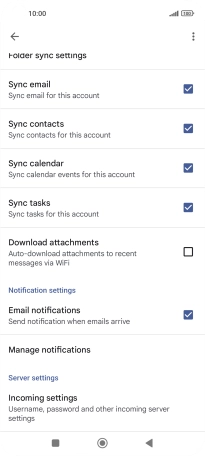
10. Turn contact synchronisation on or off
Press the field next to "Sync contacts" to turn the function on or off.

11. Turn calendar synchronisation on or off
Press the field next to "Sync calendar" to turn the function on or off.

12. Turn task synchronisation on or off
Press the field next to "Sync tasks" to turn the function on or off.

13. Turn email message notifications on or off
Press the field next to "Email notifications" to turn the function on or off.

14. Return to the home screen
Press the Home key to return to the home screen.


