
Xiaomi Redmi 9AT
Android 10.0
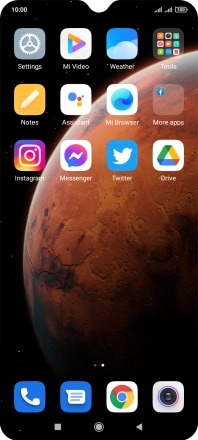
1 Find "Accounts & sync"
Press Settings.
Press Accounts & sync.
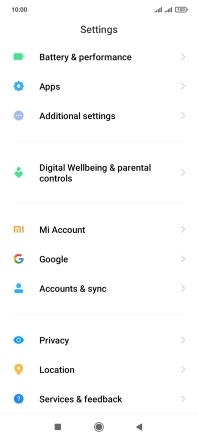
2 Create new email account
Press Add account.
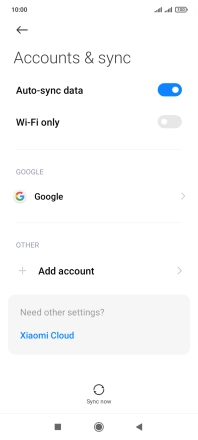
3 Select server type
Press Exchange.
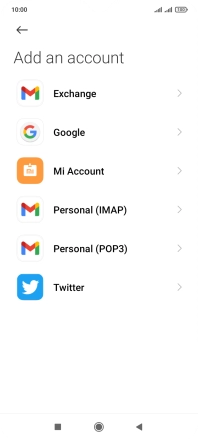
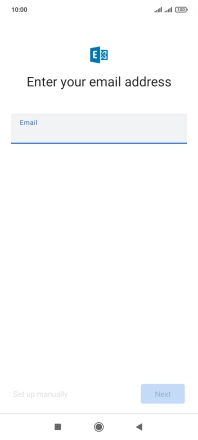
4 Enter email address
Press the field below "Email" and key in your email address.
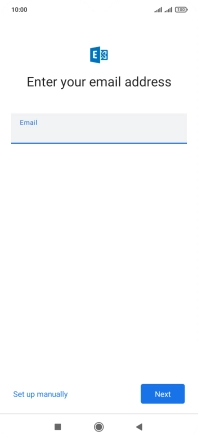
Press Next.
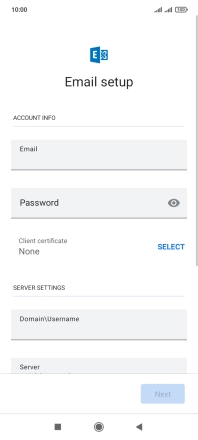
5 Enter password
Press Password and key in the password for your email account.
6 Select client certificate
To turn on the function, press SELECT and follow the instructions on the screen to install the required certificate.
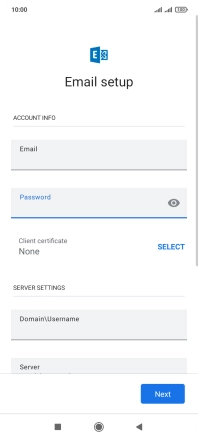
7 Enter domain and username
Press the field below "Domain\Username" and key in the domain and username separated by a "\".

8 Enter server name
Press the field below "Server" and key in the server address.
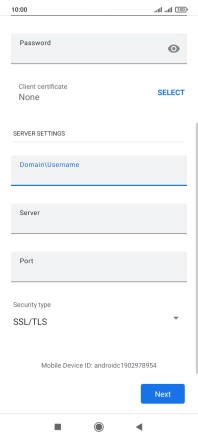
9 Enter incoming port
Press the field below "Port" and key in the required port number.
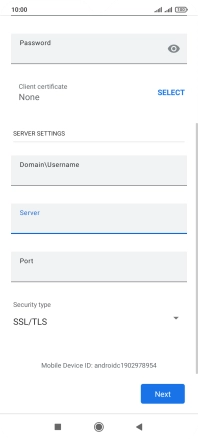
10 Turn SSL encryption on or off
Press the drop down list below "Security type".
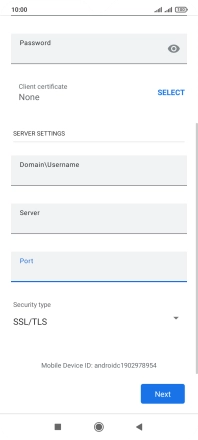
Press the required setting.
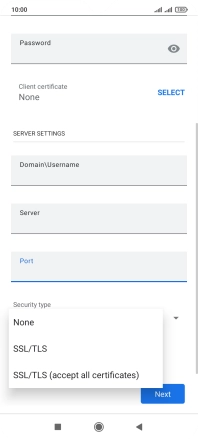
Press Next.

Press Done.
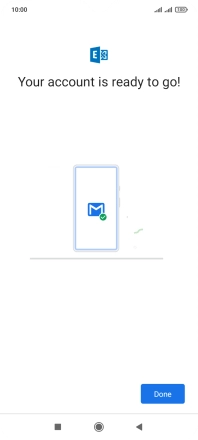
11 Enter email account name
Press the Return key.

Press the required account type.
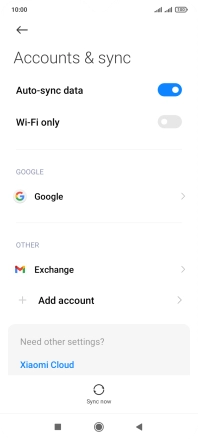
Press Account settings.
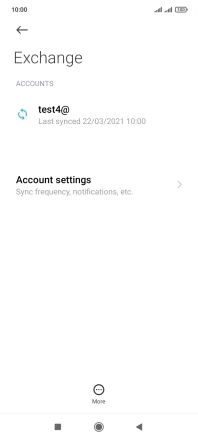
Press the required email account.

Press Account name and key in the required name.
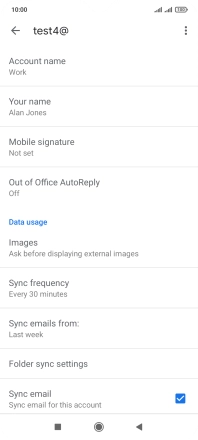
Press OK.
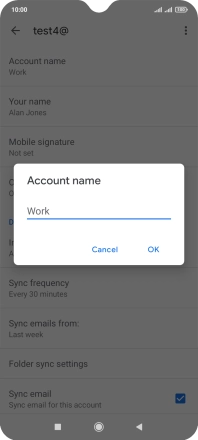
12 Enter sender name
Press Your name and key in the required sender name.

Press OK.
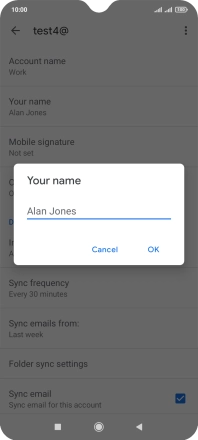
13 Select period for email message synchronisation
Press Sync frequency.

Press the required setting.
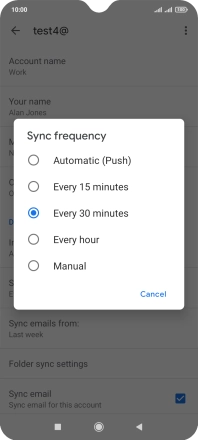
14 Turn on email message synchronisation
Press the field next to "Sync email" to turn on the function.
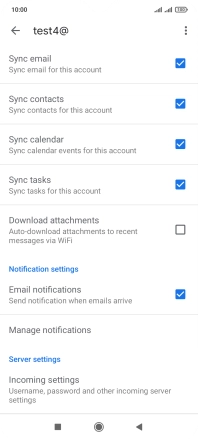
15 Turn contact synchronisation on or off
Press the field next to "Sync contacts" to turn the function on or off.

16 Turn calendar synchronisation on or off
Press the field next to "Sync calendar" to turn the function on or off.

17 Turn email message notifications on or off
Press the field next to "Email notifications" to turn the function on or off.

18 Return to the home screen
Press the Home key to return to the home screen.


