HONOR 90 Smart
Android 14
1. Find "Accounts"
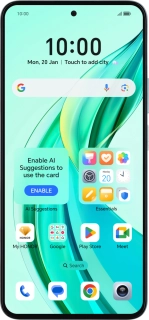
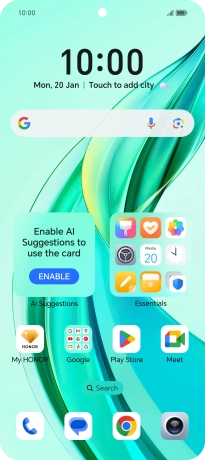
Press the settings icon.
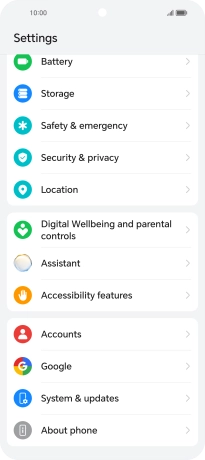
Press Accounts.
2. Create new email account
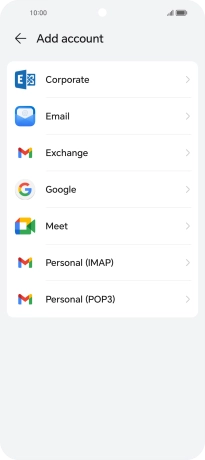
Press Add account.

3. Select server type
Press Exchange.
4. Enter email address
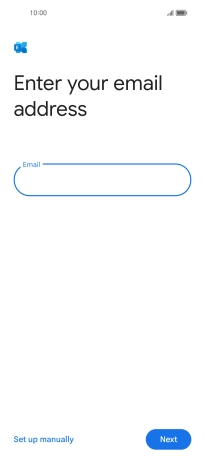
Press the field below "Email" and key in your email address.
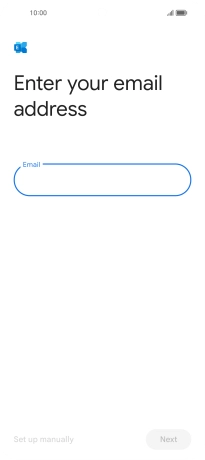
Press Next.
5. Enter password
Press Password and key in the password for your email account.
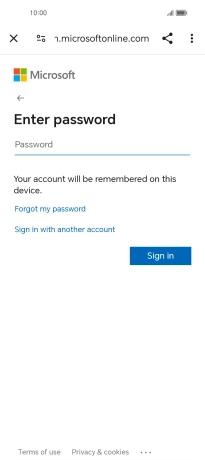
Press Sign in.
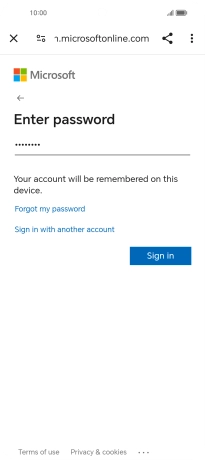
Press Done.
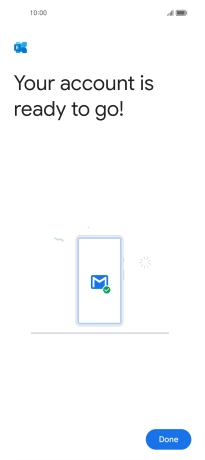
6. Enter email account name
Press the required account type.

Press Account settings.
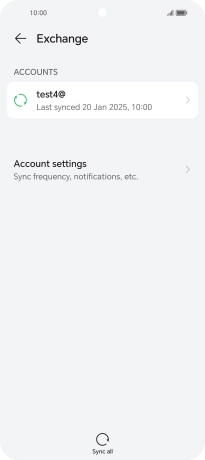
Press the required email account.

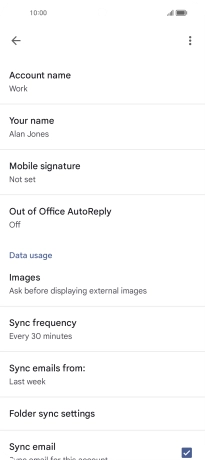
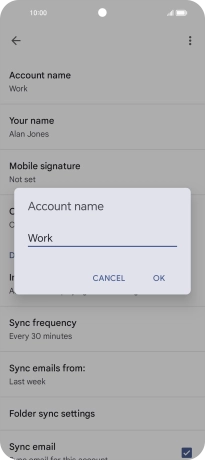
Press Account name and key in the required name.
Press OK.
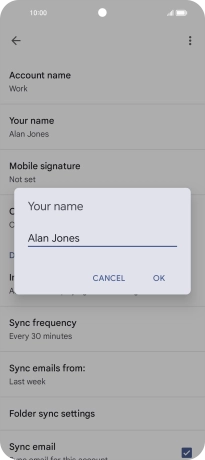
7. Enter sender name
Press Your name and key in the required sender name.

Press OK.
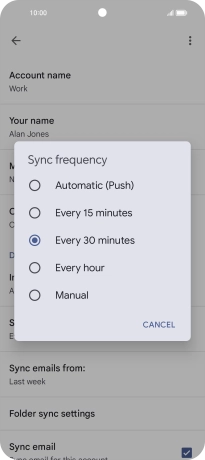
8. Select setting for retrieval of new email messages
Press Sync frequency.

Press the required setting.
9. Turn on email message synchronisation
Press the field next to "Sync email" to turn on the function.
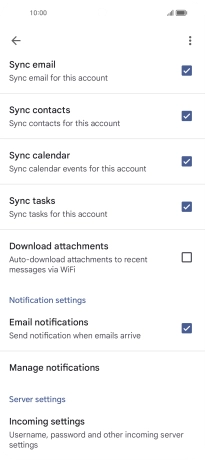
10. Select data types for synchronisation
Press the fields next to the required data types to turn synchronisation on or off.

11. Turn email message notifications on or off
Press the field next to "Email notifications" to turn the function on or off.

12. Return to the home screen
Slide your finger upwards starting from the bottom of the screen to return to the home screen.


