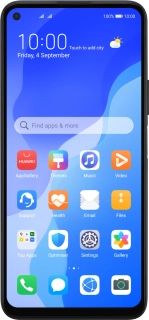
Huawei P40 lite 5G
Android 10.0
1. Find "Users & accounts"
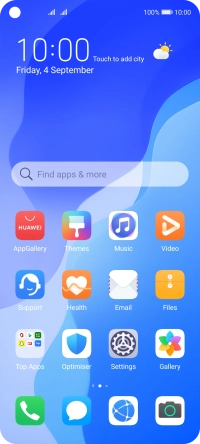
Press Settings.
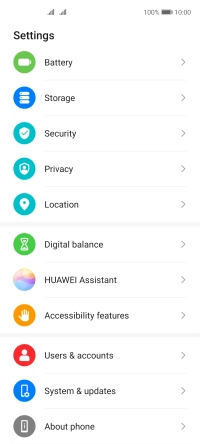
Press Users & accounts.
2. Create new email account
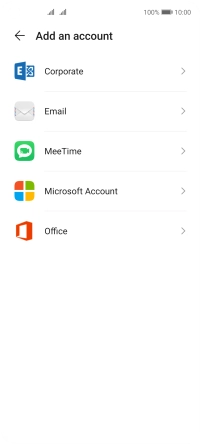
Press Add an account.

Press Corporate.
3. Enter email address
Press Email address and key in your email address.
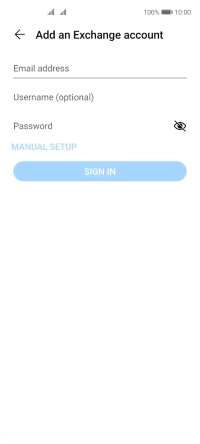
4. Enter username
Press Username (optional) and key in the username for your email account.
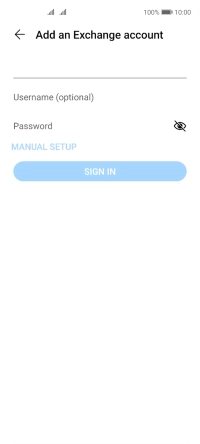
5. Enter password
Press Password and key in the password for your email account.
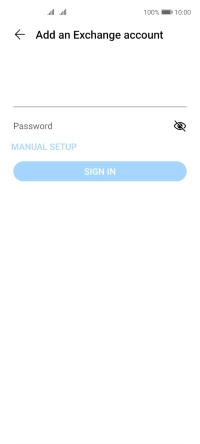
Press SIGN IN.
If the screen tells you that the email account has been set up, follow the instructions on the screen to select more settings and finish the setup.

6. Enter domain name
Press Domain and key in the domain.
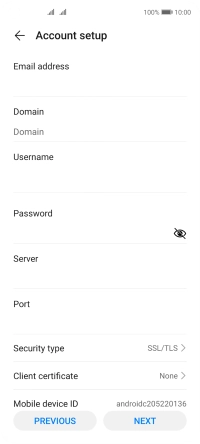
7. Enter server name
Press the field below "Server" and key in the server address.
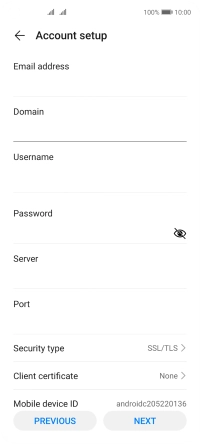
8. Enter incoming port
Press the field below "Port" and key in the required port number.
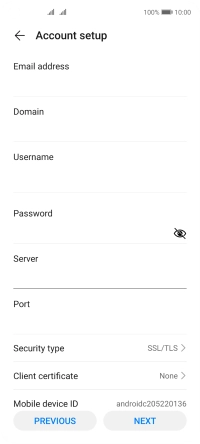
9. Turn SSL encryption on or off
Press Security type.
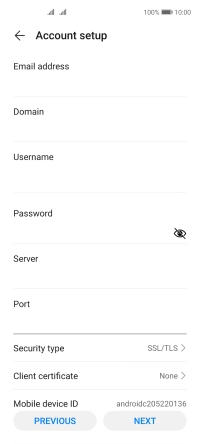
Press None to turn the function on or off.
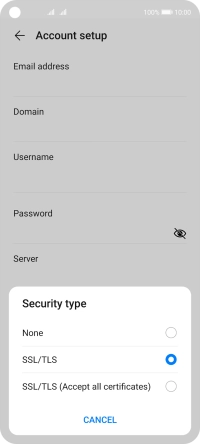
If you turn on the function, press Client certificate and follow the instructions on the screen to install the required certificate.

Press NEXT.

10. Select period for email message synchronisation
Press Sync frequency.
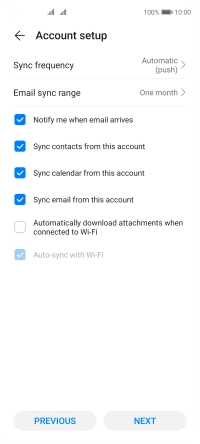
Press the required setting.
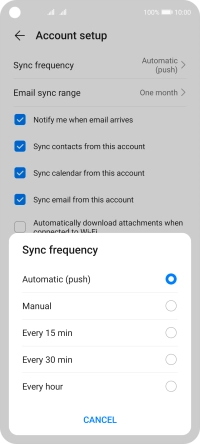
11. Turn email message notifications on or off
Press the field next to "Notify me when email arrives" to turn the function on or off.

12. Turn contact synchronisation on or off
Press the field next to "Sync contacts from this account" to turn the function on or off.

13. Turn calendar synchronisation on or off
Press the field next to "Sync calendar from this account" to turn the function on or off.

14. Turn on email message synchronisation
Press the field next to "Sync email from this account" to turn on the function.

Press NEXT.

15. Return to the home screen
Slide your finger upwards starting from the bottom of the screen to return to the home screen.

16. Find "Settings"
Press Email.

Press the menu icon.
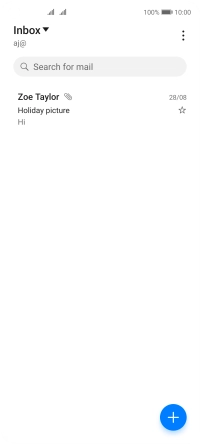
Press Settings.
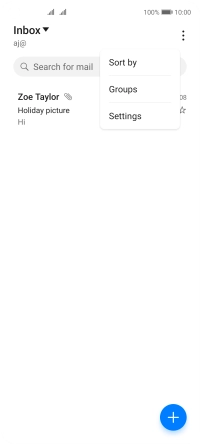
17. Enter email account name
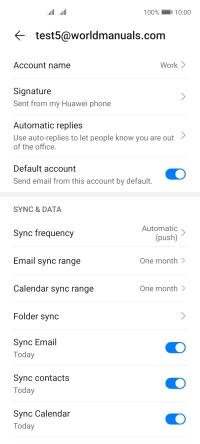
Press the required email account.
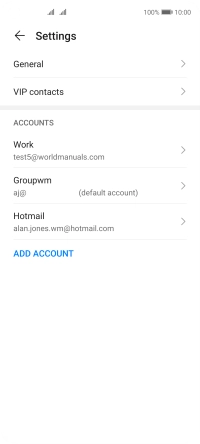
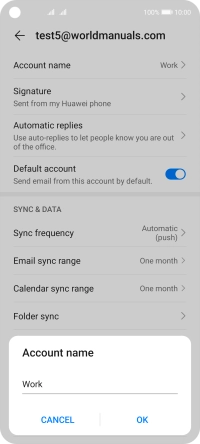
Press Account name and key in the required name.
Press OK.
18. Return to the home screen
Slide your finger upwards starting from the bottom of the screen to return to the home screen.


