IMO Q2 Plus


1. Find "Edit"
Slide two fingers downwards starting from the top of the screen.


1. Find "Edit"
Press the settings icon.


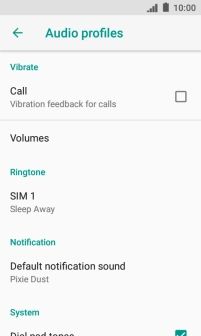
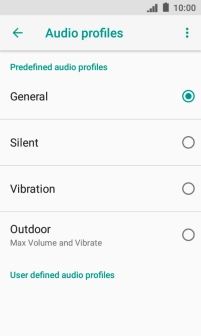
1. Find "Edit"
Press Audio profiles.


1. Find "Edit"
Press General.


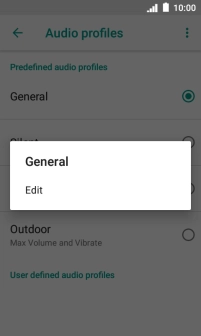
1. Find "Edit"
Press Edit.


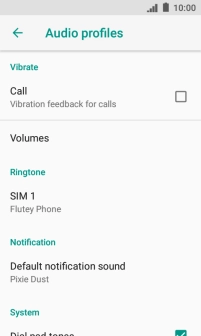
2. Select ring tone
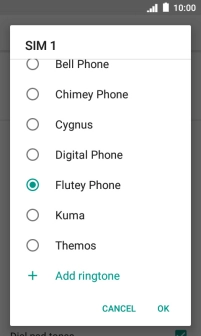
Press the name of the SIM.


2. Select ring tone
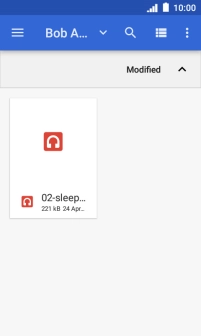
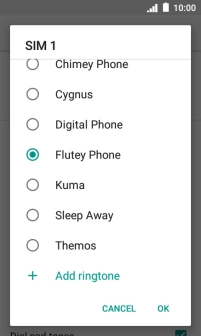
Press Add ringtone and go to the required folder.


2. Select ring tone
Press the required ring tone to add it.


2. Select ring tone
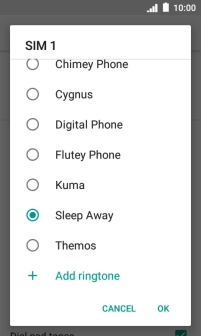
Press the required ring tones to hear them.


2. Select ring tone
Once you've found a ring tone you like, press OK.


3. Return to the home screen
Press the Home key to return to the home screen.
1. Find "Edit"


2. Select ring tone
3. Return to the home screen