Help and Support for
IMO Q2 Plus
Android 8.1 (Go edition)
Choose a help topic
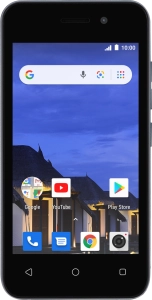
Select network on your IMO Q2 Plus Android 8.1 (Go edition)
You can set your phone to select a network automatically or you can select a network manually. If you select a network manually, your phone will lose network connection when the selected network is out of reach.