![IMO Q2 Plus](http://wmstatic.global.ssl.fastly.net/ml/7070823-f-681d41ad-7361-449f-9370-e2a556575eeb.png?width=150&height=320)
IMO Q2 Plus
Android 8.1 (Go edition)
1 Find "Advanced"
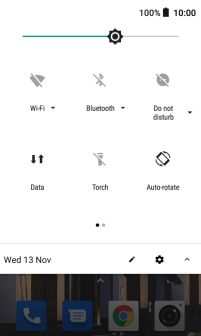
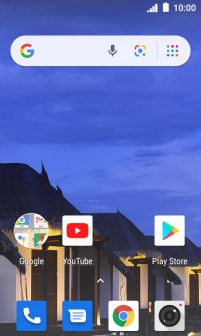
Slide two fingers downwards starting from the top of the screen.
![](http://wmstatic.global.ssl.fastly.net/ml/7070823-f-c19eaaed-01b6-470c-981a-b1837d4064e4.png?width=202&height=336)
Press the settings icon.
![](http://wmstatic.global.ssl.fastly.net/ml/7070823-f-dbfbb895-5acf-42a8-9304-340789a70b38.png?width=202&height=336)
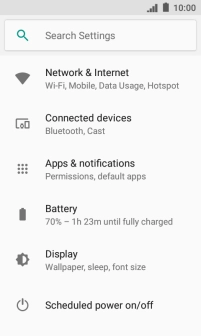
Press Network & Internet.
![](http://wmstatic.global.ssl.fastly.net/ml/7070823-f-d7602a14-2d82-43e3-bbee-3868b9977c28.png?width=202&height=336)
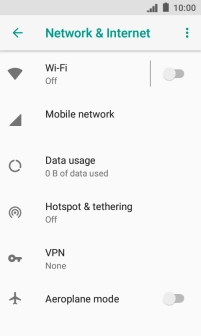
Press Mobile network.
![](http://wmstatic.global.ssl.fastly.net/ml/7070823-f-5d290a29-44f5-41ff-a1d8-17a2c7b8a279.png?width=202&height=336)
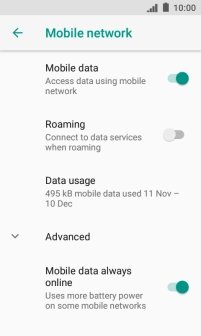
Press Advanced.
![](http://wmstatic.global.ssl.fastly.net/ml/7070823-f-a089dfbd-d8dc-434e-bfba-f60fd8974b13.png?width=202&height=336)
2 Select network manually
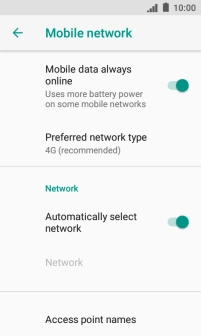
Press the indicator next to "Automatically select network" to turn off the function.
![](http://wmstatic.global.ssl.fastly.net/ml/7070823-f-d70a1dbe-6415-43fc-a2d6-58571fc0c0a5.png?width=202&height=336)
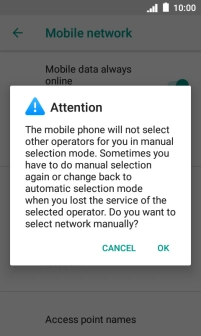
Press OK and your phone will search for networks.
![](http://wmstatic.global.ssl.fastly.net/ml/7070823-f-5e6b6650-a012-4dbf-a9dc-16ba4608032c.png?width=202&height=336)
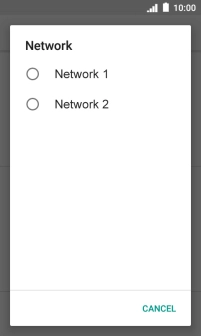
Press the required network.
![](http://wmstatic.global.ssl.fastly.net/ml/7070823-f-73ce30d2-a6b6-4748-8906-07f44e51edd6.png?width=202&height=336)
3 Select network automatically
Press the indicator next to "Automatically select network" to turn on the function.
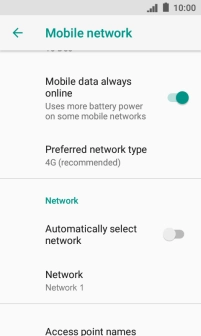
![](http://wmstatic.global.ssl.fastly.net/ml/7070823-f-cf8dc28f-e432-4141-94ba-7c8df4bcf050.png?width=202&height=336)
4 Return to the home screen
Press the Home key to return to the home screen.
![](http://wmstatic.global.ssl.fastly.net/ml/7070823-f-d70a1dbe-6415-43fc-a2d6-58571fc0c0a5.png?width=202&height=336)