Microsoft Surface Go 3
Windows 11
1. Insert SIM
Find the opener for the card holder.
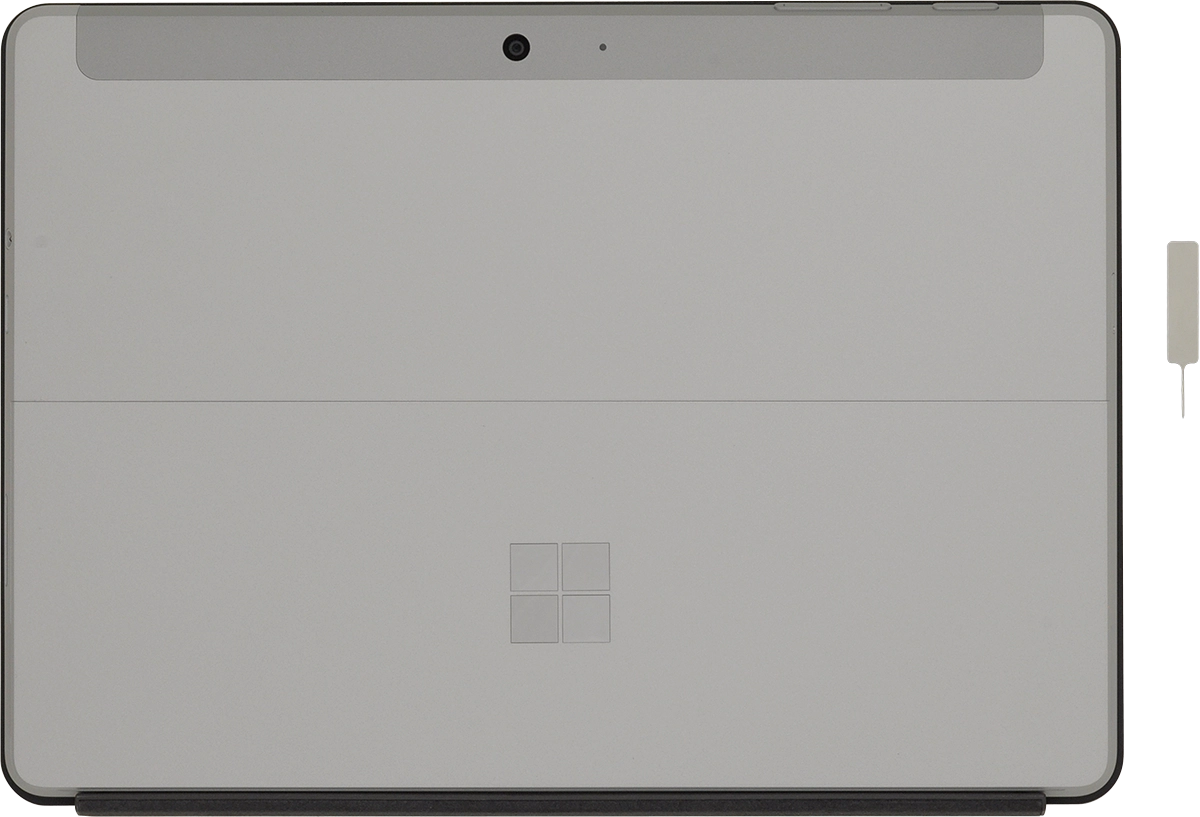
Insert the opener into the small hole in the SIM holder.

Remove the SIM holder from your laptop.
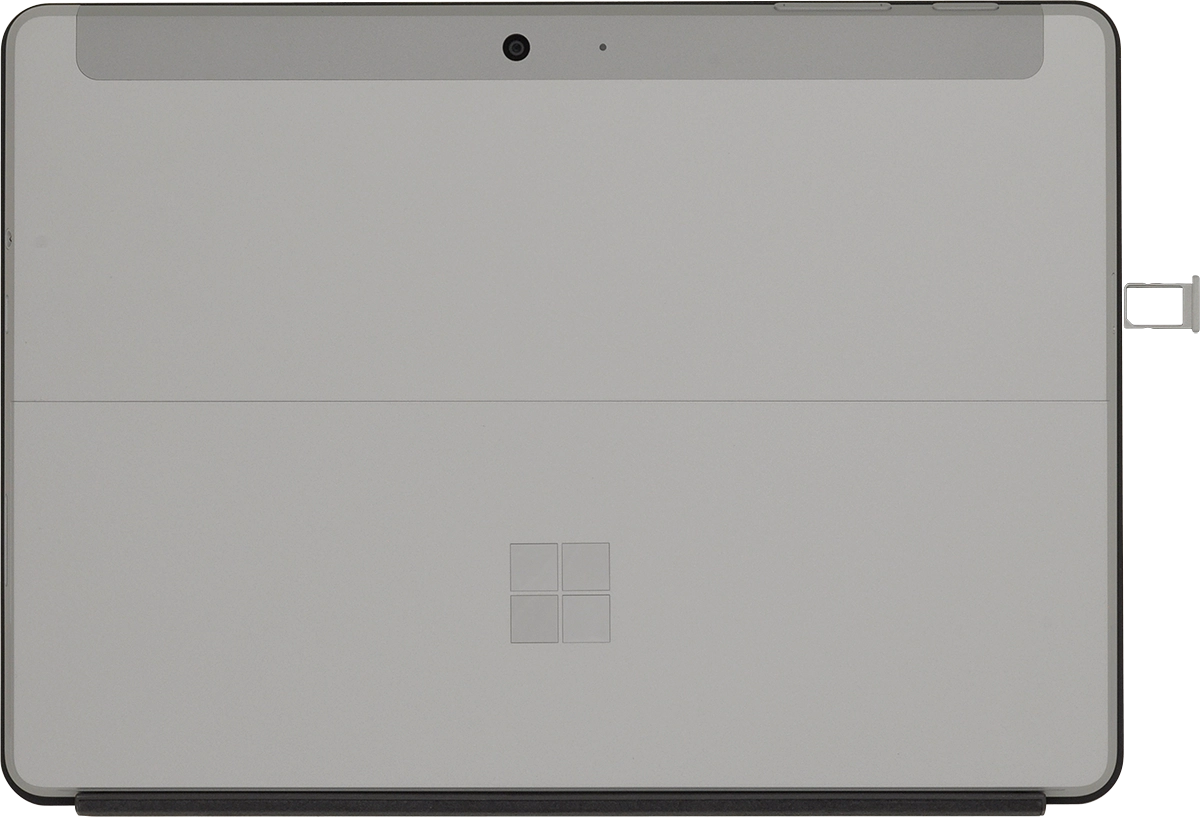
Turn your SIM so the angled corner of the SIM matches the angled corner of the SIM holder and place your SIM in the SIM holder.
Please note that your laptop only supports nano SIMs.

Slide the SIM holder into your laptop.
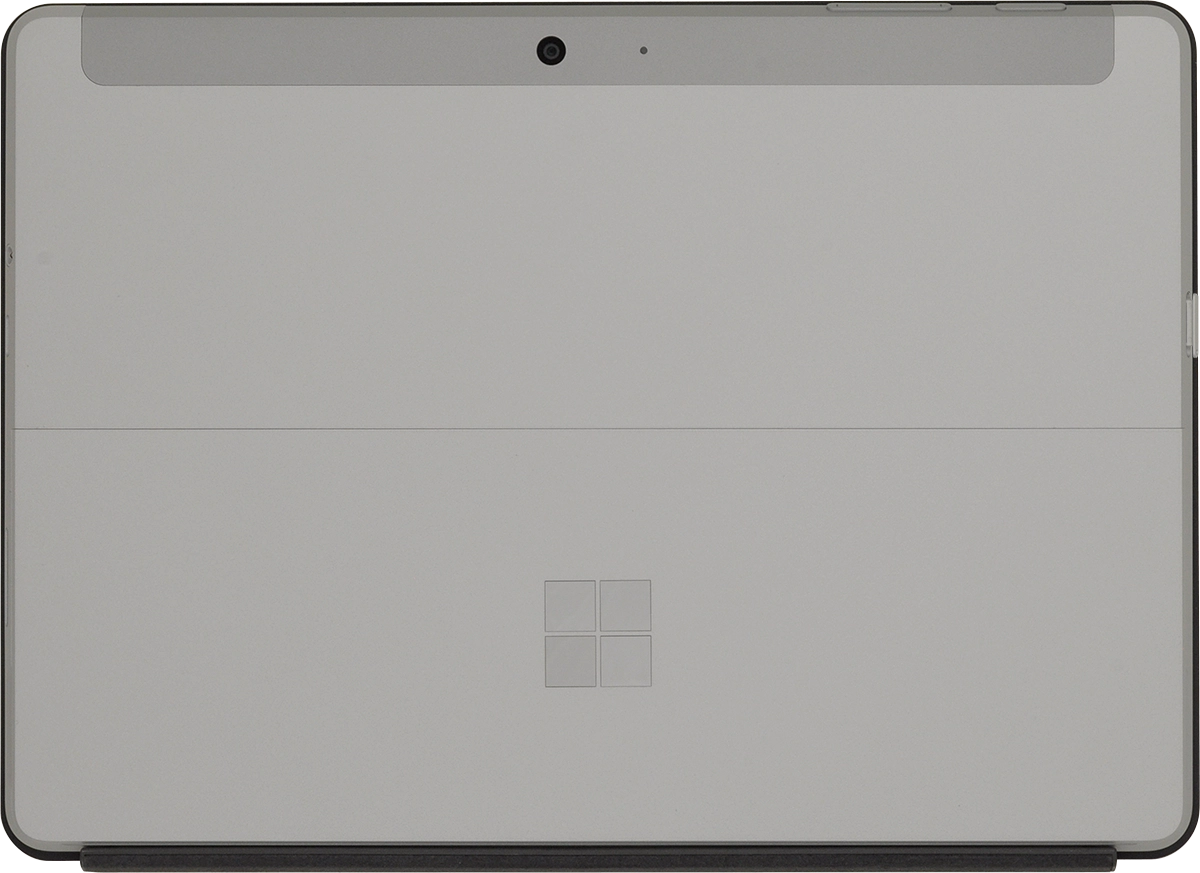
2. Turn on your laptop
Connect the power supply to the power plug and to a wall socket.
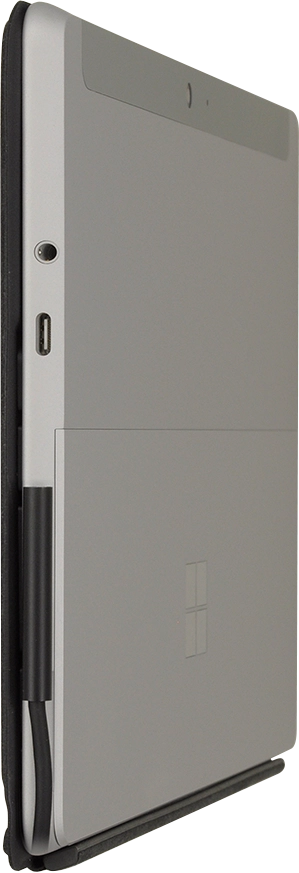
Press and hold On/Off until your laptop is turned on. Follow the instructions on the screen to log on.

3. Select general settings
Click the required language.
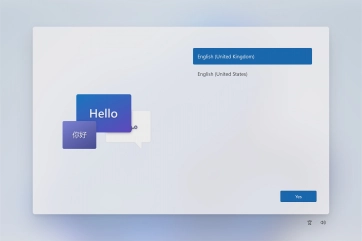
Click Yes.

Click the required country or area.
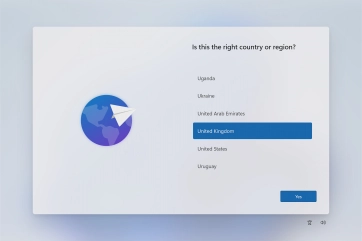
Click Yes.

Click the required keyboard layout.
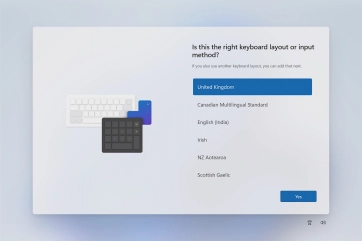
Click Yes.

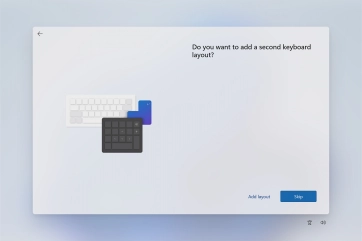
Follow the instructions on the screen.to add more keyboard layouts or click Skip.
4. Establish a connection to the internet
Click Mobile.
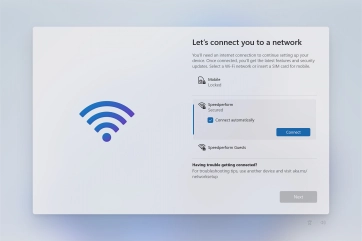
If your SIM is locked, click Unlock SIM.
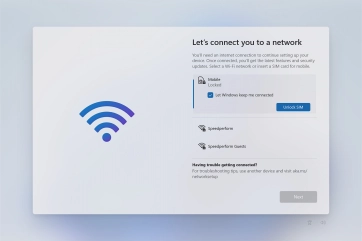
Key in your PIN and click Next.
If an incorrect PIN is entered three times in a row, your SIM will be blocked. To unblock your SIM, you'll need to key in your PUK. You can get the PUK by calling customer services on 191 from a Vodafone mobile phone. If you're using a land line, you need to dial 03333 040 191. Please note: If you key in the wrong PUK ten times in a row, your SIM will be blocked permanently. In this case, you need a new SIM from Vodafone.
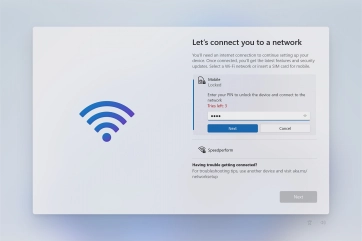
Click Next.
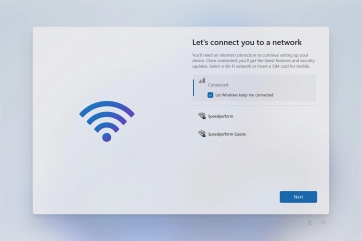
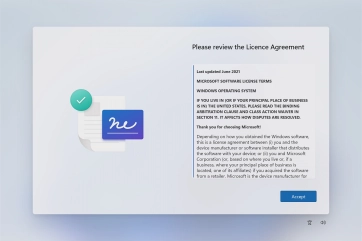
5. Accept general terms and conditions
Click Accept.
6. Activate Microsoft account
If you don't have a Microsoft account, click Create one! and follow the instructions on the screen to create a Microsoft account.
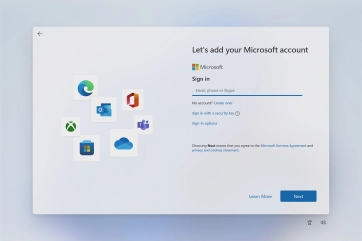
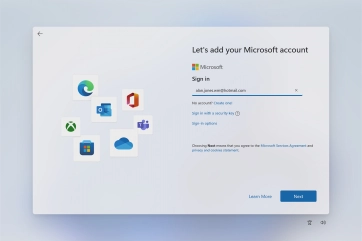
Key in the username for your Microsoft account and click Next.
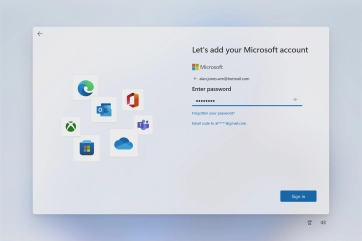
Key in the password for your Microsoft account and click Sign in.
7. Turn on face recognition for unlocking your laptop
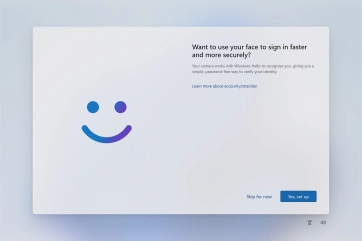
Follow the instructions on the screen to turn on face recognition for unlocking your laptop or click Skip for now.
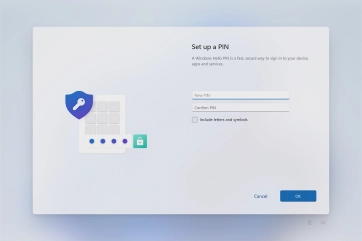
8. Create PIN for unlocking your laptop
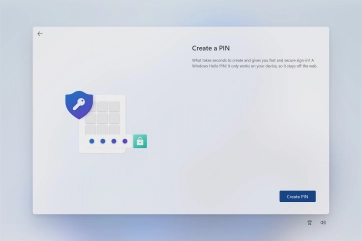
Click Create PIN.
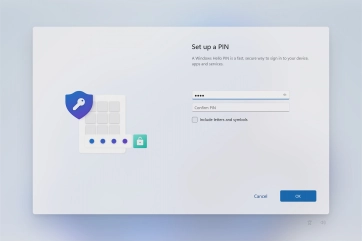
Click New PIN and key in the required PIN.
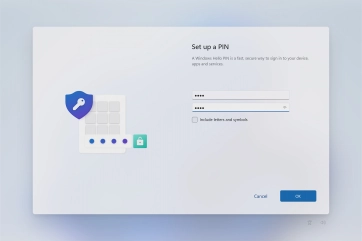
Click Confirm PIN and key in the required PIN again.
Click OK.
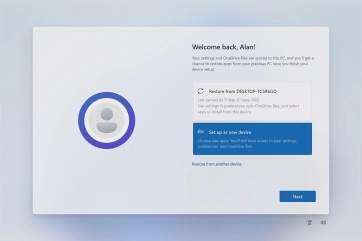
9. Set up your laptop as a new laptop
Click Set up as new device.
If you have previously saved content, you can follow the instructions on the screen instead.to restore it.
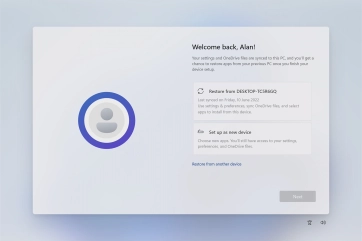
Click Next.
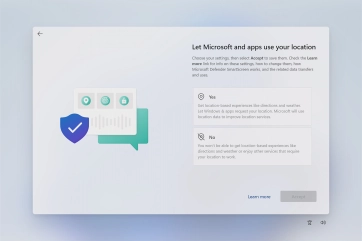
10. Choose setting for location sharing
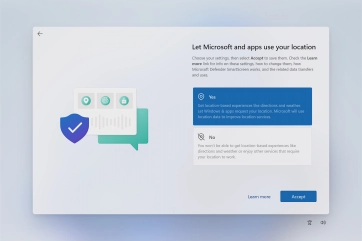
Click the required setting.
Click Accept.
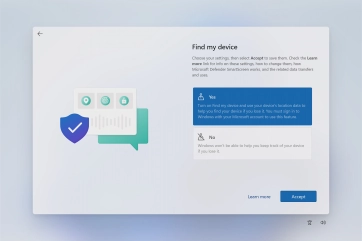
11. Choose setting for Find My Device
Click the required setting.
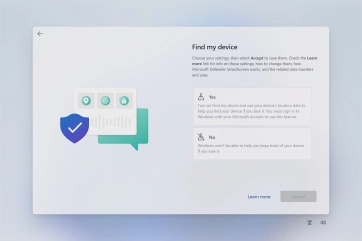
Click Accept.
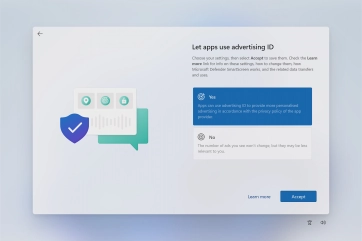
12. Choose settings for sharing of personal data
Click the required setting.
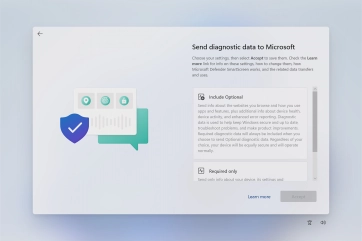
Click Accept.
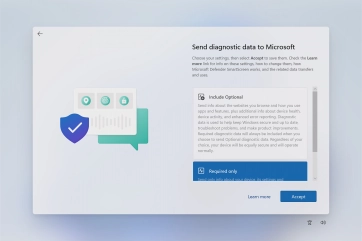
Click the required setting.
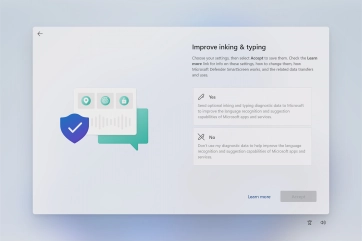
Click Accept.
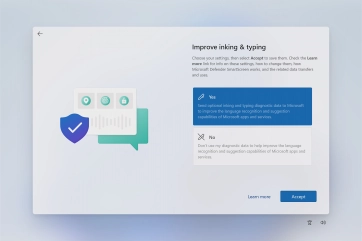
Click the required setting.
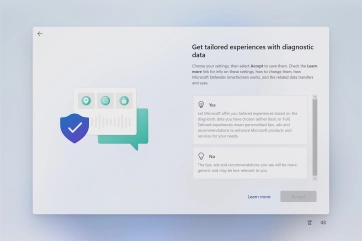
Click Accept.
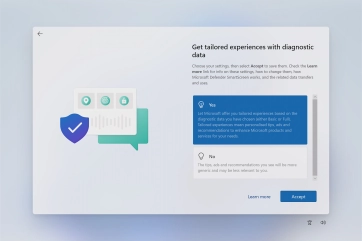
Click the required setting.
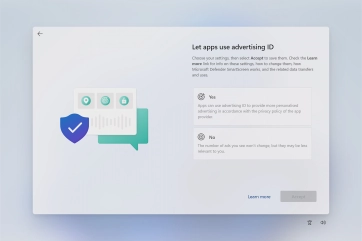
Click Accept.
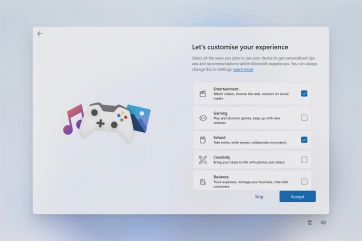
13. Choose the primary use of your laptop
Click the fields next to the required categories to receive customised tips and suggestions.
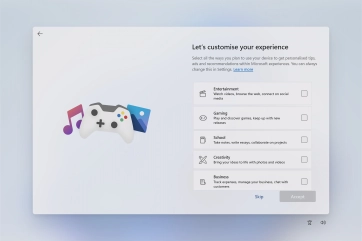
Click Accept.
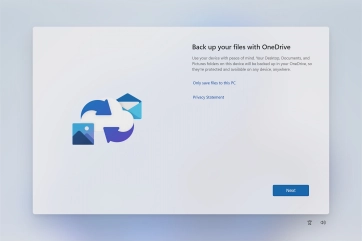
14. Choose settings for backing up files
Follow the instructions on the screen if you don't want to back up your files to OneDrive or click Next.
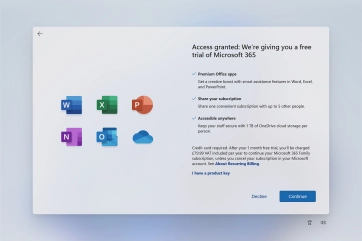
15. Choose setting for use of Microsoft Office apps
Follow the instructions on the screen to subscribe to Microsoft Office or click Decline to finish setting up your laptop.
