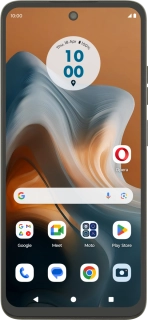
Motorola Moto G34 5G
Android 14
1. Find "Google"
Slide two fingers downwards starting from the top of the screen.
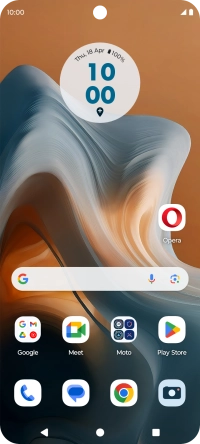
Press the settings icon.
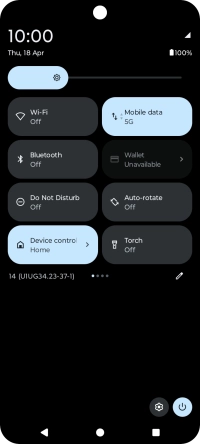
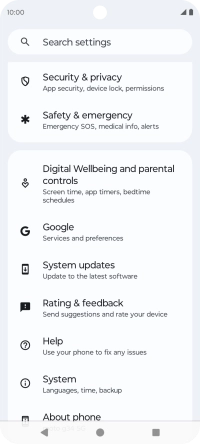
Press Google.
2. Turn on automatic Google One backup
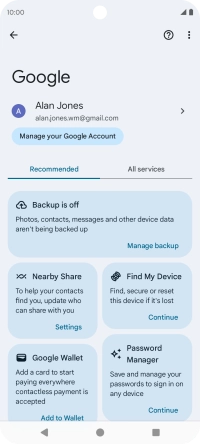
Press Manage backup.
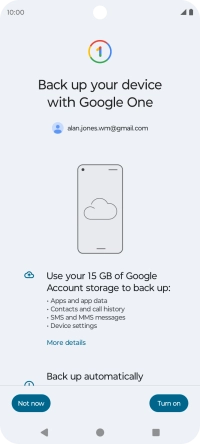
Press Turn on to turn on the function.
The phone memory will be backed up automatically when your phone is charging, the screen lock is turned on and a Wi-Fi connection is established.
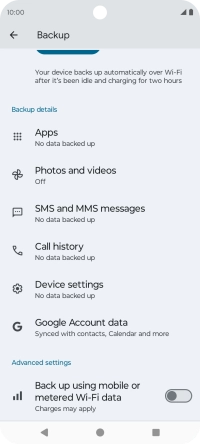
3. Turn automatic back up using mobile network on or off
Press the indicator next to "Back up using mobile or metered Wi-Fi data" to turn the function on or off.
The phone memory will be backed up automatically using the mobile network when no Wi-Fi networks are within range.
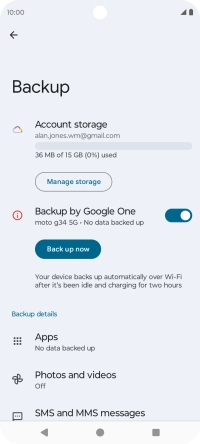
4. Back up phone memory to Google One
Press Back up now and wait while the phone memory is backed up.
5. Return to the home screen
Press the Home key to return to the home screen.


