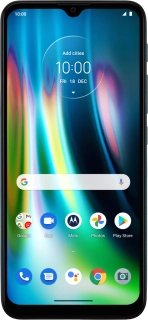
Motorola Moto G9 PLAY
Android 10.0
1. Find "Accounts"
Slide two fingers downwards starting from the top of the screen.
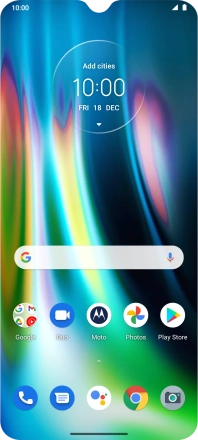
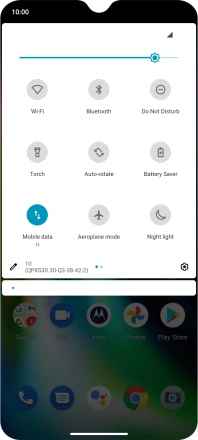
Press the settings icon.
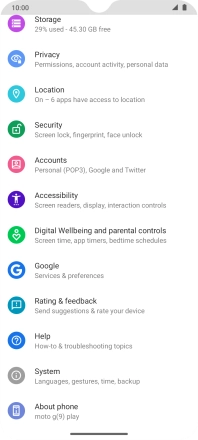
Press Accounts.
2. Turn automatic synchronisation of content on or off
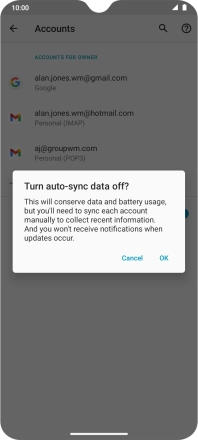
Press the indicator next to "Automatically sync data" to turn the function on or off.

Press OK.
3. Return to the home screen
Slide your finger upwards starting from the bottom of the screen to return to the home screen.


