
OPPO Find X2 Pro
Android 10.0
1. Find "Users & Accounts"
Slide two fingers downwards starting from the top of the screen.
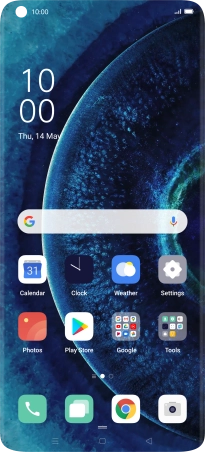
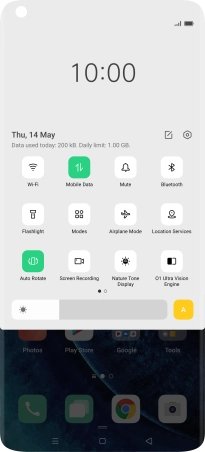
Press the settings icon.
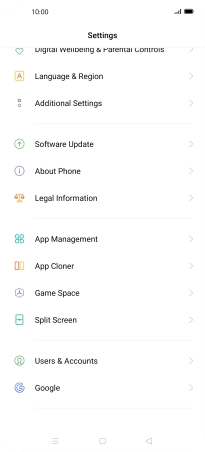
Press Users & Accounts.
2. Create new email account
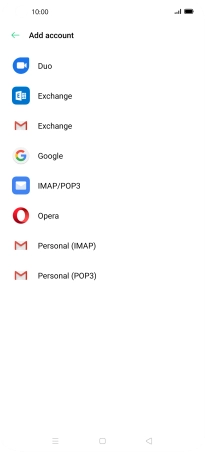
Press Add Account.

3. Select server type
Press Exchange.
4. Enter email address
Press the field below "Email Account" and key in your email address.

5. Enter password
Press Account Password and key in the password for your email account.

Press Manual Setup.

6. Enter domain and username
Press Username and key in the username.
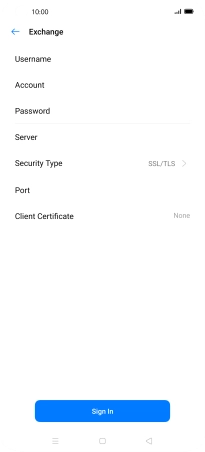
7. Enter email account name
Press Account and key in the required name.

8. Enter server name
Press Server and key in the server address.

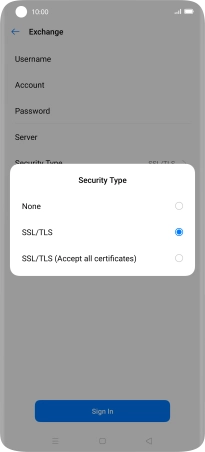
9. Turn encryption of incoming email on or off
Press Security type.

Press the required setting.
10. Enter port number
Press Port and key in the port number.

11. Select client certificate
To turn on the function, press Client Certificate and follow the instructions on the screen to install the required certificate.

Press Sign In.

12. Enter sender name
Press Sender Name and key in the required sender name.
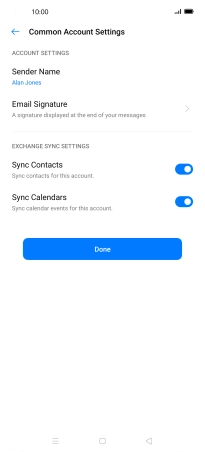
Press OK.
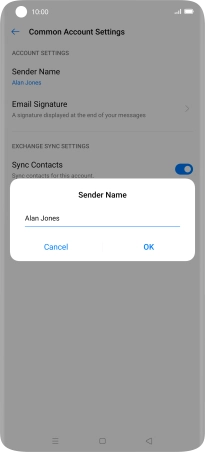
13. Select data types for synchronisation
Press the indicators next to the required data types to turn synchronisation on or off.

Press Done.

14. Turn email message notifications on or off
Slide your finger right starting from the left side of the screen.
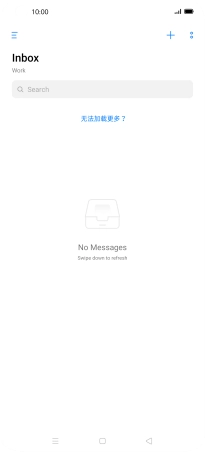
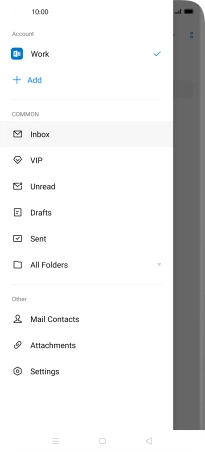
Press Settings.
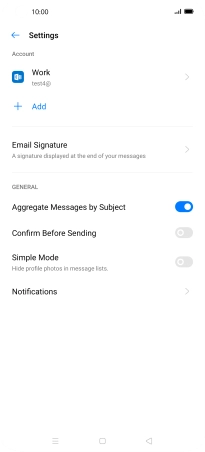
Press Notifications.
Press the indicator next to "Allow Notifications" to turn the function on or off.
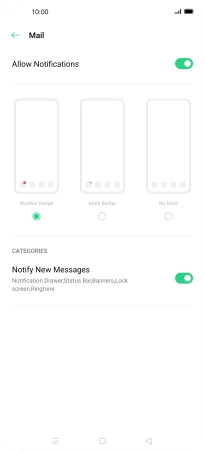
Press the Return key.

15. Select setting for retrieval of new email messages
Press the required email account.

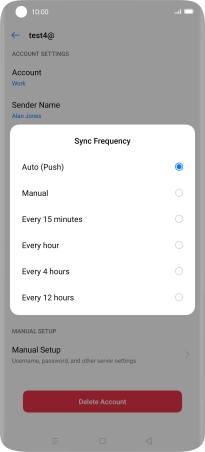
Press Sync Frequency.
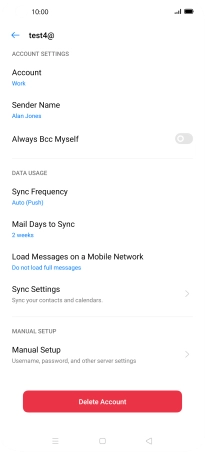
Press the required setting.
16. Return to the home screen
Press the Home key to return to the home screen.


