![OPPO Find X3 Neo](http://wmstatic.global.ssl.fastly.net/ml/7151223-f-156f8620-844a-45d9-b2c9-ec2f2bb509fa.png?width=150&height=320)
OPPO Find X3 Neo
Android 11.0
1. Find "Photos"
Slide your finger upwards on the screen.
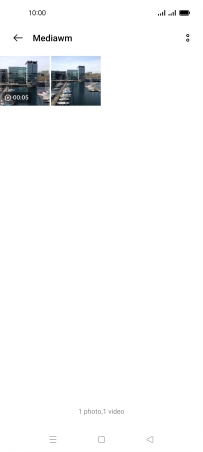
![](http://wmstatic.global.ssl.fastly.net/ml/7151223-f-acb900cb-c71b-434e-b377-bc12beb8439e.png?width=204&height=452)
Press Photos and go to the required folder.
![](http://wmstatic.global.ssl.fastly.net/ml/7151223-f-73335d89-a530-4d28-9b47-be6f9fe4cd33.png?width=204&height=452)
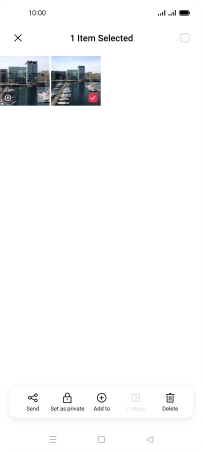
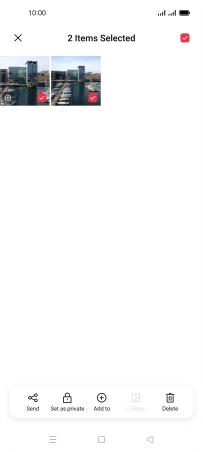
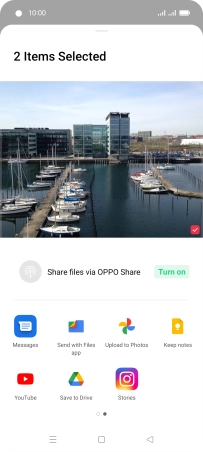
2. Select pictures or video clips
Press and hold any picture or video clip.
![](http://wmstatic.global.ssl.fastly.net/ml/7151223-f-f19e5eb3-347b-4434-82a1-447cb13c297c.png?width=204&height=452)
Press the select all icon.
![](http://wmstatic.global.ssl.fastly.net/ml/7151223-f-fa7af870-b1c4-4996-9cae-7de831eaf281.png?width=204&height=452)
Press Send.
![](http://wmstatic.global.ssl.fastly.net/ml/7151223-f-f5274a6e-93a3-4a58-808d-e3c08713bc05.png?width=204&height=452)
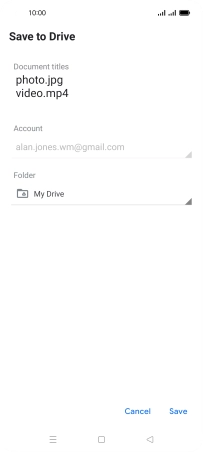
Press Save to Drive.
![](http://wmstatic.global.ssl.fastly.net/ml/7151223-f-7bb3b269-9e40-4dd7-b508-b2cbedf86fd8.png?width=204&height=452)
3. Select location
Press the field below "Folder" and go to the required folder.
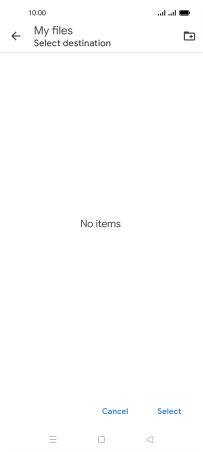
![](http://wmstatic.global.ssl.fastly.net/ml/7151223-f-8baaf9ae-cecd-4853-ba49-f1869243d3d4.png?width=204&height=452)
To create a new folder, press the new folder icon and follow the instructions on the screen to create a new folder.
![](http://wmstatic.global.ssl.fastly.net/ml/7151223-f-d3a12886-d2e2-458b-9985-4ca7833d338b.png?width=204&height=452)
Press Select.
![](http://wmstatic.global.ssl.fastly.net/ml/7151223-f-d3a12886-d2e2-458b-9985-4ca7833d338b.png?width=204&height=452)
4. Back up pictures and video clips
Press Save.
![](http://wmstatic.global.ssl.fastly.net/ml/7151223-f-219aa0cf-4f0e-4eee-89aa-b9fc9038f76b.png?width=204&height=452)
5. Return to the home screen
Press the Home key to return to the home screen.
![](http://wmstatic.global.ssl.fastly.net/ml/7151223-f-f19e5eb3-347b-4434-82a1-447cb13c297c.png?width=204&height=452)