OPPO Find X3 Neo
Android 11.0
1 Find "Access point name"
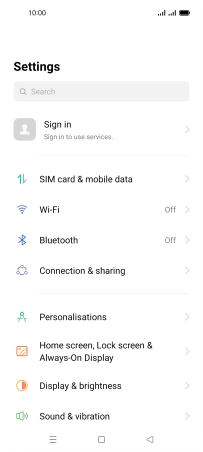
Slide two fingers downwards starting from the top of the screen.
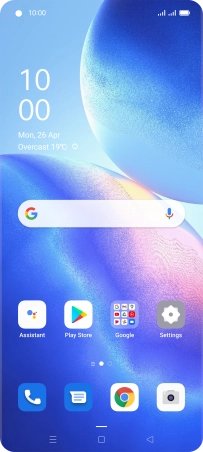
Press the settings icon.
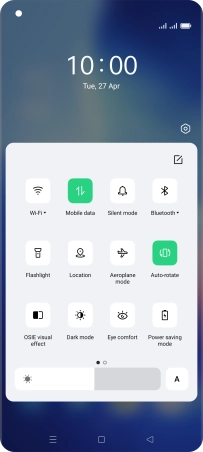
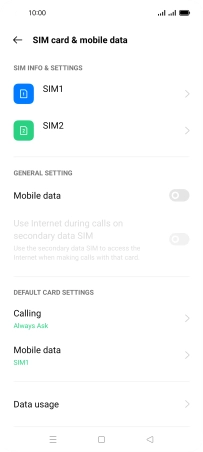
Press SIM card & mobile data.
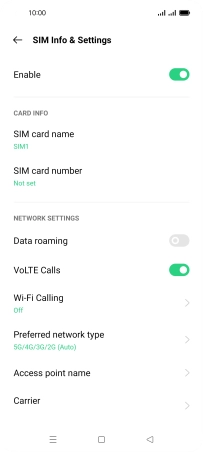
Press the required SIM.
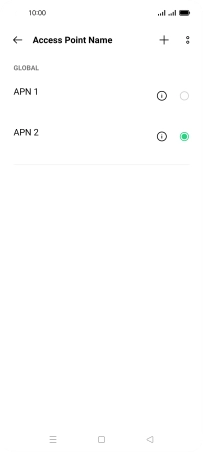
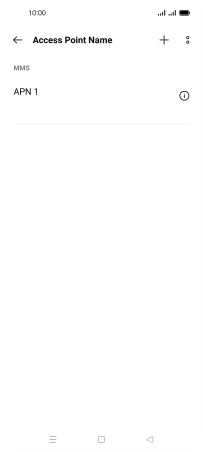
Press Access point name.
2 Create new data connection
Press the add icon.
Press the field below "Name" and key in Vodafone Internet.
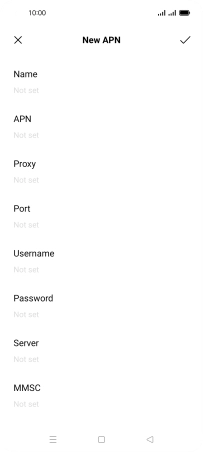
Vodafone Internet
3 Enter APN
Press the field below "APN" and key in wap.vodafone.co.uk.

wap.vodafone.co.uk
4 Enter username
Press the field below "Username" and key in wap.

wap
5 Enter password
Press the field below "Password" and key in wap.

wap
6 Enter country code
Press the field below "MCC" and key in 234.
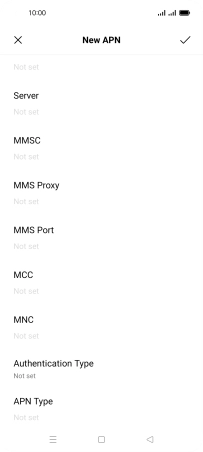
234
7 Enter network code
Press the field below "MNC" and key in 15.

15
8 Select authentication type
Press Authentication Type.

Press None.
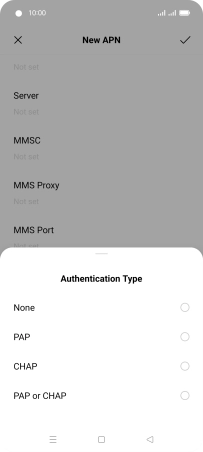
9 Enter APN type
Press the field below "APN Type" and key in default.

default
10 Save data connection
Press the confirm icon.

Press the field next to the data connection to activate it.
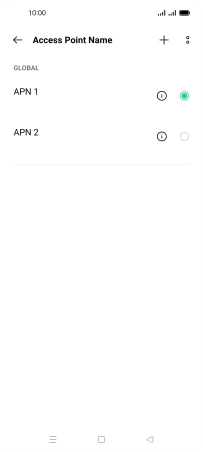
11 Return to the home screen
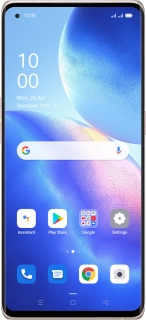
Press the Home key to return to the home screen.
