Welcome to device help
Home
Device help
Parent page
Filter
All
Manufacturers
Devices
Guides
Articles
All
Devices
Guides
Articles
Manufacturers
Choose a manufacturer
Get information on...
Or choose...
Another device
Device type
All
Phones
Smartwatches
Laptops
Tablets
Datacards
Device type
All
Phones
Smartwatches
Laptops
Tablets
Datacards
Most popular devices
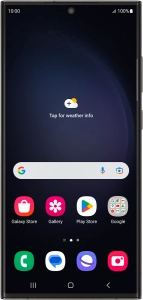
Samsung Galaxy S23 Ultra
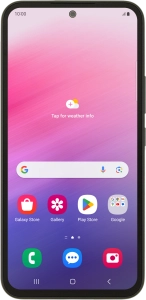
Samsung Galaxy A54 5G
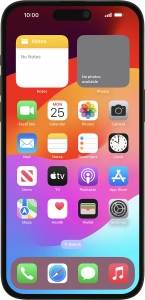
Apple iPhone 15 Pro Max
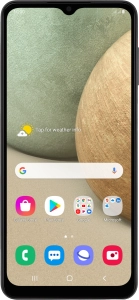
Samsung Galaxy A12
Samsung Galaxy S22 Ultra 5G
Google Pixel 7 Pro
Apple iPhone 14 Pro
Google Pixel 6