![MobiWire Oneida](http://wmstatic.global.ssl.fastly.net/ml/7070823-f-bc8cd59b-3553-40c6-a0b0-6ed3119d6d31.png?width=150&height=320)
MobiWire Oneida
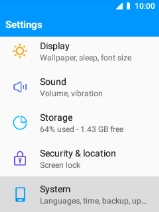
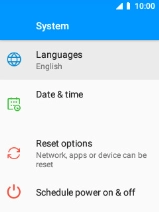
1. Find "Date & time"
Select the menu icon.
![](http://wmstatic.global.ssl.fastly.net/ml/7070823-f-b16c89b7-fe35-4ed9-b7fc-3bcfe45e787c.png?width=160&height=212)
Select Settings.
![](http://wmstatic.global.ssl.fastly.net/ml/7070823-f-44bb179b-2478-44ef-bb24-ce9291a47316.png?width=160&height=212)
Select System.
![](http://wmstatic.global.ssl.fastly.net/ml/7070823-f-5dab3e3c-6b55-419b-b0f2-012715c82276.png?width=160&height=212)
Select Date & time.
![](http://wmstatic.global.ssl.fastly.net/ml/7070823-f-50f9c932-3820-499f-91d0-cb008b7fe6c6.png?width=160&height=212)
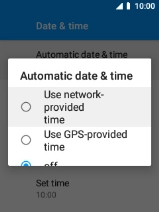
2. Turn on automatic date and time update
Select Automatic date & time.
![](http://wmstatic.global.ssl.fastly.net/ml/7070823-f-ac0382e1-6d7b-446f-a9f8-02a8cbedc99f.png?width=160&height=212)
Select Use network-provided time to turn on the function.
![](http://wmstatic.global.ssl.fastly.net/ml/7070823-f-4103db14-17b9-47a0-9a5a-ee6db258017e.png?width=160&height=212)
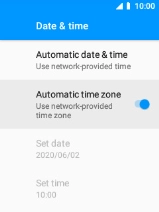
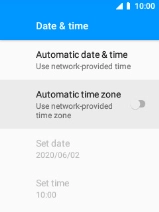
3. Turn on automatic time zone update
Select the indicator next to "Automatic time zone" to turn on the function.
![](http://wmstatic.global.ssl.fastly.net/ml/7070823-f-5e834d16-6217-44d5-ace4-9cc2ab84000a.png?width=160&height=212)
4. Return to the home screen
Press Disconnect to return to the home screen.
![](http://wmstatic.global.ssl.fastly.net/ml/7070823-f-51f95ff7-f489-4566-b1d6-2d9daaddf421.png?width=160&height=212)