OPPO Find N2 Flip


1. Find "Fix & manage"
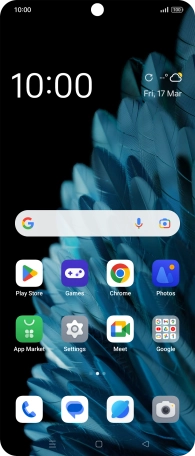
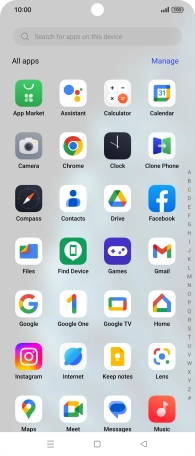
Slide your finger upwards on the screen.


1. Find "Fix & manage"
Press Contacts.


1. Find "Fix & manage"
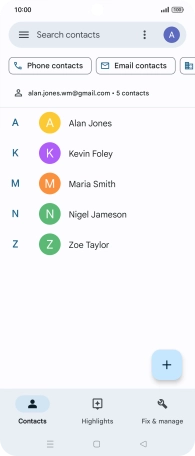
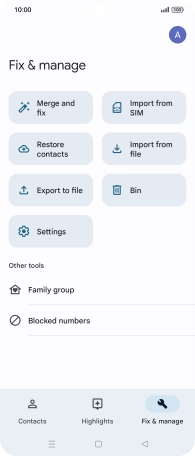
Press Fix & manage.


2. Import contacts from your SIM to your Google account
Press Import from SIM.


2. Import contacts from your SIM to your Google account
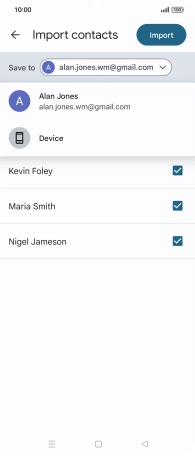
Press the drop down list next to "Save to".


2. Import contacts from your SIM to your Google account
Press the required Google account.
2. Import contacts from your SIM to your Google account
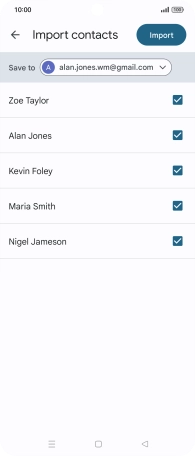
Press the fields next to the required contacts to select them.
2. Import contacts from your SIM to your Google account
Press Import.


2. Import contacts from your SIM to your Google account
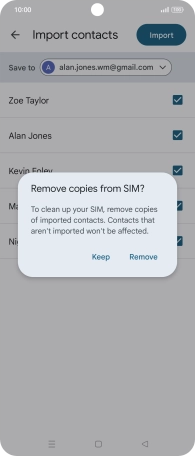
If you want to keep the copied contacts on your SIM, press Keep.
2. Import contacts from your SIM to your Google account
If you want to delete the copied contacts from your SIM, press Remove.
3. Return to the home screen
Press the Home key to return to the home screen.
1. Find "Fix & manage"
2. Import contacts from your SIM to your Google account
3. Return to the home screen