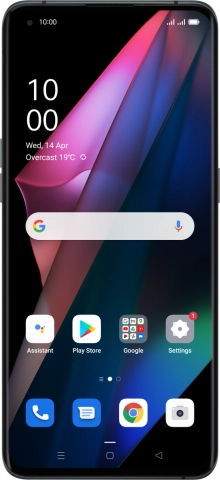
OPPO Find X3 Pro
Android 11.0
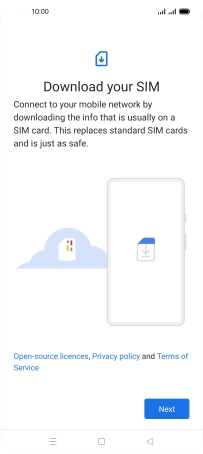
1. Find "Next"
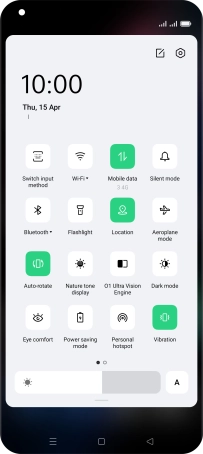
Slide two fingers downwards starting from the top of the screen.
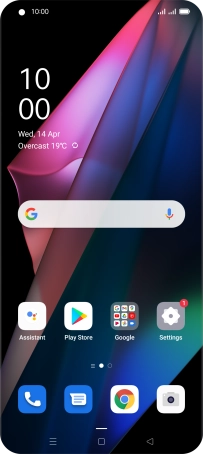
Press the settings icon.
Press SIM card & mobile data.
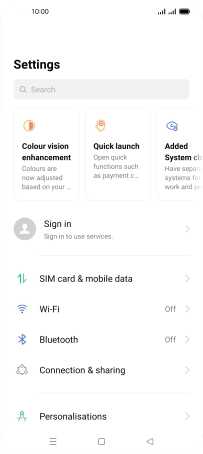
Press eSIM.
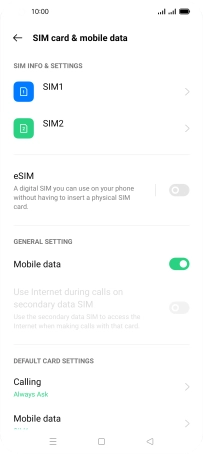
Press Enable.
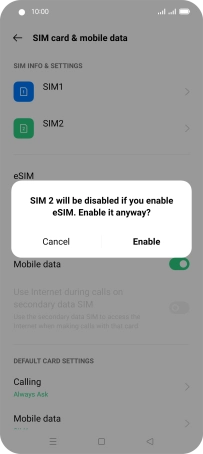
Press eSIM.
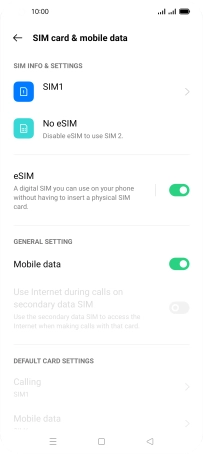
Press Add.

Press Next.
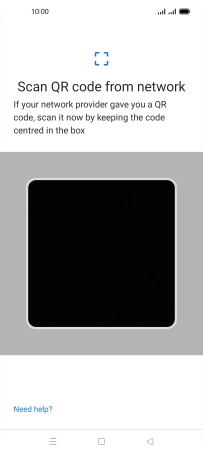
2. Scan QR code
Place the QR code you've received inside the phone camera frame to scan the code. If you’ve deleted your eSIM, you can re-add it using your existing QR code. If you’re having problems, see our FAQ.
3. Activate eSIM
Follow the instructions on the screen to complete the eSIM activation.
