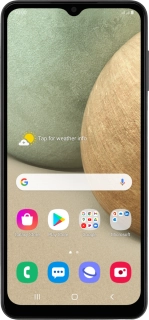
Samsung Galaxy A12
Android 10.0
1. Find "Accounts"
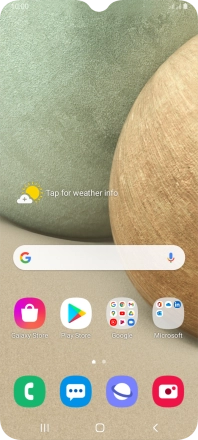
Slide two fingers downwards starting from the top of the screen.
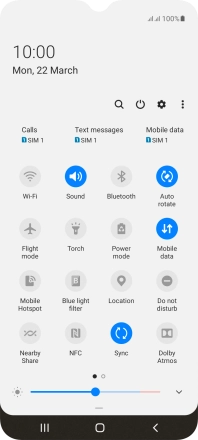
Press the settings icon.
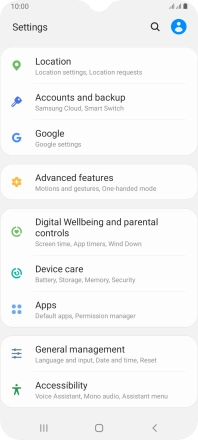
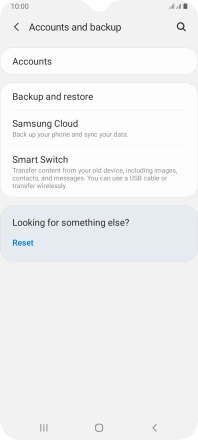
Press Accounts and backup.
Press Accounts.
2. Turn automatic synchronisation of content on or off
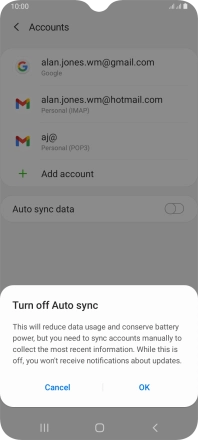
Press the indicator next to "Auto sync data" to turn the function on or off.

Press OK.
3. Return to the home screen
Press the Home key to return to the home screen.


