![Samsung Galaxy Chromebook Go 14"](http://wmstatic.global.ssl.fastly.net/ml/7140723-f-a0982606-bb3b-47ee-83ae-4e3f6fa42846.png?width=150&height=320)
Samsung Galaxy Chromebook Go 14"
Chrome OS
1. Find "Manage what you sync"
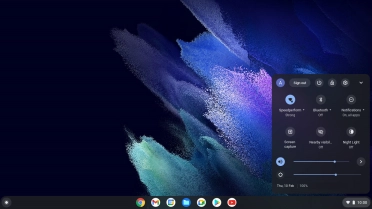
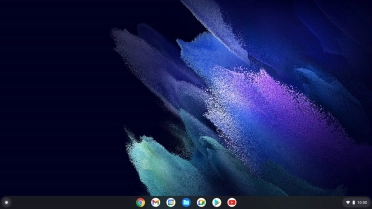
Click the menu field.
![](http://wmstatic.global.ssl.fastly.net/ml/7140723-f-0f64dae6-d2a8-4c17-98b5-f45a2bd0e1e5.png?width=372&height=210)
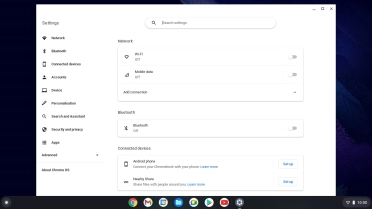
Click the settings icon.
![](http://wmstatic.global.ssl.fastly.net/ml/7140723-f-9483504e-cad2-4b6d-ab7a-2c67d2092175.png?width=372&height=210)
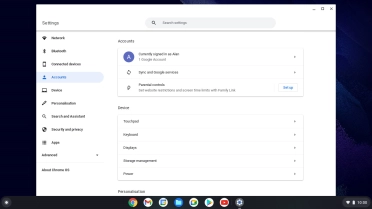
Click Accounts.
![](http://wmstatic.global.ssl.fastly.net/ml/7140723-f-11c335ef-1935-4e86-a889-7812a6ee47cb.png?width=372&height=210)
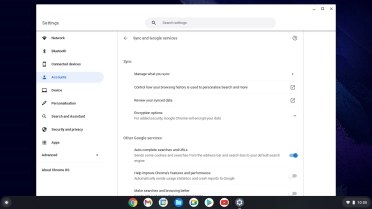
Click Sync and Google services.
![](http://wmstatic.global.ssl.fastly.net/ml/7140723-f-7e76cf4d-e85b-4a47-89c6-0221ef4dab87.png?width=372&height=210)
Click Manage what you sync.
![](http://wmstatic.global.ssl.fastly.net/ml/7140723-f-a46b9658-8e10-46de-b385-9835bf16830a.png?width=372&height=210)
2. Back up files
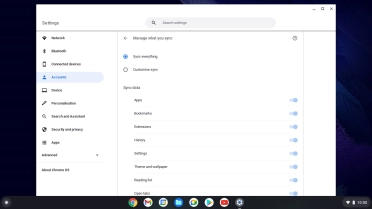
Click Sync everything to back up all files.
Your files will be backed up to your Google Drive account.
![](http://wmstatic.global.ssl.fastly.net/ml/7140723-f-442d4d7a-e215-4d55-bb4a-f9a778c3c3bb.png?width=372&height=210)
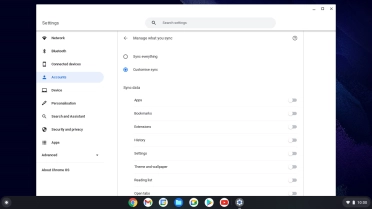
Click Customise sync to back up selected files.
![](http://wmstatic.global.ssl.fastly.net/ml/7140723-f-442d4d7a-e215-4d55-bb4a-f9a778c3c3bb.png?width=372&height=210)
Click the indicators next to the required settings.
![](http://wmstatic.global.ssl.fastly.net/ml/7140723-f-a8bfaff3-f130-4f1d-bba5-e6bf9d0f6b88.png?width=372&height=210)
3. Return to the home screen
Click the close icon to return to the home screen.
![](http://wmstatic.global.ssl.fastly.net/ml/7140723-f-a8bfaff3-f130-4f1d-bba5-e6bf9d0f6b88.png?width=372&height=210)