TCL onetouch 4041


1. Find "Data Accounts"
Press the Navigation key.


1. Find "Data Accounts"
Select Settings.


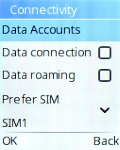
1. Find "Data Accounts"
Select Connectivity.


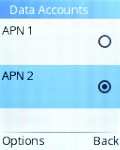
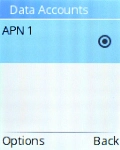
1. Find "Data Accounts"
Select Data Accounts.


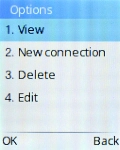
2. Create new data connection
Press the Left selection key.


2. Create new data connection
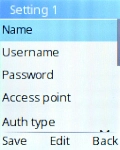
Select New connection.


2. Create new data connection
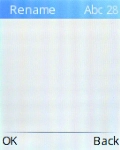
Select Name.


2. Create new data connection
Key in Vodafone Internet and press the Left selection key.
3. Enter username
Select Username.


3. Enter username
Key in wap and press the Left selection key.
4. Enter password
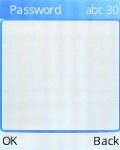
Select the field below "Password".


4. Enter password
Key in wap and press the Left selection key.
5. Enter APN
Select Access point.


5. Enter APN
Key in wap.vodafone.co.uk and press the Left selection key.


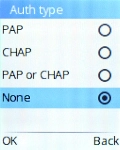
6. Select authentication type
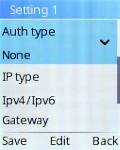
Select the field below "Auth type".


6. Select authentication type
Select None.


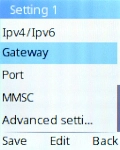
7. Select connection type
Select Advanced settings.


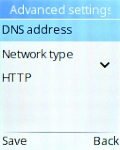
7. Select connection type
Select Network type.


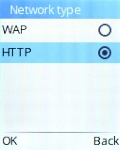
7. Select connection type
Select HTTP.
8. Save data connection
Press the Left selection key.


8. Save data connection
Select the data connection to activate it.


9. Return to the home screen
Press Disconnect to return to the home screen.
1. Find "Data Accounts"


2. Create new data connection
3. Enter username

4. Enter password
5. Enter APN

6. Select authentication type
7. Select connection type
8. Save data connection

9. Return to the home screen