Apple iPad (9th Generation)


1. Find "Other ..."
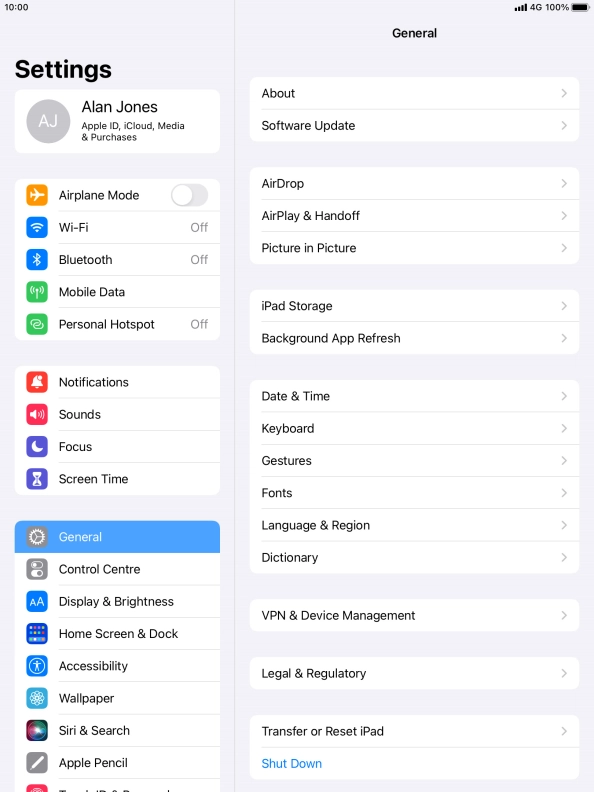
Press Settings.


1. Find "Other ..."
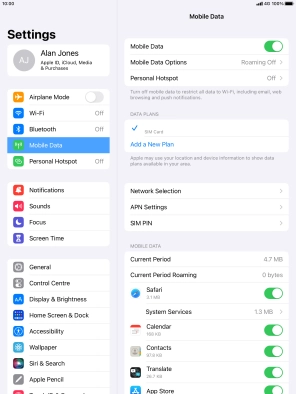
Press Mobile Data.


1. Find "Other ..."
Press Add a New Plan.


1. Find "Other ..."
Press Other ....


2. Scan QR code
Place the QR code you've received inside the tablet camera frame to scan the code. If you’ve deleted your eSIM, you can re-add it using your existing QR code. If you’re having problems, see our FAQ.


3. Activate eSIM
Press Add Data Plan.


4. Return to the home screen
Press the Home key to return to the home screen.
1. Find "Other ..."


2. Scan QR code

3. Activate eSIM

4. Return to the home screen
