Apple iPad Air (2020)


1. Find "Screen Time"
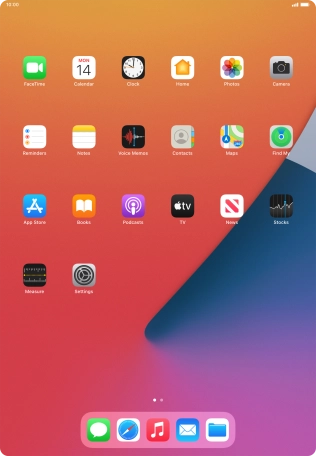
Press Settings.


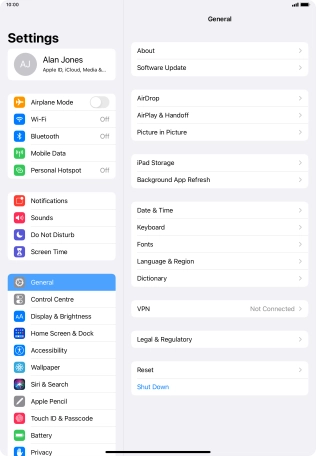
1. Find "Screen Time"
Press Screen Time.


2. Turn on Screen Time
Press Turn On Screen Time.


2. Turn on Screen Time
Press Continue.


2. Turn on Screen Time
Press This is My iPad.


3. Select Downtime settings
Press Downtime.


3. Select Downtime settings
Press the indicator next to "Downtime" and follow the instructions on the screen to select Downtime period.


3. Select Downtime settings
Press arrow left.
4. Select time limits for app usage
Press App Limits.


4. Select time limits for app usage
Press Add Limit.


4. Select time limits for app usage
Press the required categories.


4. Select time limits for app usage
Press Next.


4. Select time limits for app usage
Set the required time limit for use of the selected category.


5. Select days for time limits of app usage
Press Customise Days.


5. Select days for time limits of app usage
Press the required days.


5. Select days for time limits of app usage
Select the required period.
5. Select days for time limits of app usage
Press arrow left.


6. Delete time limits for app usage
Press the required category.


6. Delete time limits for app usage
Press Delete Limit.


6. Delete time limits for app usage
Press Delete.
6. Delete time limits for app usage
Press arrow left.
7. Select communication limits during Screen Time
Press Communication Limits.


7. Select communication limits during Screen Time
Press During Screen Time.


7. Select communication limits during Screen Time
Press the required setting.
7. Select communication limits during Screen Time
Press arrow left.
8. Select communication limits during Downtime
Press During Downtime.


8. Select communication limits during Downtime
Press the required setting.
8. Select communication limits during Downtime
If you select Specific Contacts, follow the instructions on the screen to select the required contacts.
8. Select communication limits during Downtime
Press arrow left.
8. Select communication limits during Downtime
Press arrow left.
9. Select apps that can be used during Downtime
Press Always Allowed.


9. Select apps that can be used during Downtime
Press the add icon next to the required app to add it to the list of allowed apps during Downtime.


9. Select apps that can be used during Downtime
Press the remove icon next to the required app to remove it from the list of allowed apps during Downtime.


9. Select apps that can be used during Downtime
Press Remove.
9. Select apps that can be used during Downtime
Press arrow left.
10. Select settings for content and restrictions
Press Content & Privacy Restrictions.


10. Select settings for content and restrictions
Press the indicator next to "Content & Privacy Restrictions" and follow the instructions on the screen to select settings for content and privacy restrictions.


10. Select settings for content and restrictions
Press arrow left.
11. Turn on use of password
Press Use Screen Time Passcode and follow the instructions on the screen to select a Screen Time password.
12. Return to the home screen
Slide your finger upwards starting from the bottom of the screen to return to the home screen.
1. Find "Screen Time"


2. Turn on Screen Time


3. Select Downtime settings


4. Select time limits for app usage


5. Select days for time limits of app usage


6. Delete time limits for app usage


7. Select communication limits during Screen Time


8. Select communication limits during Downtime

9. Select apps that can be used during Downtime


10. Select settings for content and restrictions


11. Turn on use of password
12. Return to the home screen