


1. Find "Accounts"
Press Settings.


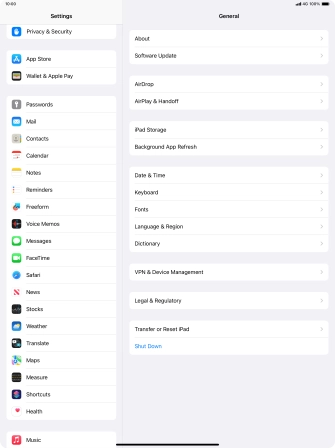
1. Find "Accounts"
Press Mail.


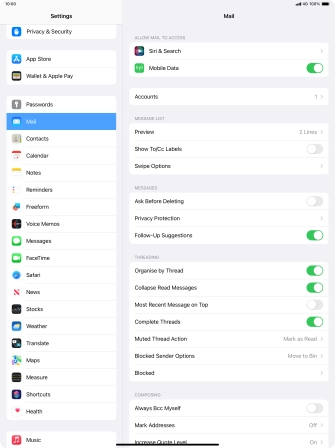
1. Find "Accounts"
Press Accounts.


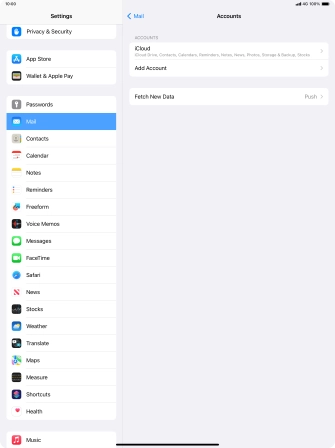
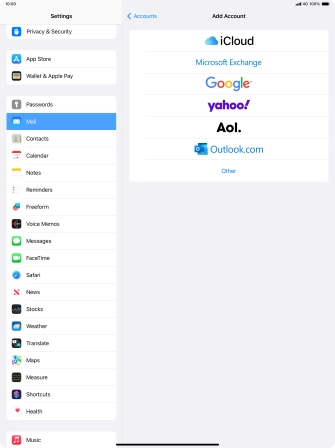
2. Create new email account
Press Add Account.


2. Create new email account
Press Microsoft Exchange.


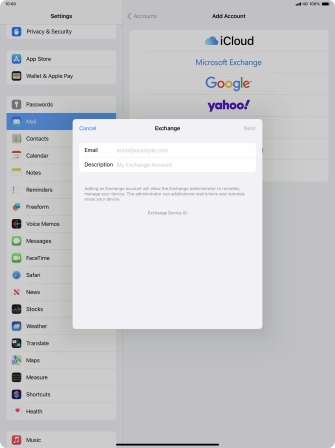
3. Enter email address
Press Email and key in your email address.


4. Enter email account name
Press Description and key in the required name.
4. Enter email account name
Press Next.


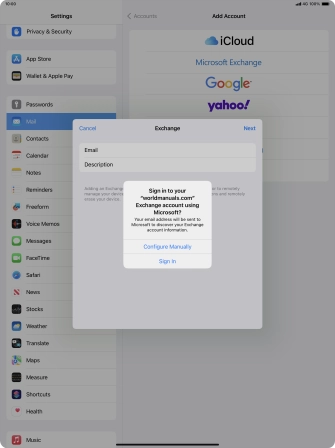
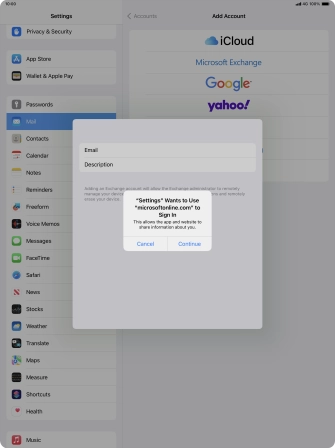
4. Enter email account name
Press Sign In.


4. Enter email account name
Press Continue.


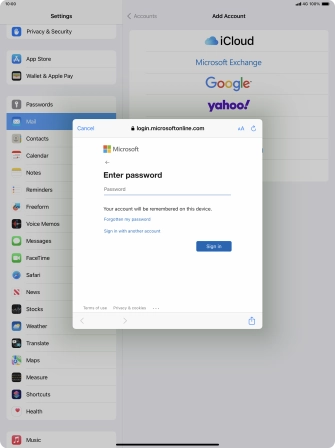
5. Enter password
Press Password and key in the password for your email account.


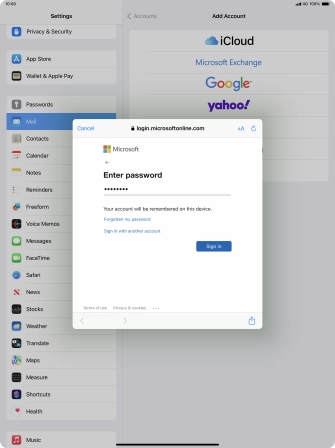
5. Enter password
Press Sign in.


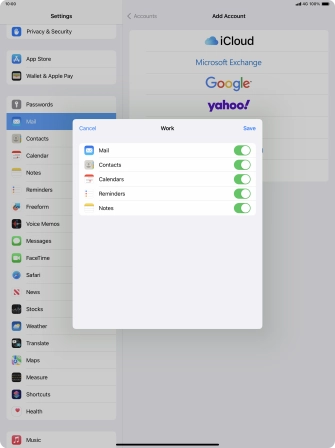
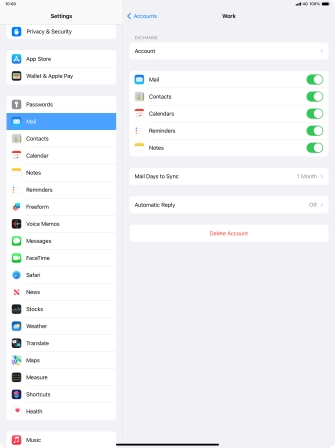
6. Select settings for synchronisation of data
Press the indicators next to the required data types to turn synchronisation of each data type on or off.
6. Select settings for synchronisation of data
Press Save. Your email account has now been set up. To select more settings for e.g. SSL encryption and retrieval of new email messages, proceed with the following steps.


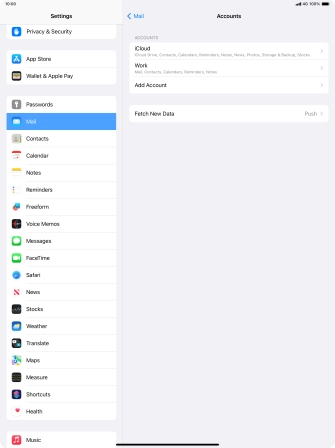
7. Turn SSL encryption on or off
Press the name of the Exchange email account you've just set up.


7. Turn SSL encryption on or off
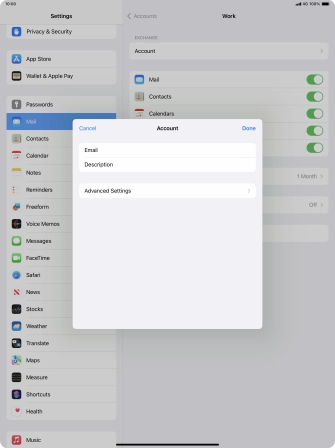
Press Account.


7. Turn SSL encryption on or off
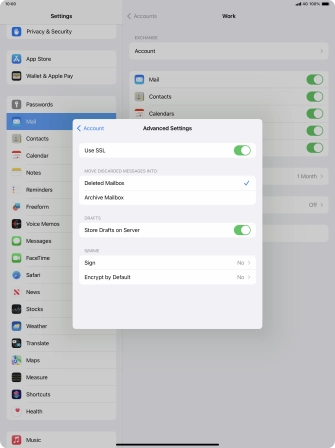
Press Advanced Settings.


7. Turn SSL encryption on or off
Press the indicator next to "Use SSL" to turn the function on or off.
7. Turn SSL encryption on or off
Press arrow left.
7. Turn SSL encryption on or off
Press Done.
7. Turn SSL encryption on or off
Press arrow left.
8. Select setting for retrieval of new email messages
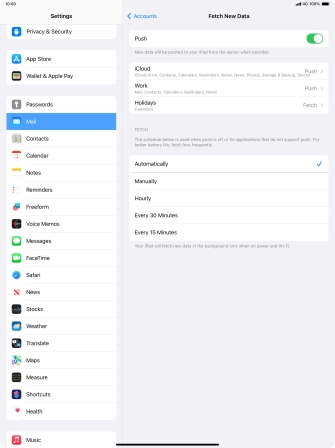
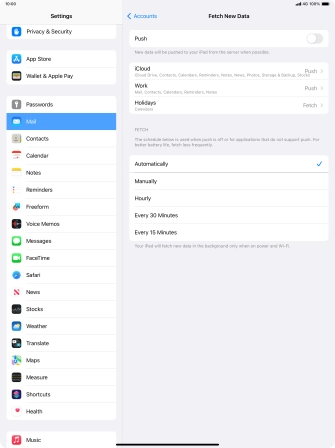
Press Fetch New Data.


8. Select setting for retrieval of new email messages
Press the indicator next to "Push" to turn the function on or off.


8. Select setting for retrieval of new email messages
If you turn off the function, press the required setting.
8. Select setting for retrieval of new email messages
Press the required email account and follow the instructions on the screen to select settings for the specific account.
9. Return to the home screen
Slide your finger upwards starting from the bottom of the screen to return to the home screen.
1. Find "Accounts"
2. Create new email account
3. Enter email address
4. Enter email account name

5. Enter password
6. Select settings for synchronisation of data
7. Turn SSL encryption on or off
8. Select setting for retrieval of new email messages
9. Return to the home screen