1 Select general settings
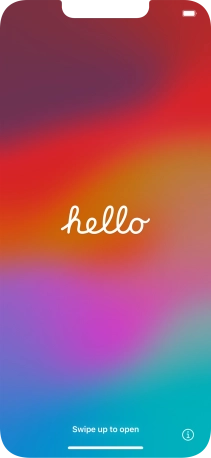
Press the Side button.

Slide your finger upwards starting from the bottom of the screen.
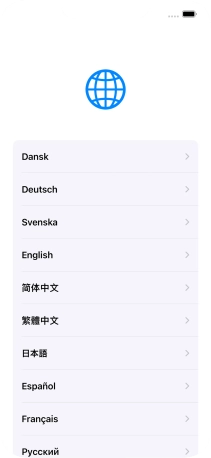
Press the required language.
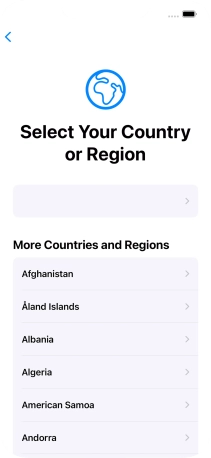
Press the required country or area.
2 Enter your PIN
Press SIM Card.
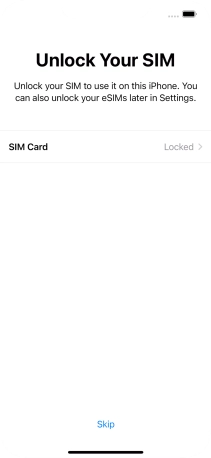
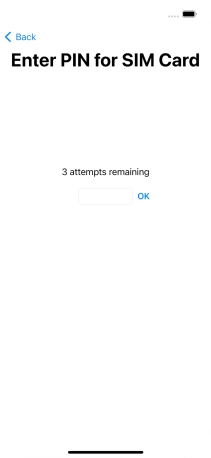
If your SIM is locked, key in your PIN and press OK.
If an incorrect PIN is entered three times in a row, your SIM will be blocked. To unblock your SIM, you'll need to key in your PUK. You can get the PUK by calling customer services on 191 from a Vodafone mobile phone. If you're using a land line, you need to dial 03333 040 191. Please note: If you key in the wrong PUK ten times in a row, your SIM will be blocked permanently. In this case, you need a new SIM from Vodafone.
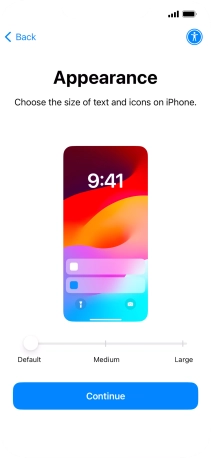
3 Change text and icon size
Select the required text and icon size on your phone and press Continue.
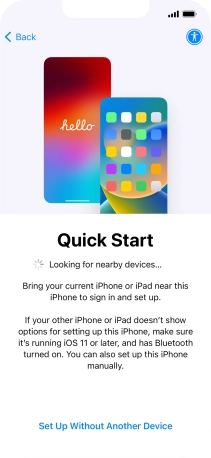
4 Select setup method
Follow the instructions on the screen to transfer content from another device running iOS 11 or later or press Set Up Without Another Device.
5 Select Wi-Fi network
Press the required Wi-Fi network.
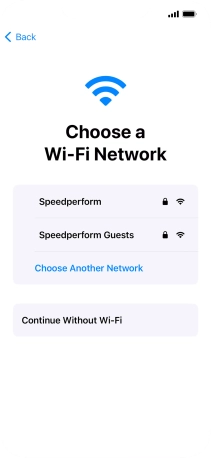
Key in the password for the Wi-Fi network and press Join.
If there are no available Wi-Fi networks, you can use the mobile network instead.

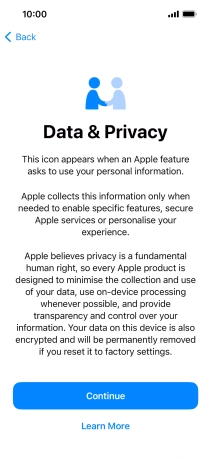
6 View information on the use of personal data
Press Continue.
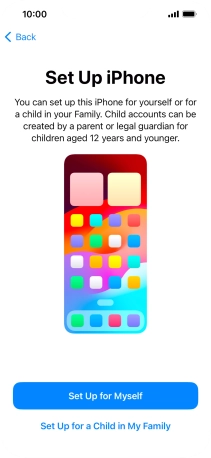
7 Set up the phone for your own use
Press Set Up for Myself.
If your phone will be used by a child below the age of 13, follow the instructions on the screen to set up an Apple ID for the child.
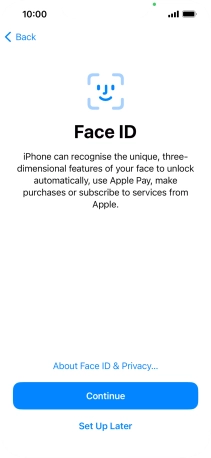
8 Turn use of Face ID on or off
Follow the instructions on the screen to turn on use of Face ID or press Set Up Later.
9 Turn use of phone lock code on or off
Press Passcode Options.
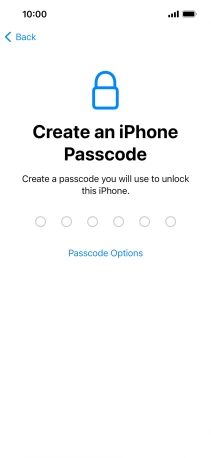
Follow the instructions on the screen to turn on use of phone lock code or press Don't Use Passcode.
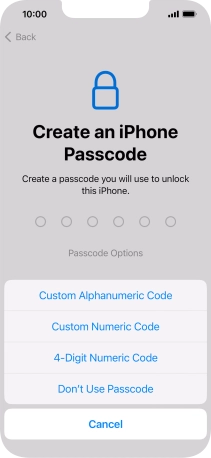
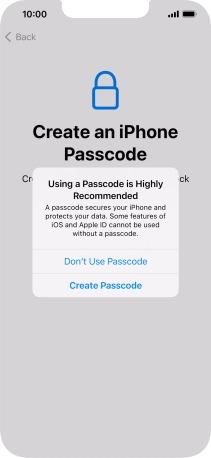
If you turn off the function, press Don't Use Passcode.
See how to turn use of phone lock code on or off later after activation.
10 Set up your phone as a new iPhone
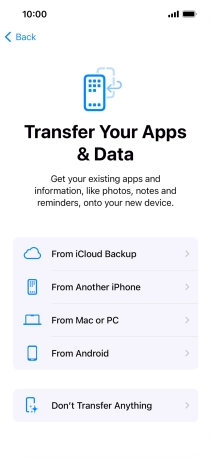
Press Don't Transfer Anything and follow the instructions on the screen to finish the activation.
If you've backed up content previously, you can restore the content of an iCloud backup or restore the content of an iTunes backup. You can also transfer content from an Android phone.
