OPPO Find X5 Lite


1. Find "Users & accounts"
Slide two fingers downwards starting from the top of the screen.


1. Find "Users & accounts"
Press the settings icon.


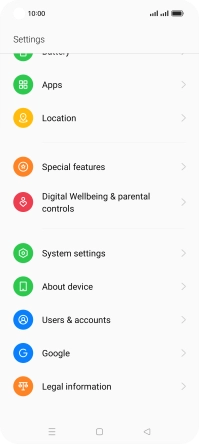
1. Find "Users & accounts"
Press Users & accounts.


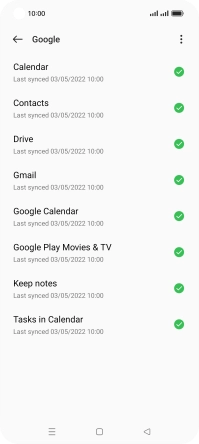
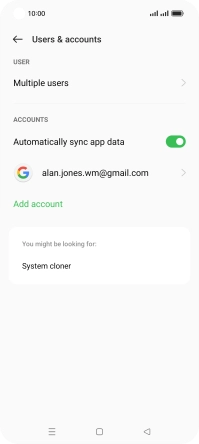
2. Select social network or email account
Press the required account.


3. Copy contacts
Press the field next to "Contacts" to turn on the function.


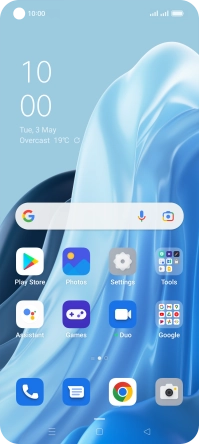
4. Return to the home screen
Press the Home key to return to the home screen.
1. Find "Users & accounts"
2. Select social network or email account
3. Copy contacts

4. Return to the home screen