Samsung Galaxy A12


1. Find "Import or export contacts"
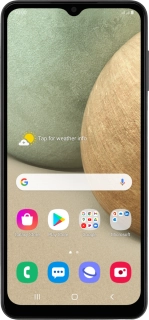
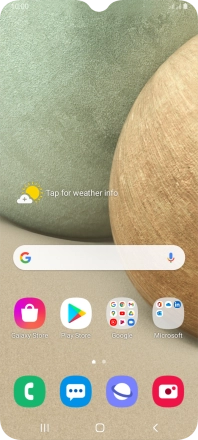
Slide your finger upwards on the screen.


1. Find "Import or export contacts"
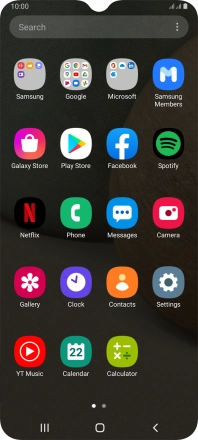
Press Contacts.


1. Find "Import or export contacts"
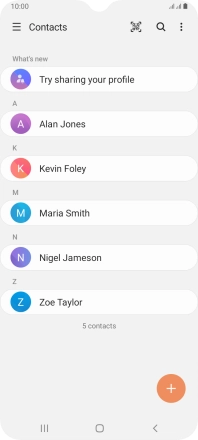
Slide your finger right starting from the left side of the screen.


1. Find "Import or export contacts"
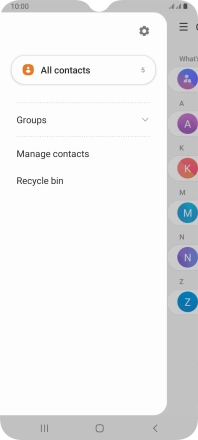
Press Manage contacts.


1. Find "Import or export contacts"
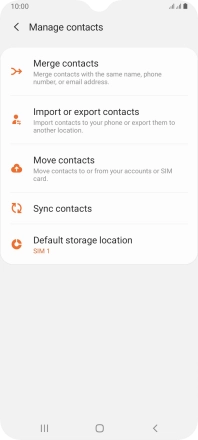
Press Import or export contacts.


2. Copy contacts from your SIM to your phone
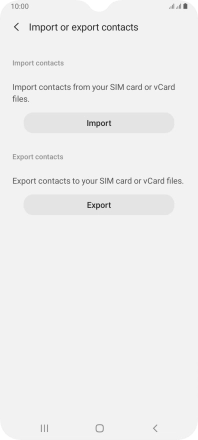
Press Import.


2. Copy contacts from your SIM to your phone
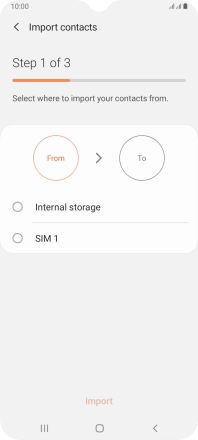
Press the required SIM.


2. Copy contacts from your SIM to your phone
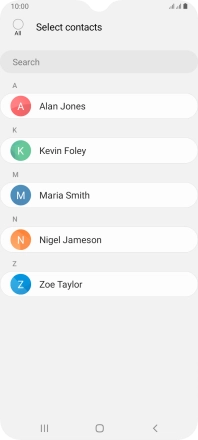
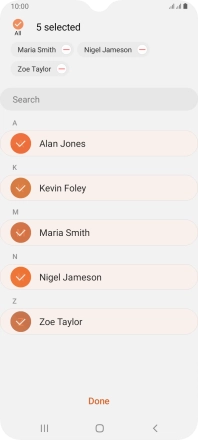
Press the field above "All".


2. Copy contacts from your SIM to your phone
Press Done.


2. Copy contacts from your SIM to your phone
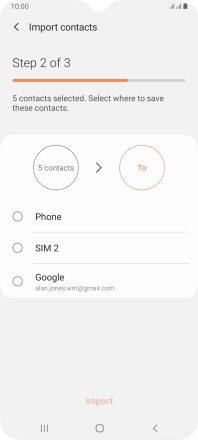
Press Phone.


2. Copy contacts from your SIM to your phone
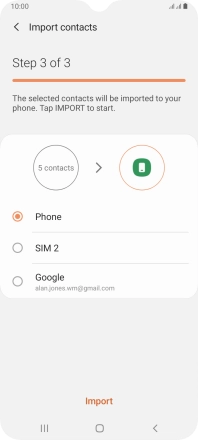
Press Import.


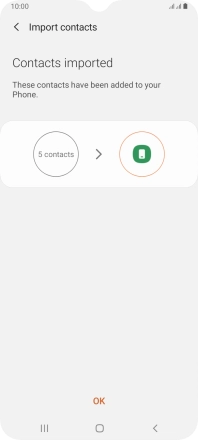
2. Copy contacts from your SIM to your phone
Press OK.
3. Copy contacts from your phone to your SIM
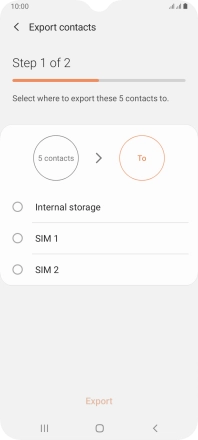
Press Export.


3. Copy contacts from your phone to your SIM
Press the required SIM.


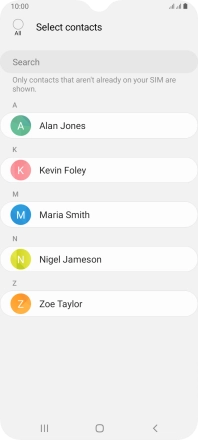
3. Copy contacts from your phone to your SIM
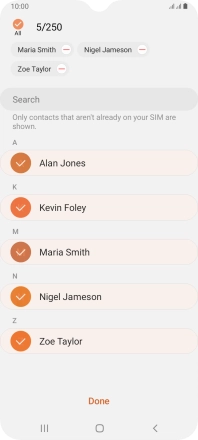
Press the field above "All".


3. Copy contacts from your phone to your SIM
Press Done.


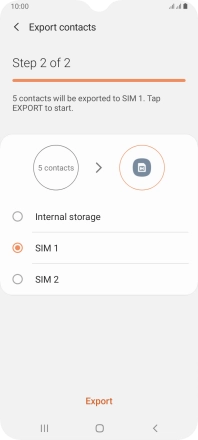
3. Copy contacts from your phone to your SIM
Press Export.


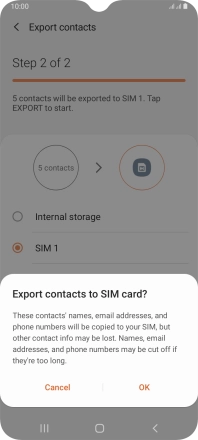
3. Copy contacts from your phone to your SIM
Press OK.
4. Return to the home screen
Press the Home key to return to the home screen.
1. Find "Import or export contacts"
2. Copy contacts from your SIM to your phone
3. Copy contacts from your phone to your SIM
4. Return to the home screen