![Samsung Galaxy A22 5G](http://wmstatic.global.ssl.fastly.net/ml/7151223-f-73c7bb1b-6fc5-46d6-97af-2afe96b44ec3.png?width=150&height=320)
Samsung Galaxy A22 5G
Android 11.0
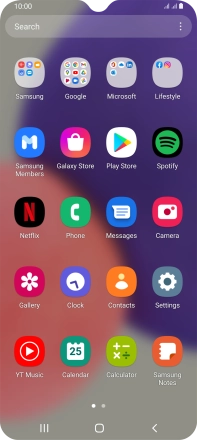
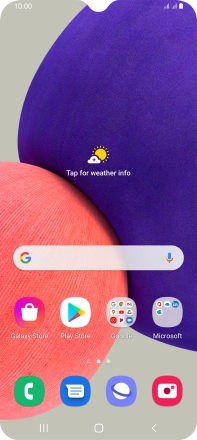
1. Find "Contacts"
Slide your finger upwards on the screen.
![](http://wmstatic.global.ssl.fastly.net/ml/7151223-f-cb77762e-fe16-40a2-8291-1e4764721890.png?width=198&height=440)
Press Contacts.
![](http://wmstatic.global.ssl.fastly.net/ml/7151223-f-c3a6a7bd-f2a8-4f0c-a906-58dd6dfb7aeb.png?width=198&height=440)
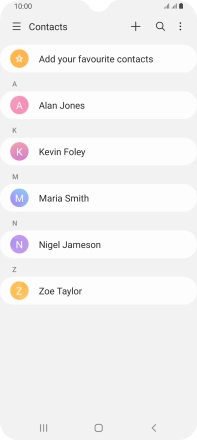
2. Create contact
Press the new contact icon.
![](http://wmstatic.global.ssl.fastly.net/ml/7151223-f-fa89391e-cb34-4dda-a8e4-a428efe886d3.png?width=198&height=440)
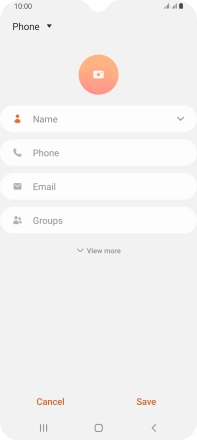
3. Select address book
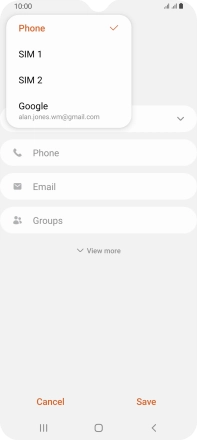
Press the address book drop down list.
![](http://wmstatic.global.ssl.fastly.net/ml/7151223-f-2ce6ed74-40a3-469c-b2fb-0d5d3845aaa2.png?width=198&height=440)
Press Phone.
![](http://wmstatic.global.ssl.fastly.net/ml/7151223-f-b07e3672-7469-4457-b4e3-123f73e61f17.png?width=198&height=440)
4. Enter name
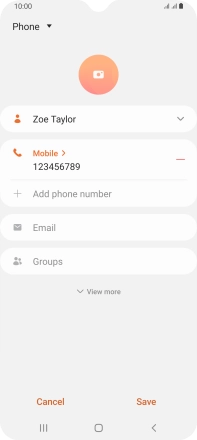
Press Name and key in the required name.
![](http://wmstatic.global.ssl.fastly.net/ml/7151223-f-2ce6ed74-40a3-469c-b2fb-0d5d3845aaa2.png?width=198&height=440)
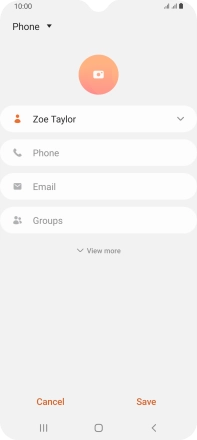
5. Enter phone number
Press Phone and key in the required phone number.
Follow the instructions on the screen to add more information such as an email address and a personal ring tone.
![](http://wmstatic.global.ssl.fastly.net/ml/7151223-f-3907bcb7-3e76-49ef-b0c8-cc954ceed01f.png?width=198&height=440)
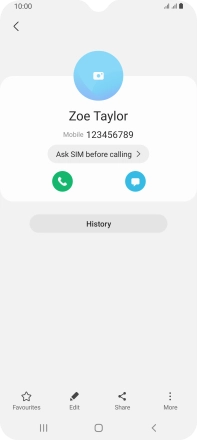
6. Save contact
Press Save.
![](http://wmstatic.global.ssl.fastly.net/ml/7151223-f-42cd3265-3fec-4fa8-a9a4-93074aaa25f2.png?width=198&height=440)
7. Return to the home screen
Press the Home key to return to the home screen.
![](http://wmstatic.global.ssl.fastly.net/ml/7151223-f-8fdbc4c2-5469-407f-a635-676784e36408.png?width=198&height=440)