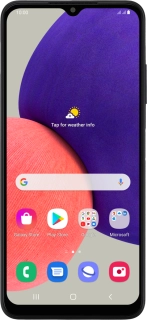
![Samsung Galaxy A22 5G](http://wmstatic.global.ssl.fastly.net/ml/7151223-f-73c7bb1b-6fc5-46d6-97af-2afe96b44ec3.png?width=150&height=320)
Samsung Galaxy A22 5G
Android 11.0
1 Find "Manage accounts"
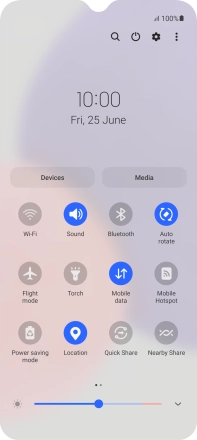
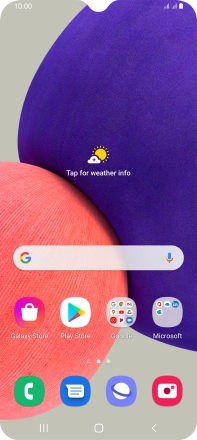
Slide two fingers downwards starting from the top of the screen.
![](http://wmstatic.global.ssl.fastly.net/ml/7151223-f-cb77762e-fe16-40a2-8291-1e4764721890.png?width=198&height=440)
Press the settings icon.
![](http://wmstatic.global.ssl.fastly.net/ml/7151223-f-29a4ea3f-9947-4333-8a95-13a3cc7e0d5e.png?width=198&height=440)
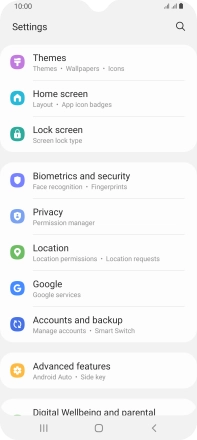
Press Accounts and backup.
![](http://wmstatic.global.ssl.fastly.net/ml/7151223-f-7569efa3-098a-4f5f-989e-74301940ee27.png?width=198&height=440)
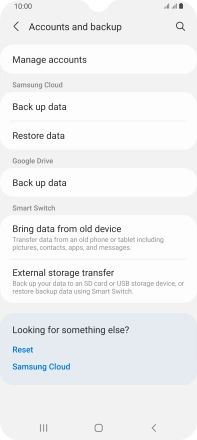
Press Manage accounts.
![](http://wmstatic.global.ssl.fastly.net/ml/7151223-f-5f910828-8886-440b-bc06-ce71383ce955.png?width=198&height=440)
2 Turn automatic synchronisation of content on or off
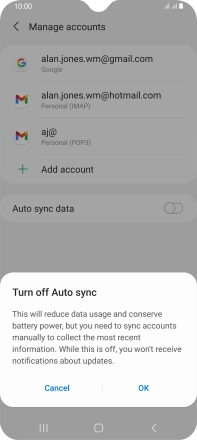
Press the indicator next to "Auto sync data" to turn the function on or off.
![](http://wmstatic.global.ssl.fastly.net/ml/7151223-f-131132cf-a5b5-42e9-ada9-5b7d243b8ef5.png?width=198&height=440)
Press OK.
![](http://wmstatic.global.ssl.fastly.net/ml/7151223-f-99fa815d-ece5-438b-9dc1-399c751ac296.png?width=198&height=440)
3 Return to the home screen
Press the Home key to return to the home screen.
![](http://wmstatic.global.ssl.fastly.net/ml/7151223-f-131132cf-a5b5-42e9-ada9-5b7d243b8ef5.png?width=198&height=440)