Samsung Galaxy Tab A
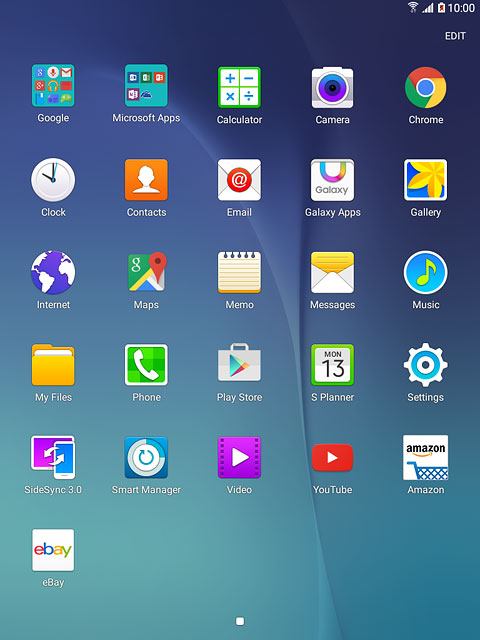
1 Find "Email"
Press Apps.
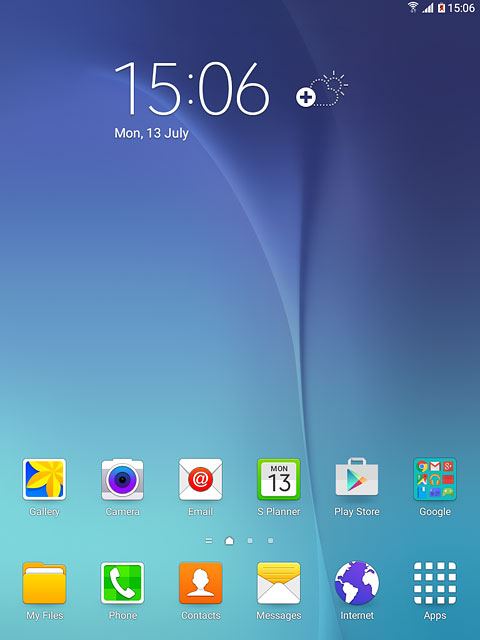
Press Email.
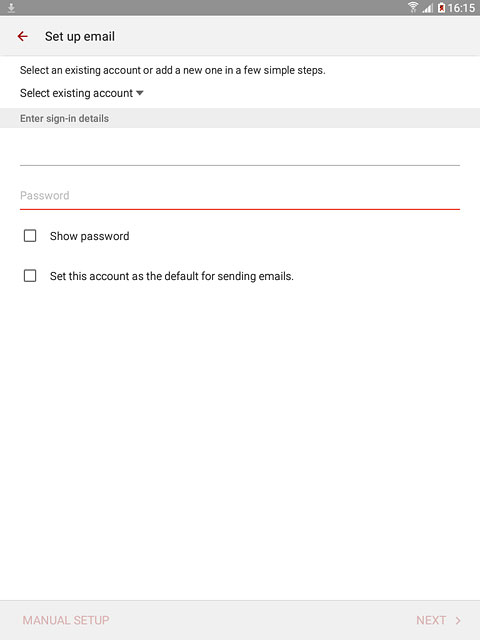
2 Enter email address
Key in your email address.
3 Enter password
Press Password and key in your password.
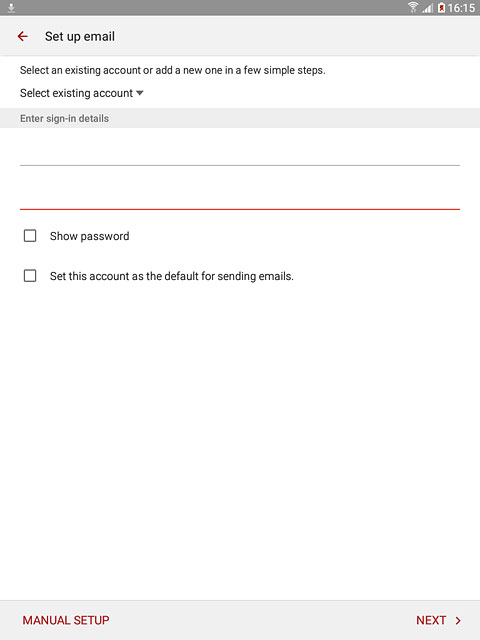
Press MANUAL SETUP.
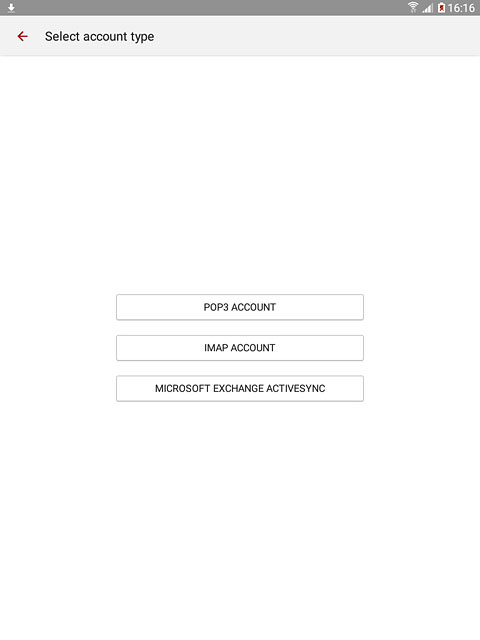
4 Select account type
Press MICROSOFT EXCHANGE ACTIVESYNC.
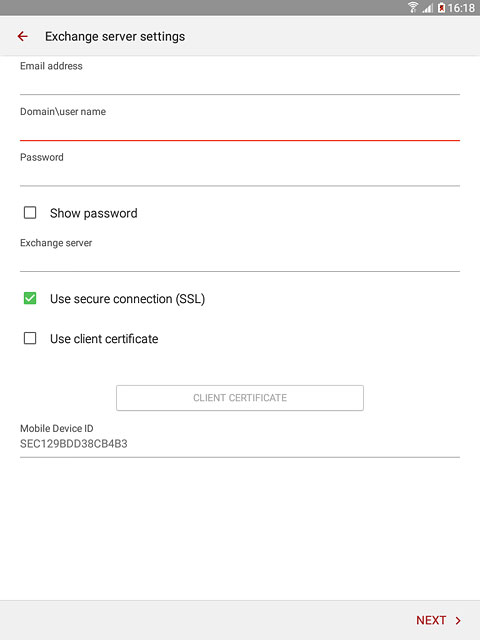
5 Enter domain and username
Press the field below "Domain\user name" and key in the domain and username separated by a "\".
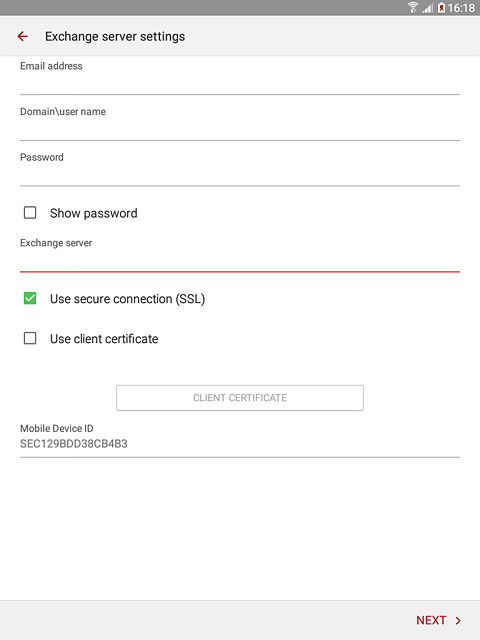
6 Enter server address
Press the field below "Exchange server" and key in the server address.
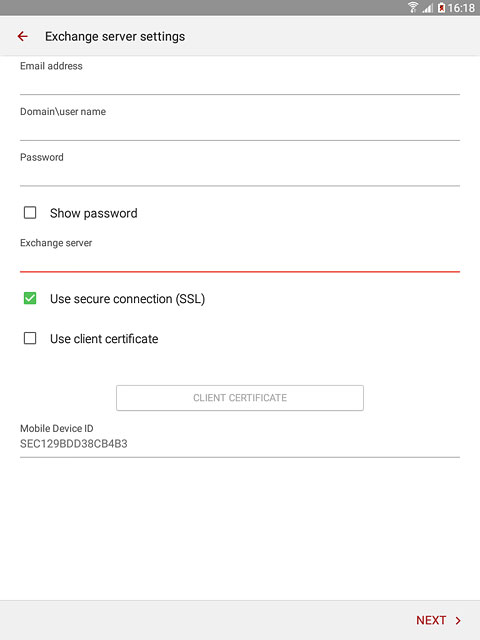
7 Turn SSL encryption on or off
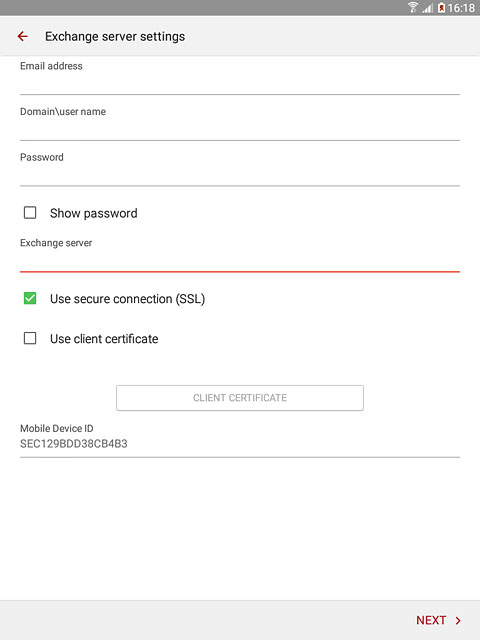
Press Use secure connection (SSL) to turn the function on or off.
8 Turn client certificate on or off
Press Use client certificate to turn the function on or off.
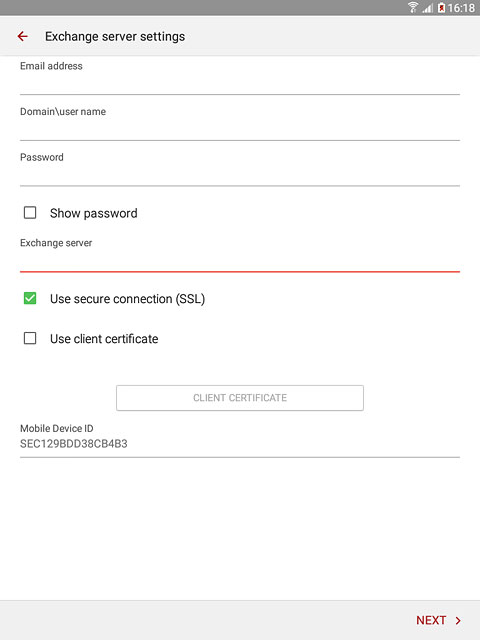
If you turn on the function:
Press CLIENT CERTIFICATE and follow the instructions on the display to install the required certificate.
Press CLIENT CERTIFICATE and follow the instructions on the display to install the required certificate.
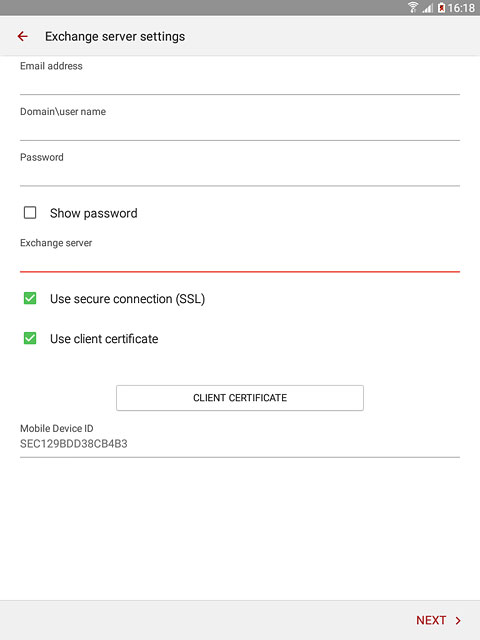
Press NEXT.
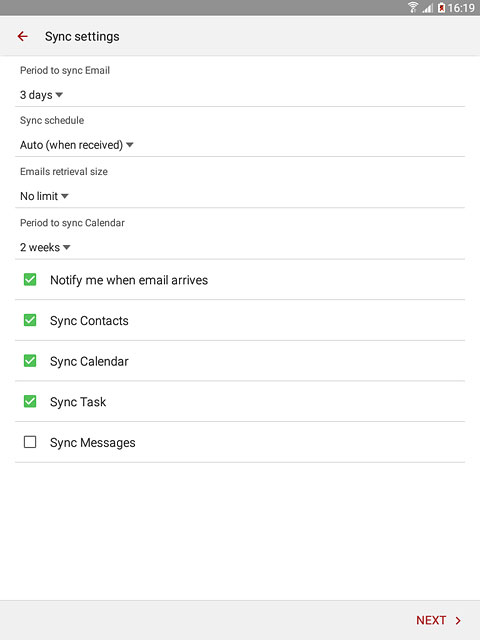
9 Select period for synchronisation of email messages
Press the drop down list below "Period to sync Email".
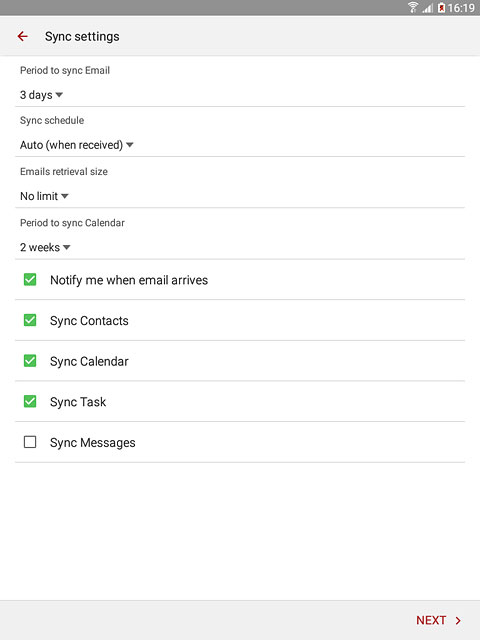
Press the required setting.
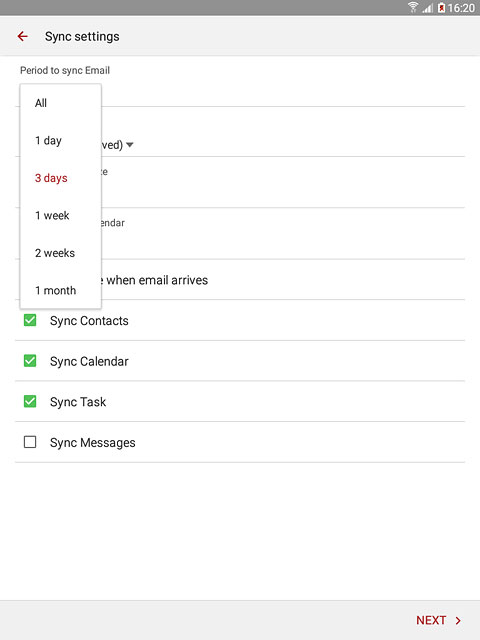
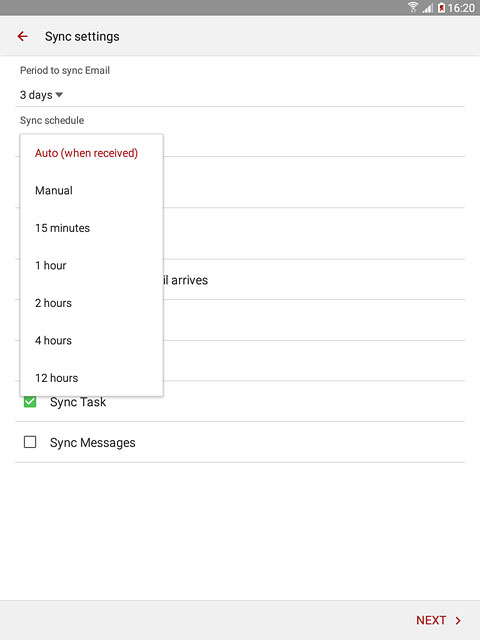
10 Select setting for synchronisation during off-peak hours
Press the drop down list below "Sync schedule".
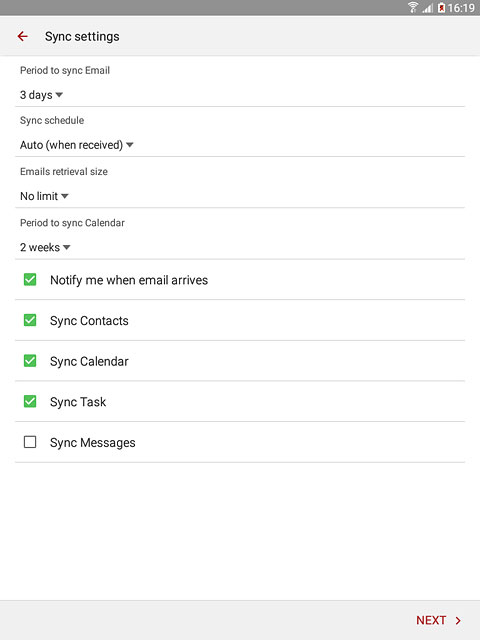
Press Auto (when received), Manual or the required interval.
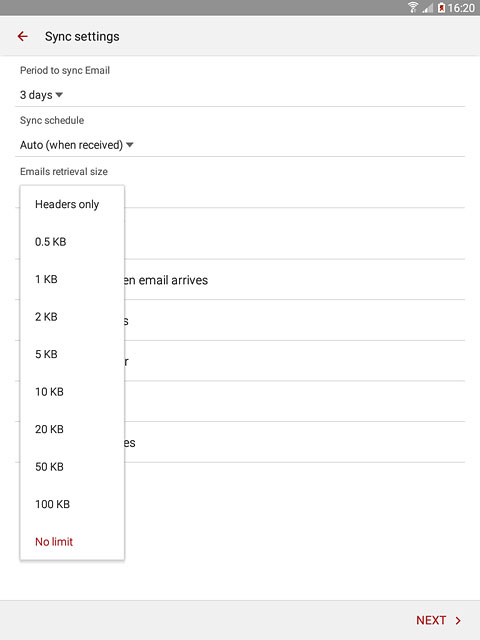
11 Select email message retrieval size when synchronising
Press the drop down list below "Emails retrieval size".
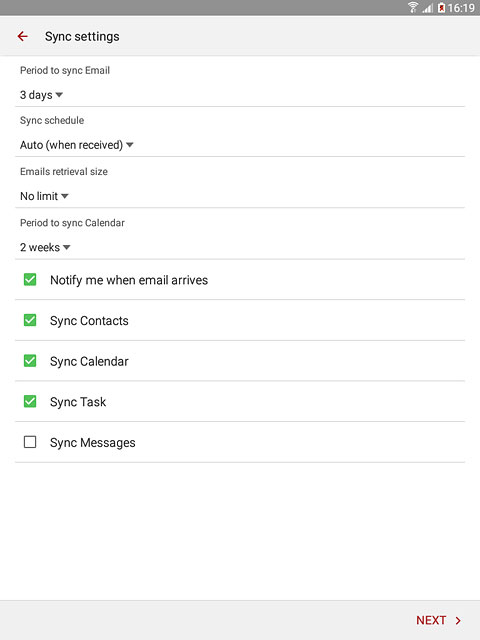
Press the required setting.
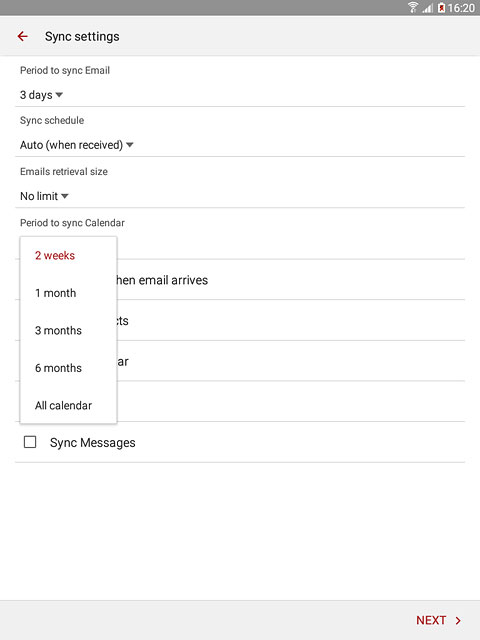
12 Select synchronisation period for the calendar
Press the drop down list below "Period to sync Calendar".
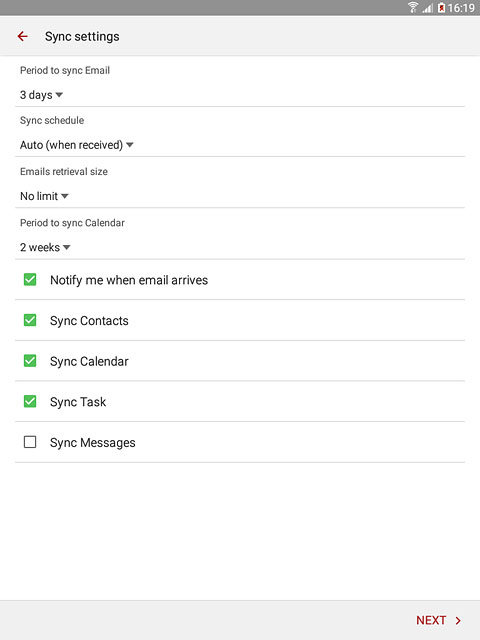
Press the required setting.
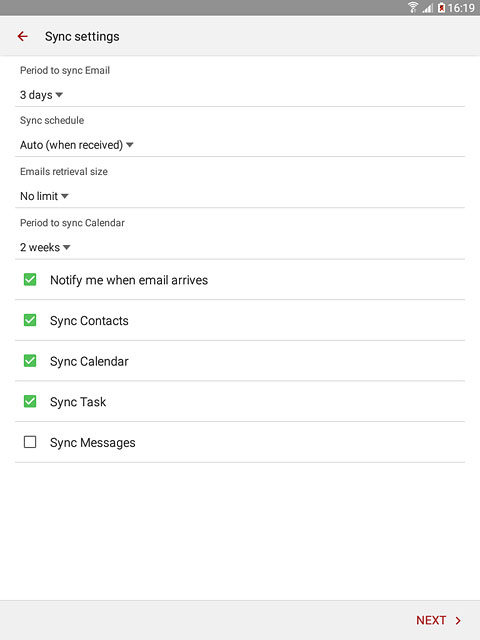
13 Turn email message notification on or off
Press Notify me when email arrives to turn the function on or off.
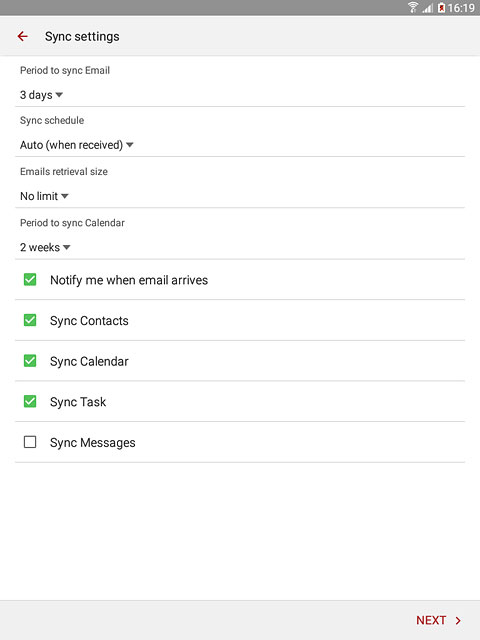
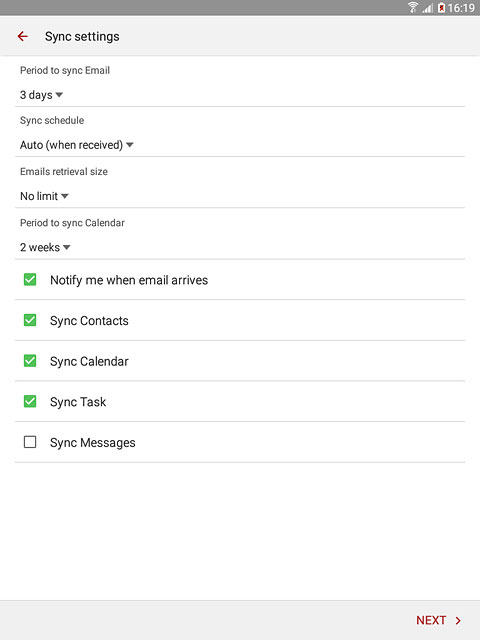
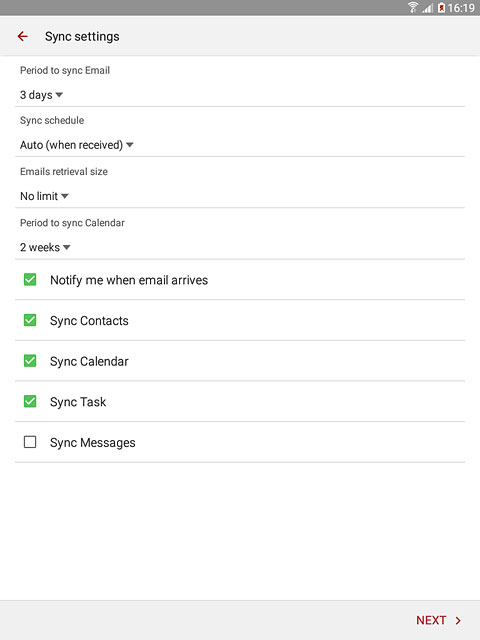
14 Select data types for synchronisation
Press one of the following data types to turn synchronisation on or off:
Sync Contacts
Sync Contacts
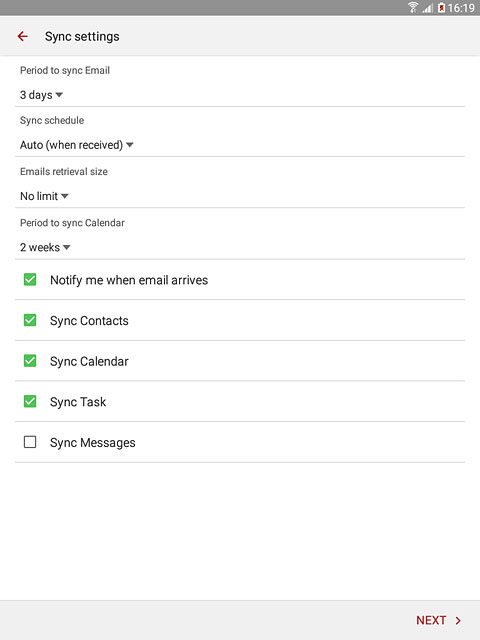
Sync Calendar
Sync Task
Sync Messages
Press NEXT.
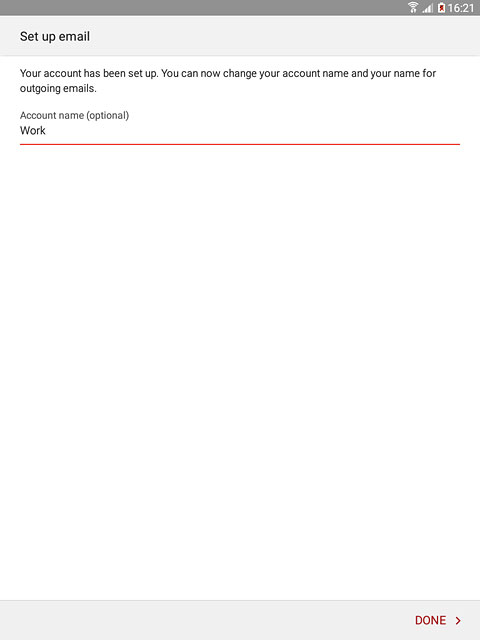
15 Enter email account name
Key in a name for your email account.

16 Finish setup
Press DONE.
17 Return to the home screen
Press the Home key to return to the home screen.
