![Samsung Galaxy Tab S9 Ultra 5G](http://wmstatic.global.ssl.fastly.net/ml/7070324-f-fe731277-f73f-4e7c-8691-1956e9927083.png?width=150&height=320)
Samsung Galaxy Tab S9 Ultra 5G
Android 13
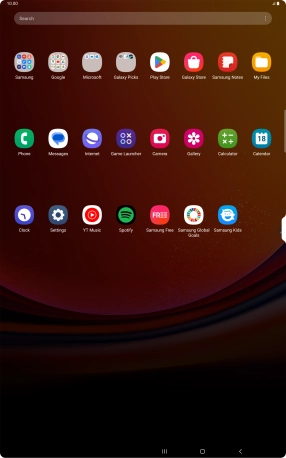
1. Find "Manage accounts"
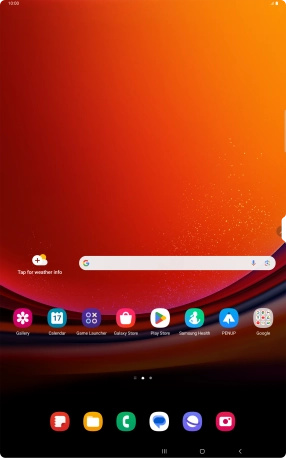
Slide your finger upwards on the screen.
![](http://wmstatic.global.ssl.fastly.net/ml/7070324-f-94d1d583-ea77-4787-a829-a64cbddaef83.png?width=286&height=460)
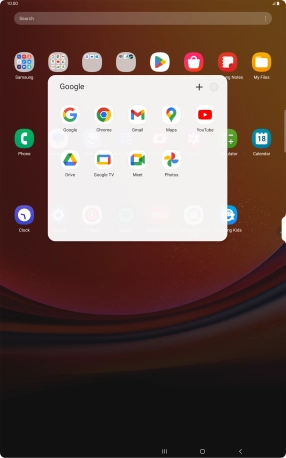
Press Google.
![](http://wmstatic.global.ssl.fastly.net/ml/7070324-f-c0ffef0d-430a-4a03-93fb-460b3b7c4a29.png?width=286&height=460)
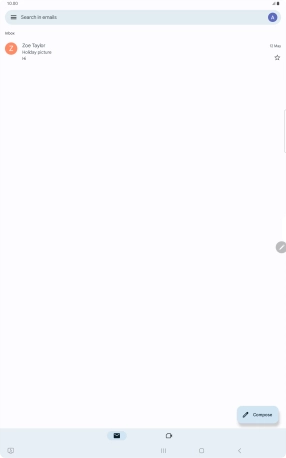
Press Gmail.
![](http://wmstatic.global.ssl.fastly.net/ml/7070324-f-3db0bd8a-72a5-4ed1-a4e1-d0a802eafea3.png?width=286&height=460)
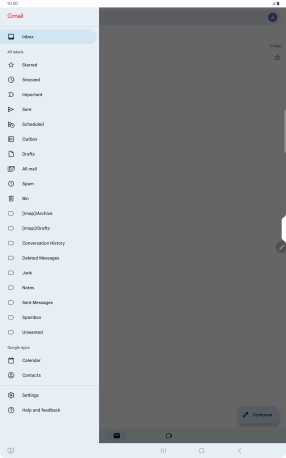
Press the menu icon.
![](http://wmstatic.global.ssl.fastly.net/ml/7070324-f-832780b2-1547-4412-a779-67ce69ce4a11.png?width=286&height=460)
Press Settings.
![](http://wmstatic.global.ssl.fastly.net/ml/7070324-f-a5c33ad7-d4c0-43c8-81e1-ff7eb846f05f.png?width=286&height=460)
2. Create new email account
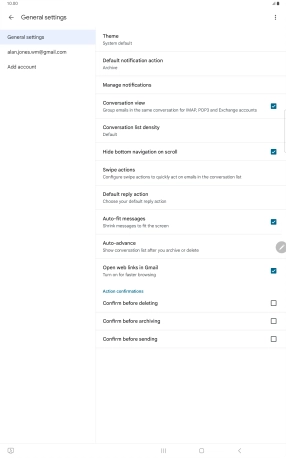
Press Add account.
![](http://wmstatic.global.ssl.fastly.net/ml/7070324-f-d959bf6f-735b-43df-8f83-986aad829ec5.png?width=286&height=460)
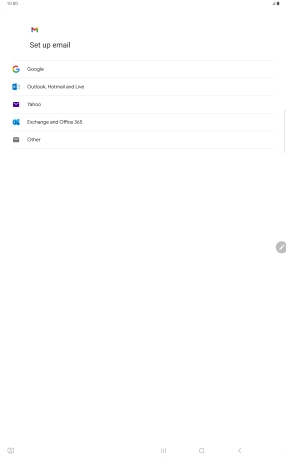
3. Select server type
Press Exchange and Office 365.
![](http://wmstatic.global.ssl.fastly.net/ml/7070324-f-639b4e1a-16bd-4780-a63a-8f2cbcc70d92.png?width=286&height=460)
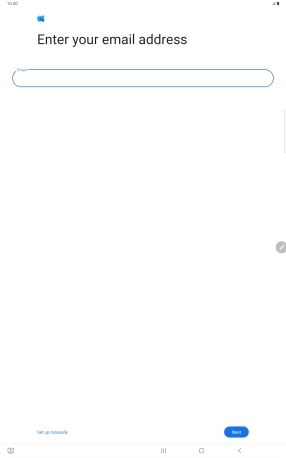
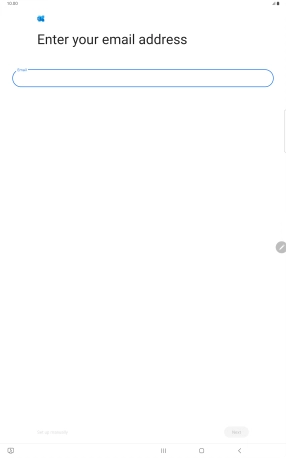
4. Enter email address
Press the field below "Email" and key in your email address.
![](http://wmstatic.global.ssl.fastly.net/ml/7070324-f-c2c24683-2a48-4a41-a263-13e47f130177.png?width=286&height=460)
Press Next.
![](http://wmstatic.global.ssl.fastly.net/ml/7070324-f-5244a151-77ae-46ff-921c-0643f4ce1f8d.png?width=286&height=460)
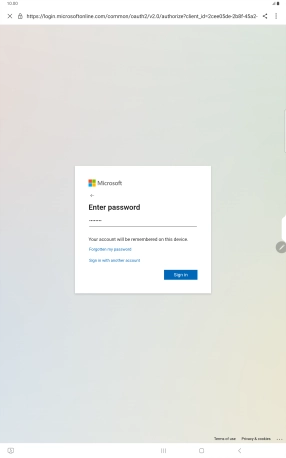
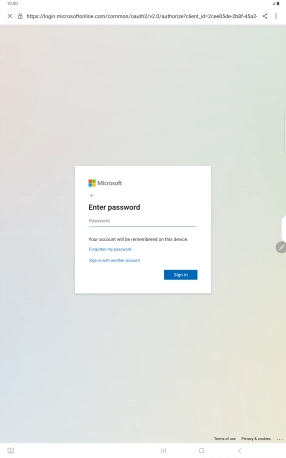
5. Enter password
Press Password and key in the password for your email account.
![](http://wmstatic.global.ssl.fastly.net/ml/7070324-f-e4b27e86-0e38-4610-8796-502704592bb0.png?width=286&height=460)
Press Sign in.
![](http://wmstatic.global.ssl.fastly.net/ml/7070324-f-65c010c6-79d1-44c3-92d4-9e61734016c4.png?width=286&height=460)
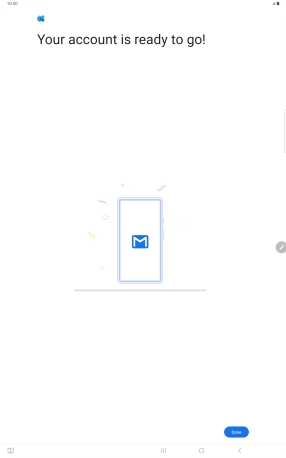
Press Done.
![](http://wmstatic.global.ssl.fastly.net/ml/7070324-f-f964683a-256d-428d-8094-69a24b0d5428.png?width=286&height=460)
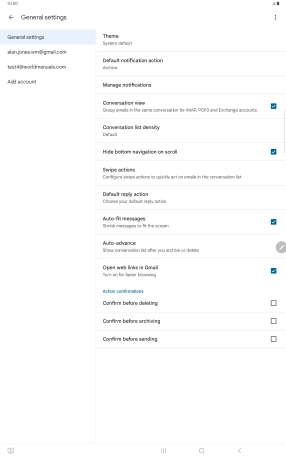
6. Return to the home screen
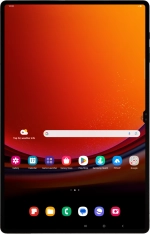
Press the Home key to return to the home screen.
![](http://wmstatic.global.ssl.fastly.net/ml/7070324-f-d4dcc016-6bc0-4fa9-9420-d1295ed8c6c5.png?width=286&height=460)
7. Find "Account settings"
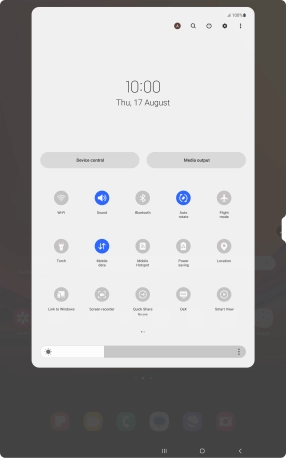
Slide two fingers downwards starting from the top of the screen.
![](http://wmstatic.global.ssl.fastly.net/ml/7070324-f-94d1d583-ea77-4787-a829-a64cbddaef83.png?width=286&height=460)
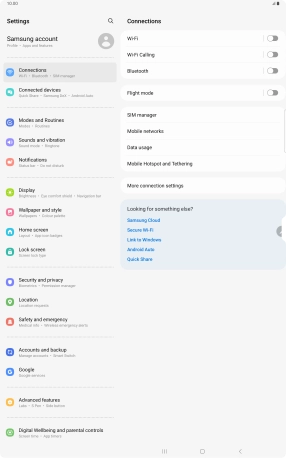
Press the settings icon.
![](http://wmstatic.global.ssl.fastly.net/ml/7070324-f-10fc1b0d-a2bd-44db-8093-0ce74dbba97f.png?width=286&height=460)
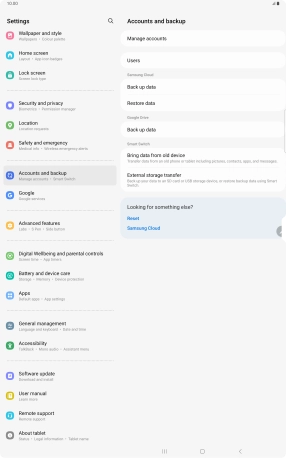
Press Accounts and backup.
![](http://wmstatic.global.ssl.fastly.net/ml/7070324-f-22de9bec-b900-4f1a-8f73-ef0fea934fd3.png?width=286&height=460)
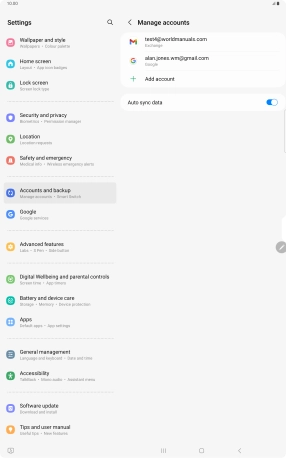
Press Manage accounts.
![](http://wmstatic.global.ssl.fastly.net/ml/7070324-f-ce808a24-60e9-4c30-b351-126fe5d18f2c.png?width=286&height=460)
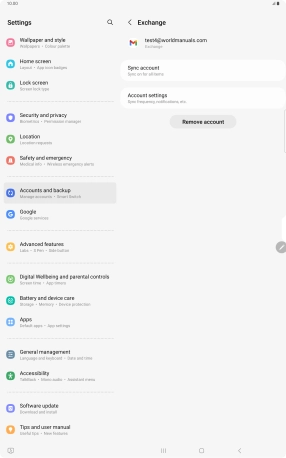
Press the required email account.
![](http://wmstatic.global.ssl.fastly.net/ml/7070324-f-e6024dbc-9272-41ae-bd09-a4afae03dd45.png?width=286&height=460)
Press Account settings.
![](http://wmstatic.global.ssl.fastly.net/ml/7070324-f-44572f8d-a5b4-4938-ab17-1fa57d8c06f3.png?width=286&height=460)
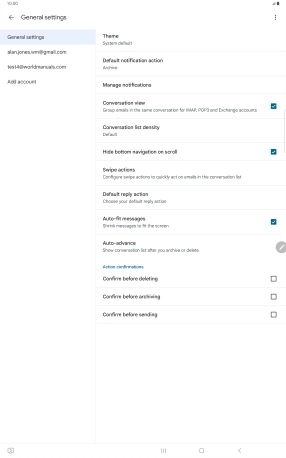
8. Enter email account name
Press the required email account.
![](http://wmstatic.global.ssl.fastly.net/ml/7070324-f-f3e1d667-33b6-4bf6-be40-f82a2aff9dd9.png?width=286&height=460)
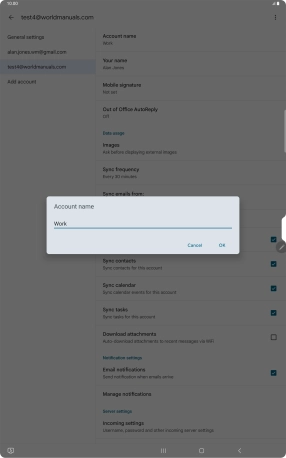
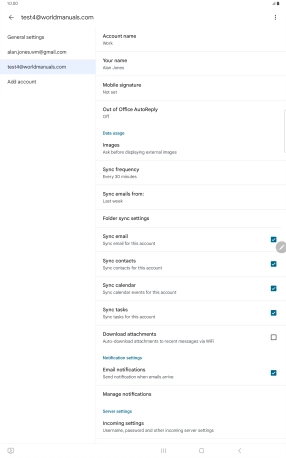
Press Account name and key in the required name.
![](http://wmstatic.global.ssl.fastly.net/ml/7070324-f-28bde463-6677-47c9-bc9b-84d4ada44536.png?width=286&height=460)
Press OK.
![](http://wmstatic.global.ssl.fastly.net/ml/7070324-f-3ede72f1-e239-4d3d-a44a-cf2caa998350.png?width=286&height=460)
9. Enter sender name
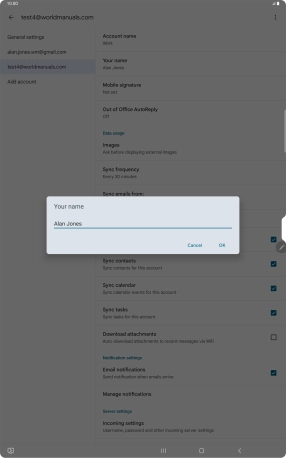
Press Your name and key in the required sender name.
![](http://wmstatic.global.ssl.fastly.net/ml/7070324-f-28bde463-6677-47c9-bc9b-84d4ada44536.png?width=286&height=460)
Press OK.
![](http://wmstatic.global.ssl.fastly.net/ml/7070324-f-1033f63b-ae48-4a18-a124-6b6528ce8845.png?width=286&height=460)
10. Select setting for retrieval of new email messages
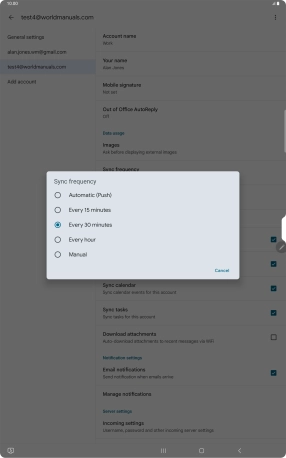
Press Sync frequency.
![](http://wmstatic.global.ssl.fastly.net/ml/7070324-f-28bde463-6677-47c9-bc9b-84d4ada44536.png?width=286&height=460)
Press the required setting.
![](http://wmstatic.global.ssl.fastly.net/ml/7070324-f-20490973-19d8-40ec-8385-912939c15405.png?width=286&height=460)
11. Turn on email message synchronisation
Press the field next to "Sync email" to turn on the function.
![](http://wmstatic.global.ssl.fastly.net/ml/7070324-f-28bde463-6677-47c9-bc9b-84d4ada44536.png?width=286&height=460)
12. Select data types for synchronisation
Press the field next to the required data types to turn synchronisation on or off.
![](http://wmstatic.global.ssl.fastly.net/ml/7070324-f-28bde463-6677-47c9-bc9b-84d4ada44536.png?width=286&height=460)
13. Turn email message notifications on or off
Press the field next to "Email notifications" to turn the function on or off.
![](http://wmstatic.global.ssl.fastly.net/ml/7070324-f-28bde463-6677-47c9-bc9b-84d4ada44536.png?width=286&height=460)
14. Return to the home screen
Press the Home key to return to the home screen.
![](http://wmstatic.global.ssl.fastly.net/ml/7070324-f-28bde463-6677-47c9-bc9b-84d4ada44536.png?width=286&height=460)