
Samsung Galaxy Watch Ultra


1. Add new watch face
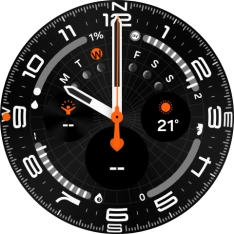
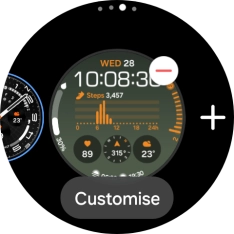
Press and hold the middle of your watch.


1. Add new watch face
Slide your finger left on the screen.


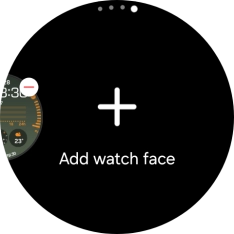
1. Add new watch face
Press Add watch face.


1. Add new watch face
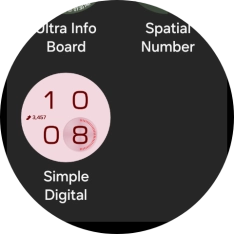
Slide your finger up or down to see the available watch faces.
1. Add new watch face
Press the required watch face to add it.
2. Select watch face
Press and hold the middle of your watch.
2. Select watch face
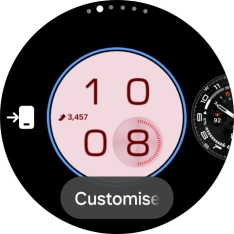
Slide your finger left to see the available watch faces.


2. Select watch face
Press the required watch face.


2. Select watch face
Press the Home key.
3. Personalise watch design
Press and hold the middle of your watch.
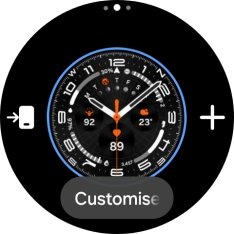
3. Personalise watch design
Press Customise.


3. Personalise watch design
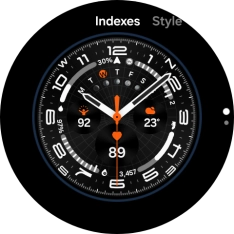
Slide your finger on the screen to change between the different designs.
3. Personalise watch design
When you've selected the required design, press the Home key.
4. Add widget
Slide your finger left on the screen.


4. Add widget
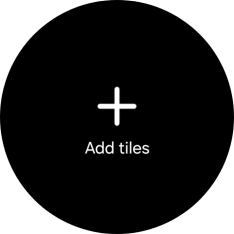
Press Add tiles.


4. Add widget
Press the required widget to add it.


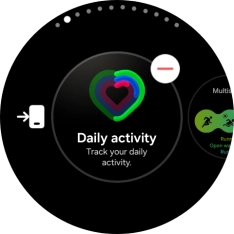
5. Remove widget
Press and hold the required widget.


5. Remove widget
Press the remove widget icon.
6. Return to the home screen
Press the Home key to return to the home screen.
1. Add new watch face
2. Select watch face
3. Personalise watch design
4. Add widget

5. Remove widget

6. Return to the home screen