![Google Pixel 9 Pro](http://wmstatic.global.ssl.fastly.net/ml/7091024-f-f8bcd746-0e65-4dcc-b3c0-e4e5c71fa103.png?width=150&height=320)
Google Pixel 9 Pro
Android 14
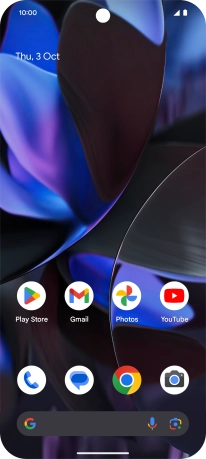
1. Find "Contacts"
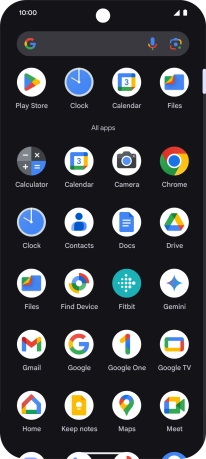
Slide your finger upwards on the screen.
![](http://wmstatic.global.ssl.fastly.net/ml/7091024-f-57497305-ab3d-4b90-9e6d-865bd936ad55.png?width=206&height=464)
Press Contacts.
![](http://wmstatic.global.ssl.fastly.net/ml/7091024-f-1b77de0a-ada0-437a-a1c3-18d3875611e0.png?width=206&height=464)
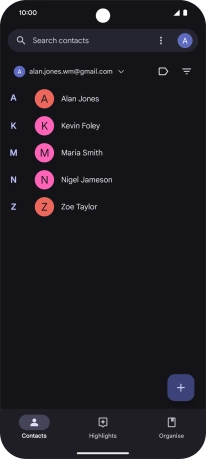
2. Create contact
Press the new contact icon.
![](http://wmstatic.global.ssl.fastly.net/ml/7091024-f-21c810b1-5011-45c7-a48f-bc6de0f70f42.png?width=206&height=464)
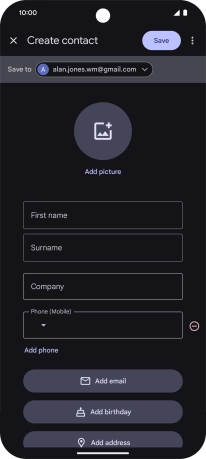
3. Select address book
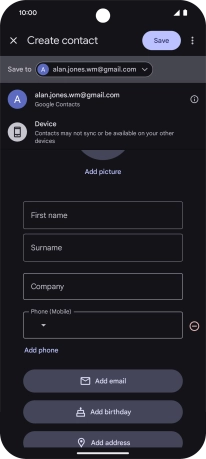
Press the address book drop down list.
![](http://wmstatic.global.ssl.fastly.net/ml/7091024-f-0f4000fb-5420-41d3-85ea-c698d7fd0446.png?width=206&height=464)
Press the required Google account.
![](http://wmstatic.global.ssl.fastly.net/ml/7091024-f-1ffbaeb7-bb35-420e-865a-7ea8055a5f20.png?width=206&height=464)
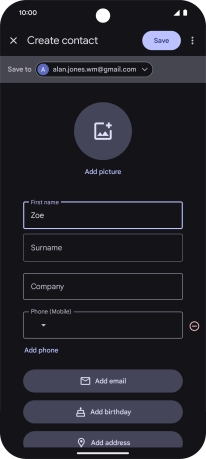
4. Enter name
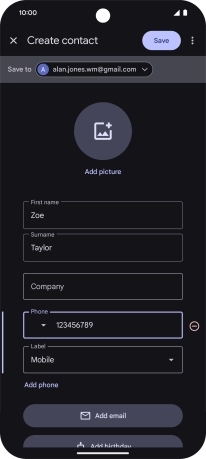
Press First name and key in the required first name.
![](http://wmstatic.global.ssl.fastly.net/ml/7091024-f-0f4000fb-5420-41d3-85ea-c698d7fd0446.png?width=206&height=464)
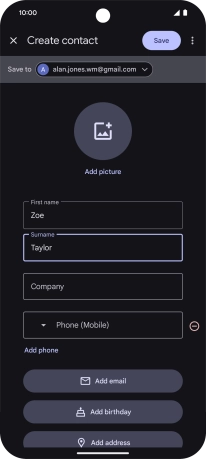
Press Surname and key in the required last name.
![](http://wmstatic.global.ssl.fastly.net/ml/7091024-f-23df620c-3016-477f-9b02-5a3df3fce5bb.png?width=206&height=464)
5. Enter phone number
Press Phone and key in the required phone number.
Follow the instructions on the screen to add more information such as email address and date of birth.
![](http://wmstatic.global.ssl.fastly.net/ml/7091024-f-5ff9e1c7-e3c7-43d2-811b-2e5feadbe35f.png?width=206&height=464)
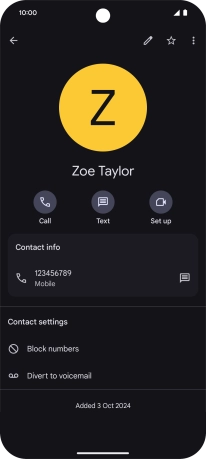
6. Save contact
Press Save.
![](http://wmstatic.global.ssl.fastly.net/ml/7091024-f-e4d16f56-0375-4294-b986-78994d995269.png?width=206&height=464)
7. Return to the home screen
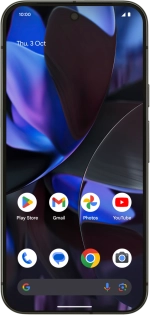
Slide your finger upwards starting from the bottom of the screen to return to the home screen.
![](http://wmstatic.global.ssl.fastly.net/ml/7091024-f-6814a450-f939-4bb2-9df1-208dd2368b06.png?width=206&height=464)