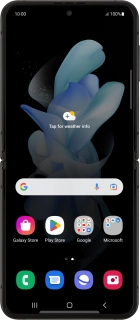
![Samsung Galaxy Z Flip4](http://wmstatic.global.ssl.fastly.net/ml/7220224-f-6fab6dd4-8ff2-4d94-8a59-2fb41ec939ab.png?width=150&height=320)
Samsung Galaxy Z Flip4
Android 12.0
1 Find "Manage accounts"
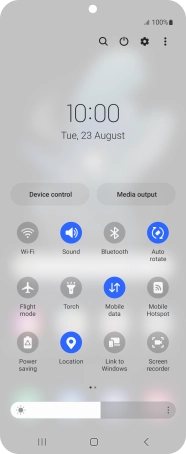
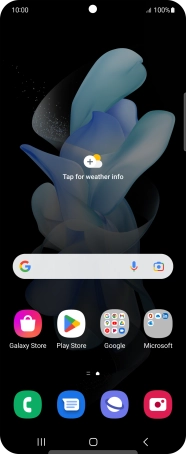
Slide two fingers downwards starting from the top of the screen.
![](http://wmstatic.global.ssl.fastly.net/ml/7220224-f-7eac72e1-cff2-4118-8bba-281a3c81134c.png?width=186&height=458)
Press the settings icon.
![](http://wmstatic.global.ssl.fastly.net/ml/7220224-f-4d28544d-4b64-4e57-95b7-3d6e76168023.png?width=186&height=458)
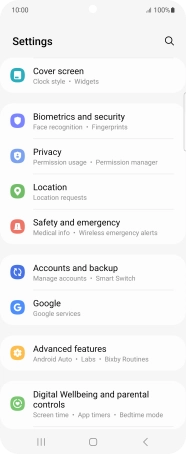
Press Accounts and backup.
![](http://wmstatic.global.ssl.fastly.net/ml/7220224-f-72e363d8-82a6-43c4-931f-31d5753dd8e3.png?width=186&height=458)
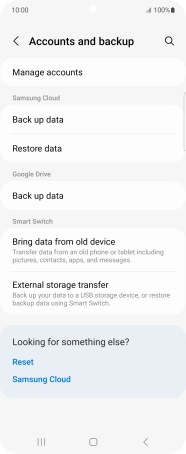
Press Manage accounts.
![](http://wmstatic.global.ssl.fastly.net/ml/7220224-f-0898ca3a-e274-42fd-bd85-8019ea84d4ed.png?width=186&height=458)
2 Turn automatic synchronisation of content on or off
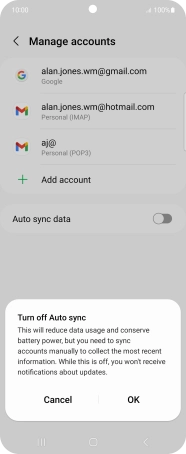
Press the indicator next to "Auto sync data" to turn the function on or off.
![](http://wmstatic.global.ssl.fastly.net/ml/7220224-f-e86b2666-6ed7-4d2e-b2b2-0ea81362869e.png?width=186&height=458)
Press OK.
![](http://wmstatic.global.ssl.fastly.net/ml/7220224-f-12bec496-3593-4290-bed1-73c3edf79ce7.png?width=186&height=458)
3 Return to the home screen
Press the Home key to return to the home screen.
![](http://wmstatic.global.ssl.fastly.net/ml/7220224-f-e86b2666-6ed7-4d2e-b2b2-0ea81362869e.png?width=186&height=458)