Choose a help topic
Set up your TCL 403 Android 12 (Go edition) for Exchange email
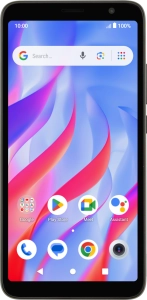
You can set up your phone to send and receive email messages from your Exchange email account. To set up your phone for Exchange email, you need to set up your phone for internet.