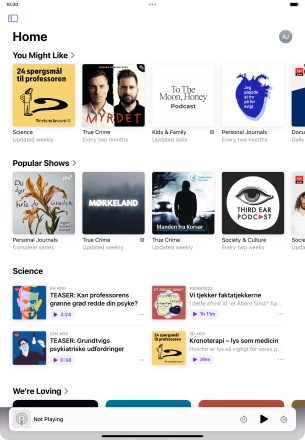
1. Open widget menu
Slide your finger right on the screen.
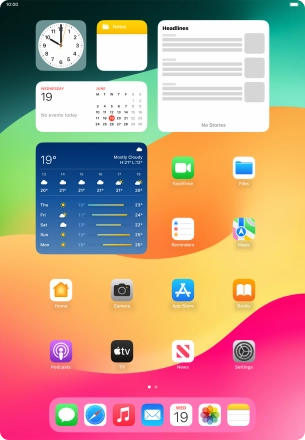
2. Add widget
Press Edit.
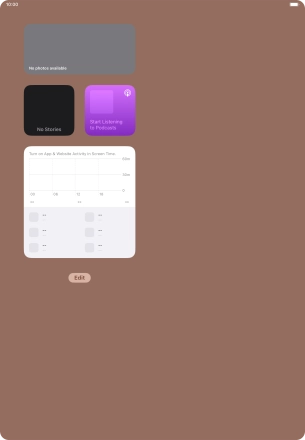
Press the add icon.
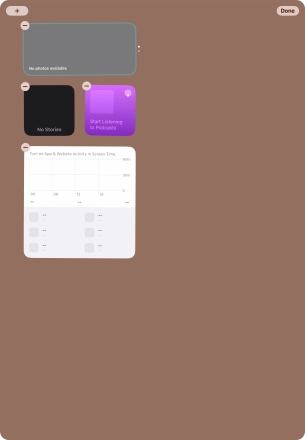
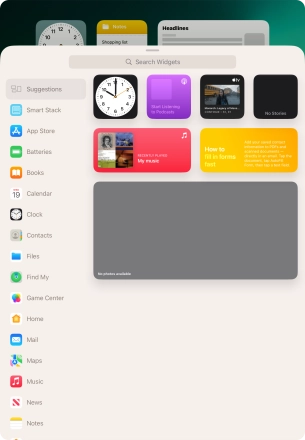
Press the required widget.
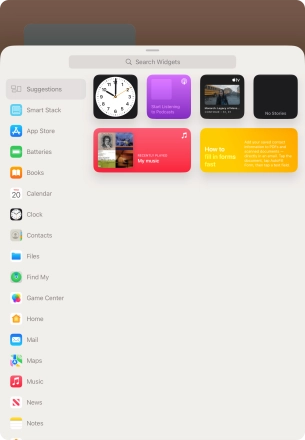
If the required widget is not displayed on the list, press the search field and follow the instructions on the screen to find the required widget.

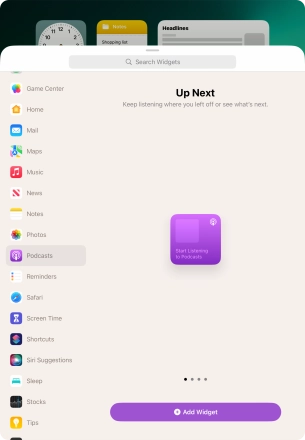
Slide your finger right or left on the screen to select the required widget size.
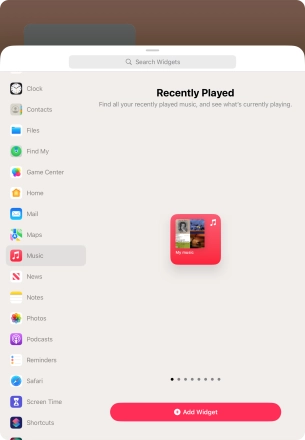
Press Add Widget.

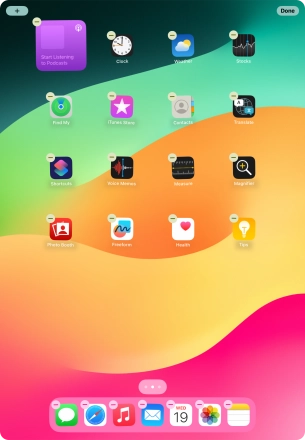
Press Done.
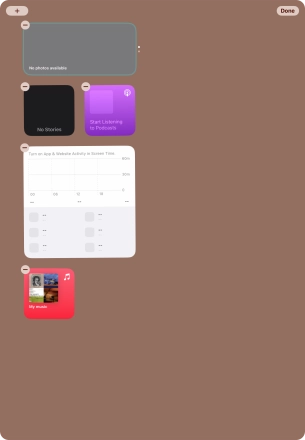
3. Add Smart Stack
Press Edit.
A Smart Stack is an automatically created selection of widgets.

Press the add icon.

Press Smart Stack.

Slide your finger right or left on the screen to select the required widget size.
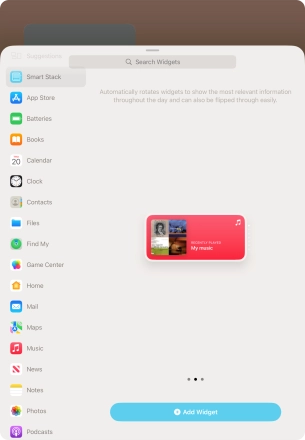
Press Add Widget.

Press Done.
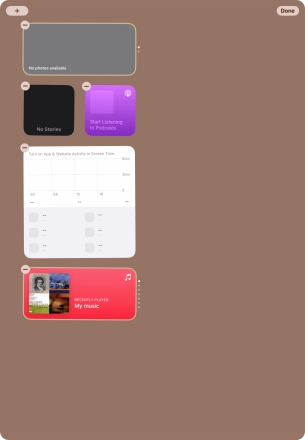
4. Create Widget Stack
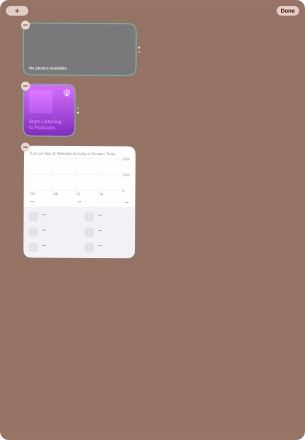
Press the required widget and drag it on top of another widget.
You can manually organise the required widgets in stacks. Please note that you can only create stacks containing widgets of the same size.

Press Done.
5. Edit Widget Stack
Press and hold the required Widget Stack.
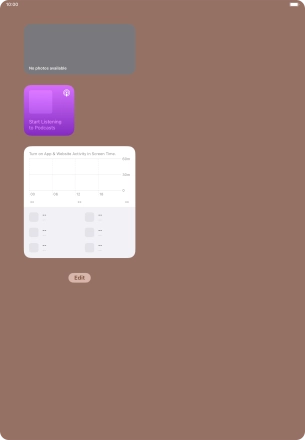
Press Edit Stack.
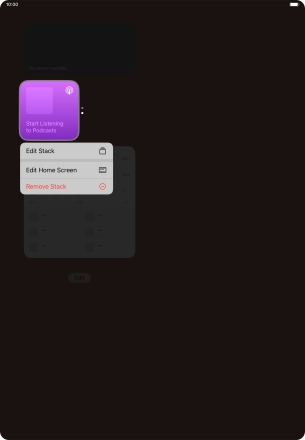
Press Smart Rotate to turn the function on or off.
Your tablet can control which widgets to display based on factors such as time, GPS position or your activity.
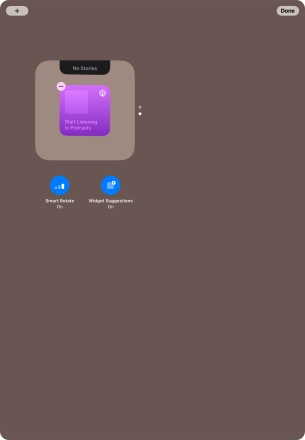
Press and drag the required widget to the required location.
You can change the display order of widgets when using a Widget Stack.

Press the delete icon on the required widget to remove it from the stack.

Press Done.

6. Remove widget
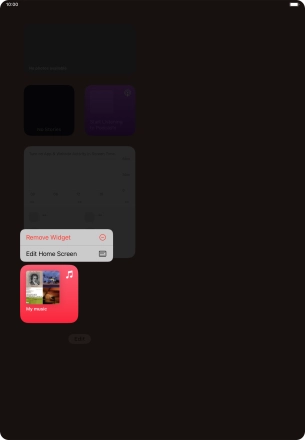
Press and hold the required widget until a pop-up menu is displayed.
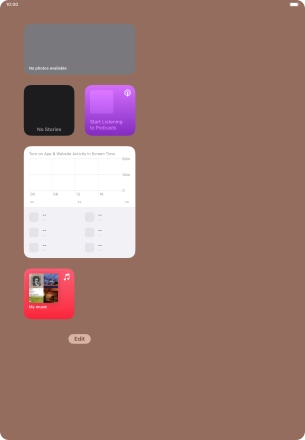
Press Remove Widget.
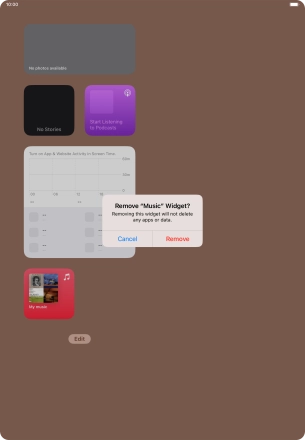
Press Remove.
7. Return to the home screen
Slide your finger upwards starting from the bottom of the screen to return to the home screen.

8. Place widget on home screen
Press and hold anywhere on the home screen.

Press the add icon.
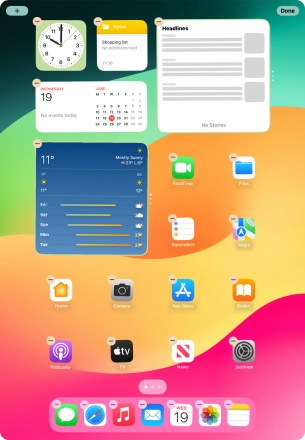
Press the required widget.
Press Add Widget.
Press Done.
9. Use widgets
If you're using a Widget Stack: slide up or down on the stack to select the required widget.
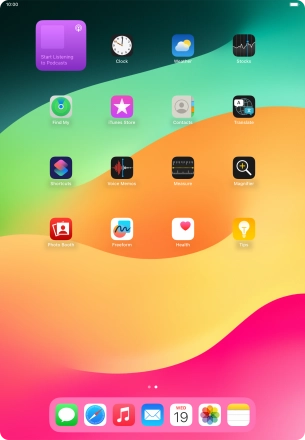
Press the required widget to open the app.

10. Return to the home screen
Slide your finger upwards starting from the bottom of the screen to return to the home screen.
